Groups management #
Our tools provide a variety of avenues for group management. This post will explain the functionality of creating Google groups in bulk via importing a CSV spreadsheet.
Check out alternative posts we have for Google groups management below
Create Google Groups in bulk #
Navigate to GAT+ > Groups

Export an existing group to copy the existing columns for your template needed to import the newly created groups.
Delete all the already existing data in all columns.
Start populating the columns with data for the groups you want to create, while leaving the Group ID column blank.

Save your CSV and import it via GAT+ > Groups > import (next to the export icon)
Notice the Group ID has been automatically created and the changes that you have made will be displayed.
Select accept and the groups will be created with the configurations stated in the spreadsheet.

You can check the results immediately in the admin console or initiate a GAT scan and wait for the data to be populated in the GAT+ Groups audit.
Manage members in your newly created groups #
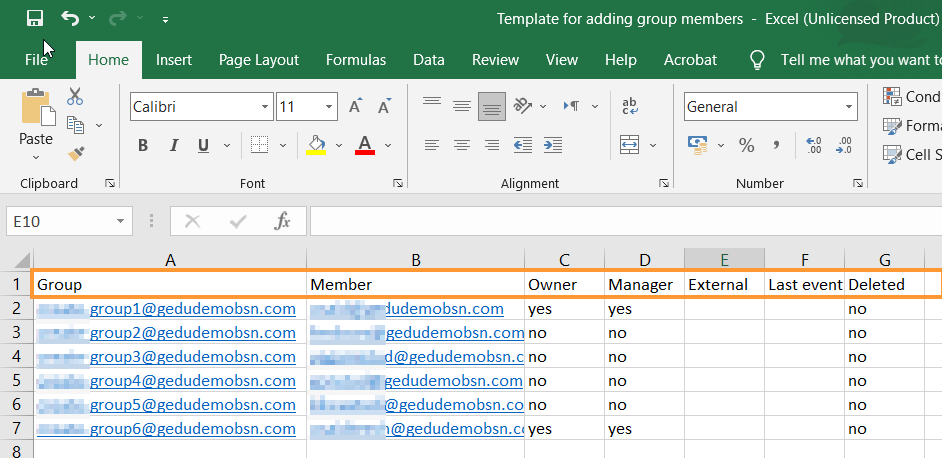
To add members in bulk to your newly created groups navigate to the Group Members tab.
Using the same steps outlined above, export a current group and remove all existing data and then populate the columns accordingly with your new groups.

For adding multiple members separate the inputs with a comma ‘,’

Save the CSV and then Import it from GAT+ > Groups > Group members
The changes should take effect immediately and can be witnessed in the admin console or after a GAT Scan in the GAT+ console.


