Add users in bulk via spreadsheet import – click on Import users.GAT Flow is a user management tool for Google Workspace domains. The Admins can create different types of workflows to Onboard, Offboard, or Modify the users in the domain.
The Conditional flow allows the Admins to create any workflow that will be executed based on different conditions.
Furthermore, those conditions can be combined to create the workflow you need.
Create workflow #
Navigate to GAT+ > Flow > Create workflow
Alternatively, the Conditions can be used in Event and Recurring workflows
Fill in the details:
- Name – enter a name for the workflow (2)
- Type – select any of the workflow types (3) – in this case – Onboarding
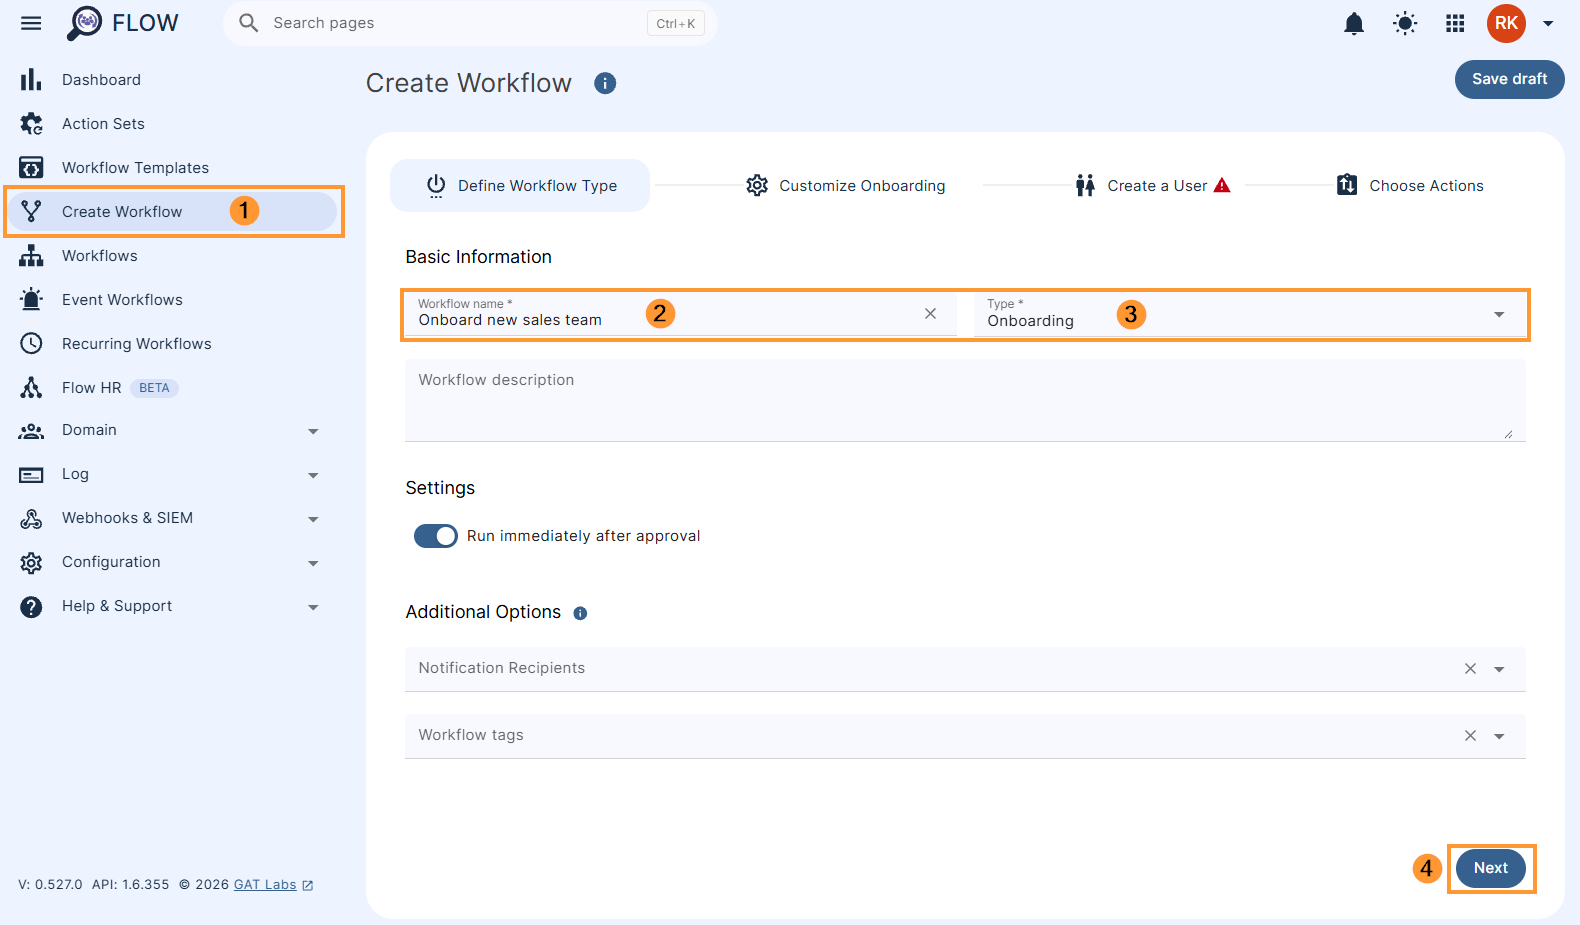
- Next – click to proceed
Customize Onboarding #
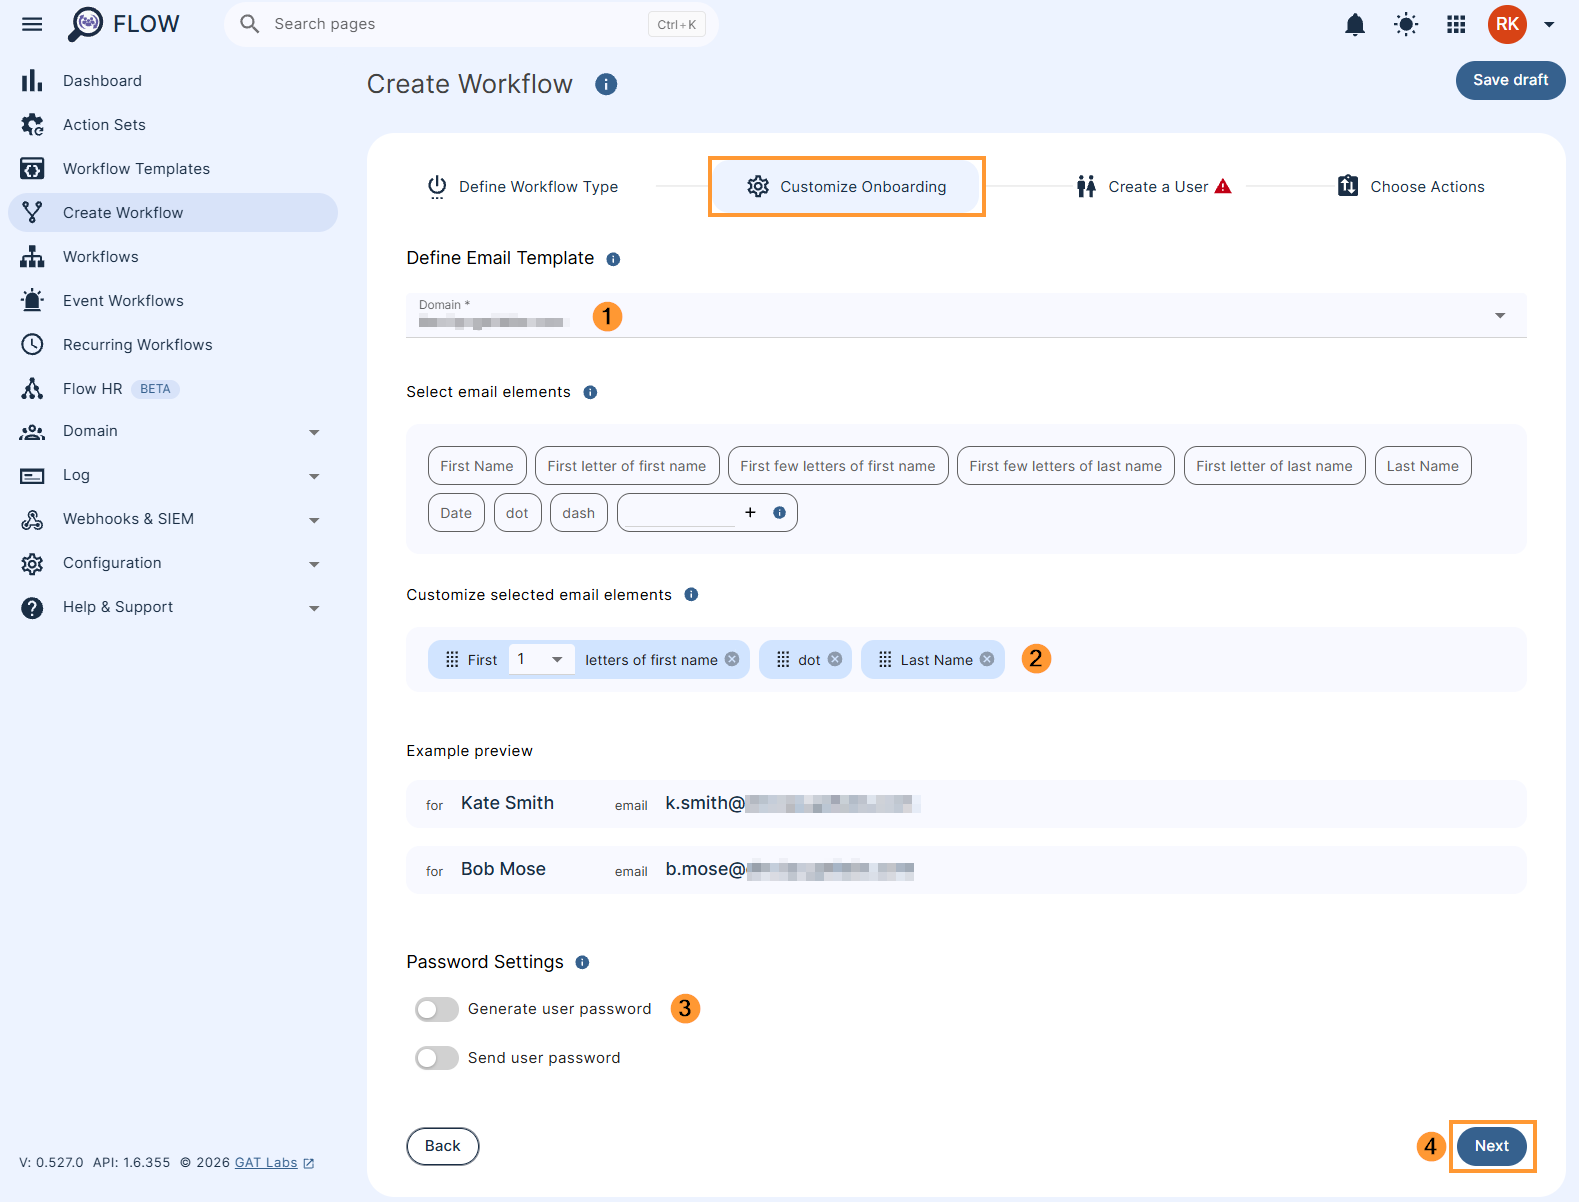
In “Customize Onboarding” section fill in the required details.
- Select the domain (1) – pick a domain where to onboard the users into
- Create a user’s email template (2) – select and pick options for the email’s appearance – such as first name, dot, last name, etc.
- Generate user password (3) – generate a password for the user
- Send user password – enable the option to send a password to another user
- Password receiver – depending on the above, an email can be sent to
- Workflow creator
- Manager
- User private email
Onboarding user #
When you click on ‘Add new user’ (1) a new window will be displayed, alternatively you can add users in bulk via spreadsheet import – click on Import users.
Fill in the details for the new users (2) You can expand the ‘Additional user fields’ to enter the user’s department.
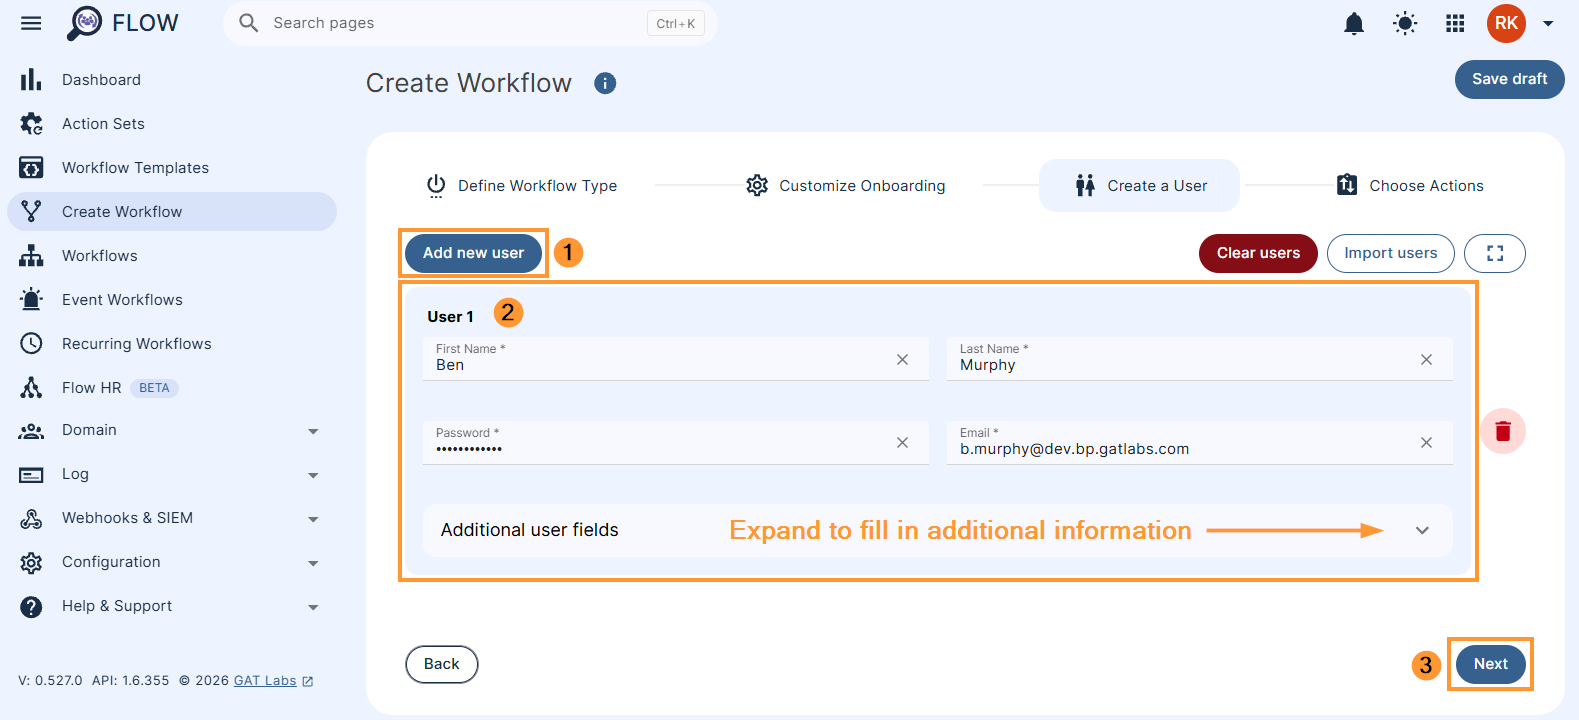
Click Next to proceed.
Create Conditional Workflow – “Choose actions” #
When you’re ready to create the users and add their information, click on Proceed to “Choose actions”. Furthermore, this field allows the Admin to configure the actions to be taken on the users being created.
Fill in the details.
- Click on Add condition.
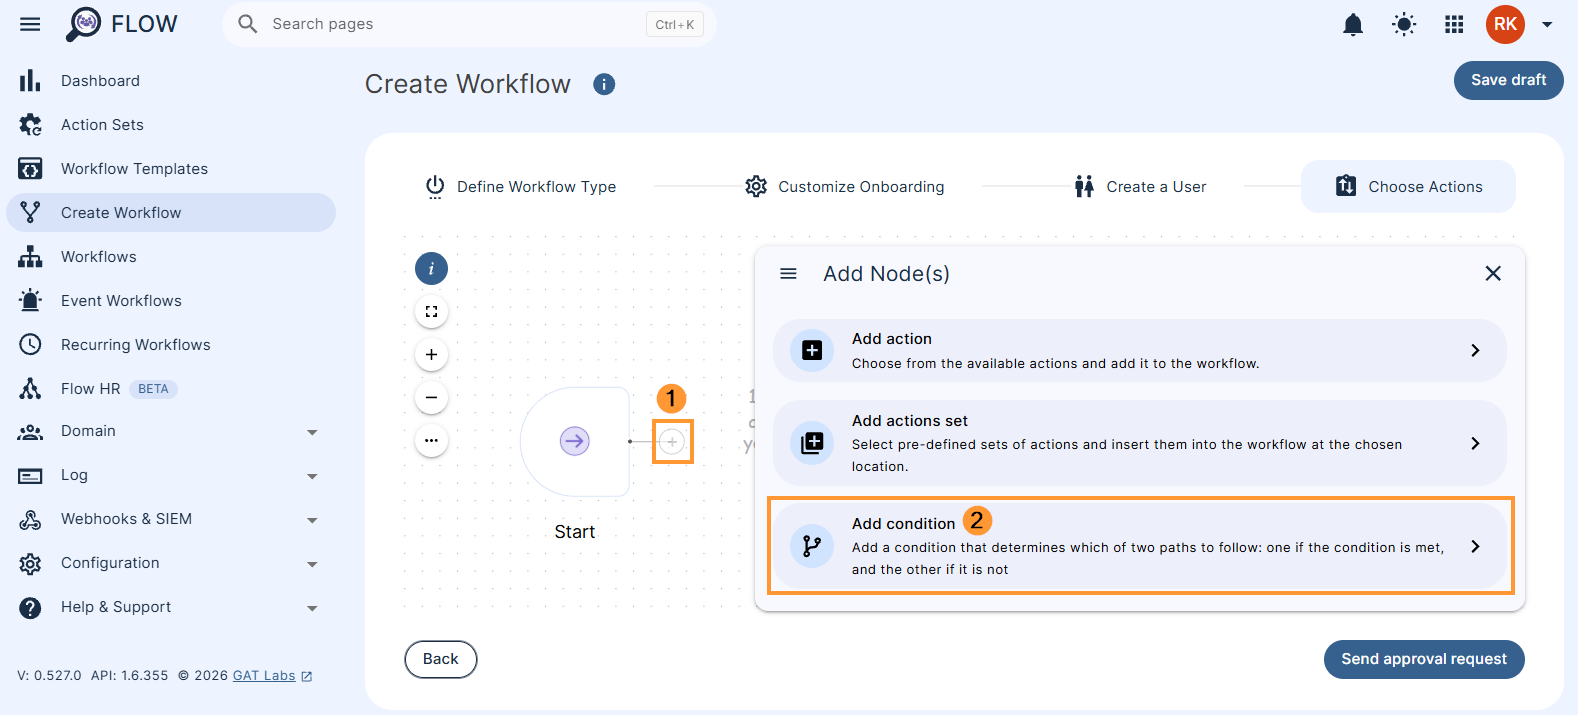
Double click the ‘If Condition’ to set up anything needed.
For example Department equal Sales

- Department equal Sales
- If – No –
- Finish the workflow (meaning just create the account as in previous steps)
- If – Yes –
- Change user organization unit – add the user to a specific org. unit
- Send email – sent an email to the newly created user
- Finish – finish the conditional workflow
- If – No –
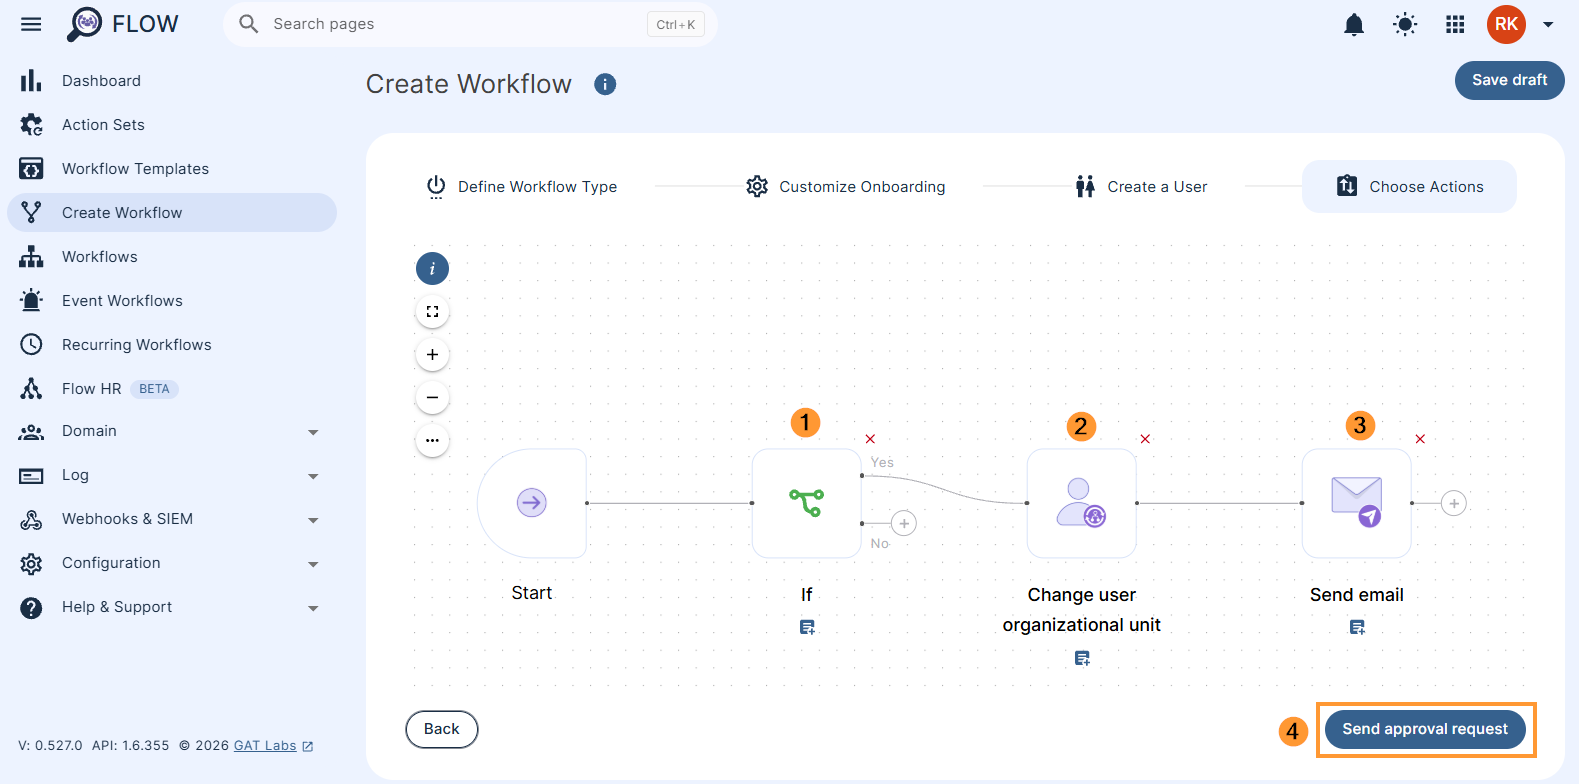
You can create more complicated workflows by using layered conditions, etc.
When ready click on “Send approval request.”
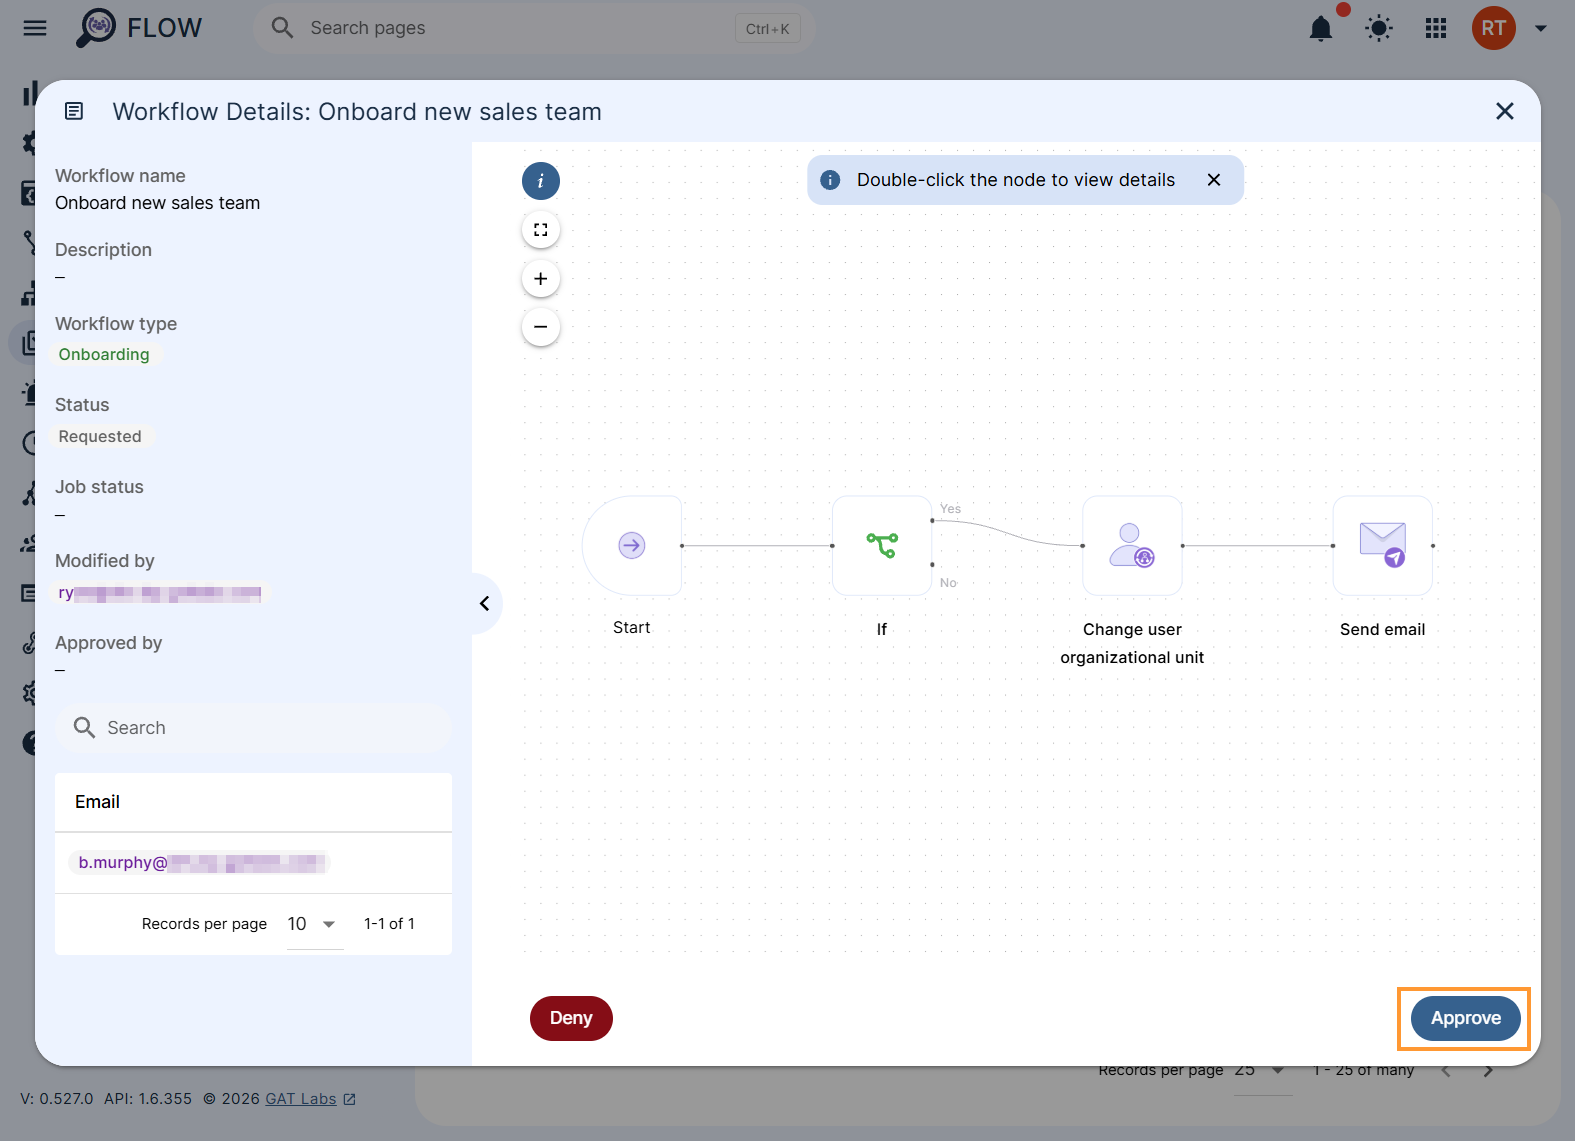
Approval #
An email will be sent to the Security officer for approval unless pre-approval is enabled.
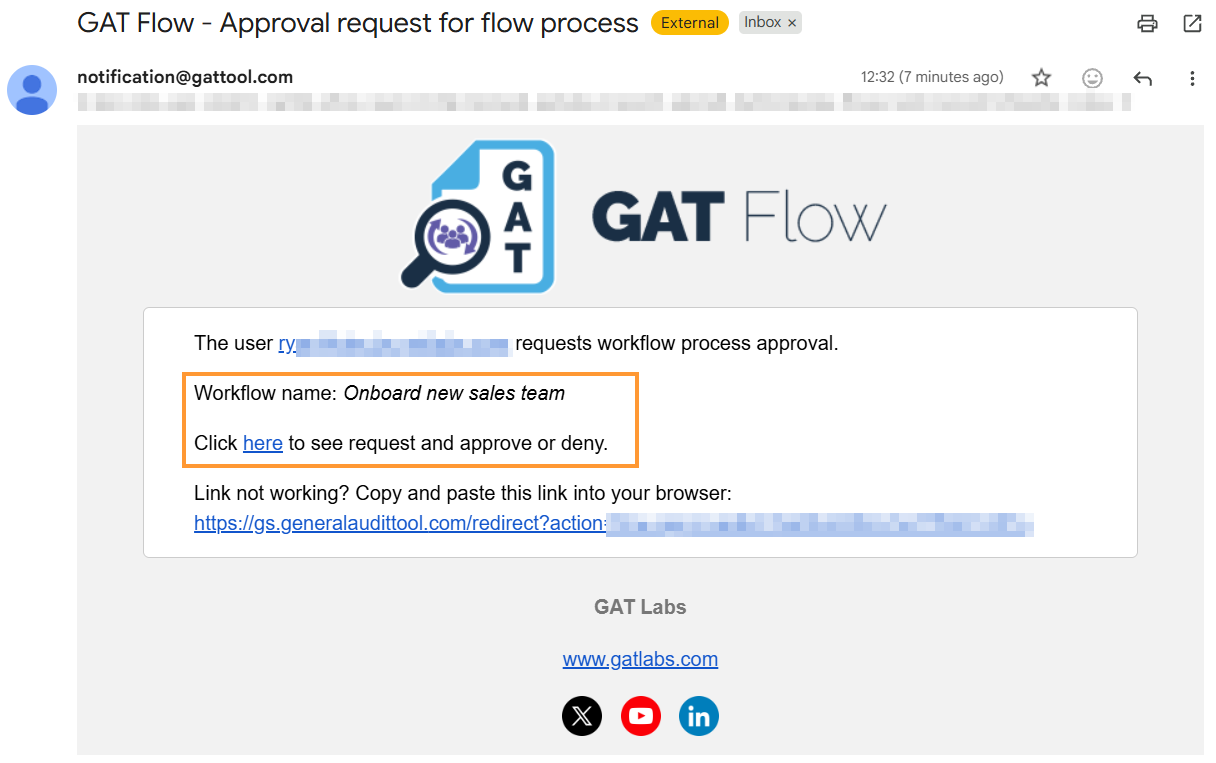
When approved, the workflow will run.
Result #
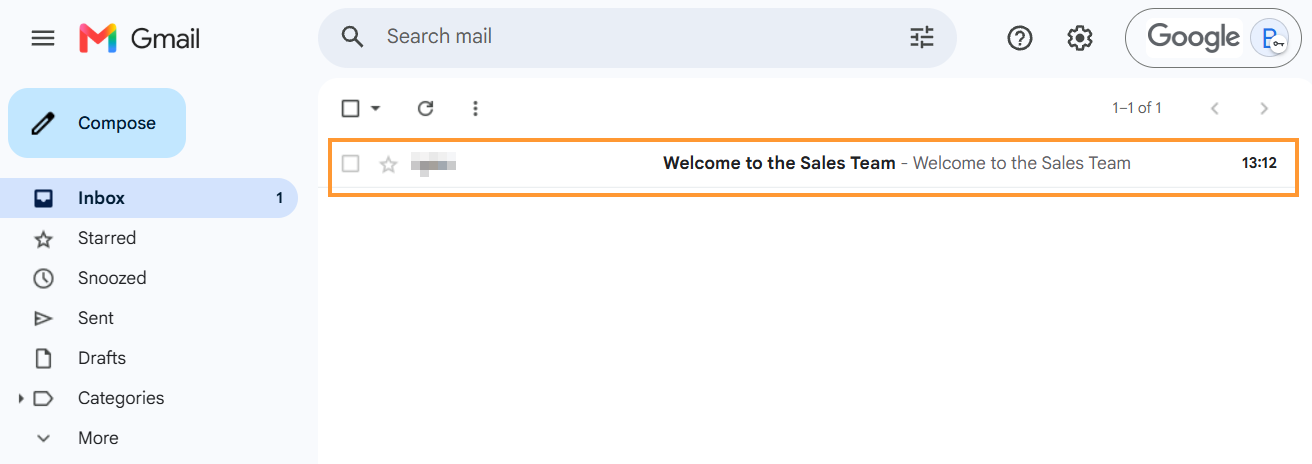
Finally, the system creates the account, and performs actions based on the conditional workflow:
- Account creation
- Sending emails based on conditions
- Moving the user to a selected org. unit