Add Users to an OU Depending on Their Department with GAT Flow #
GAT Flow is a user management tool. It allows Google Workspace Admins to set conditional workflows for the nesting of actions that will execute when a certain specified condition is met. This paves way for complex workflows that might consider multiple conditions and actions.
For such use cases, there is the option to align overlapping actions to tidy up the visual complexity explained in the example below.
Let’s see how to set a workflow to add users to an OU depending on their department.
Step 1. #
To add users to an OU, it’s best to set a recurring workflow that will run according to the time set by the workflow creator. Every time the workflow runs it will check the department conditions specified and run the following actions.
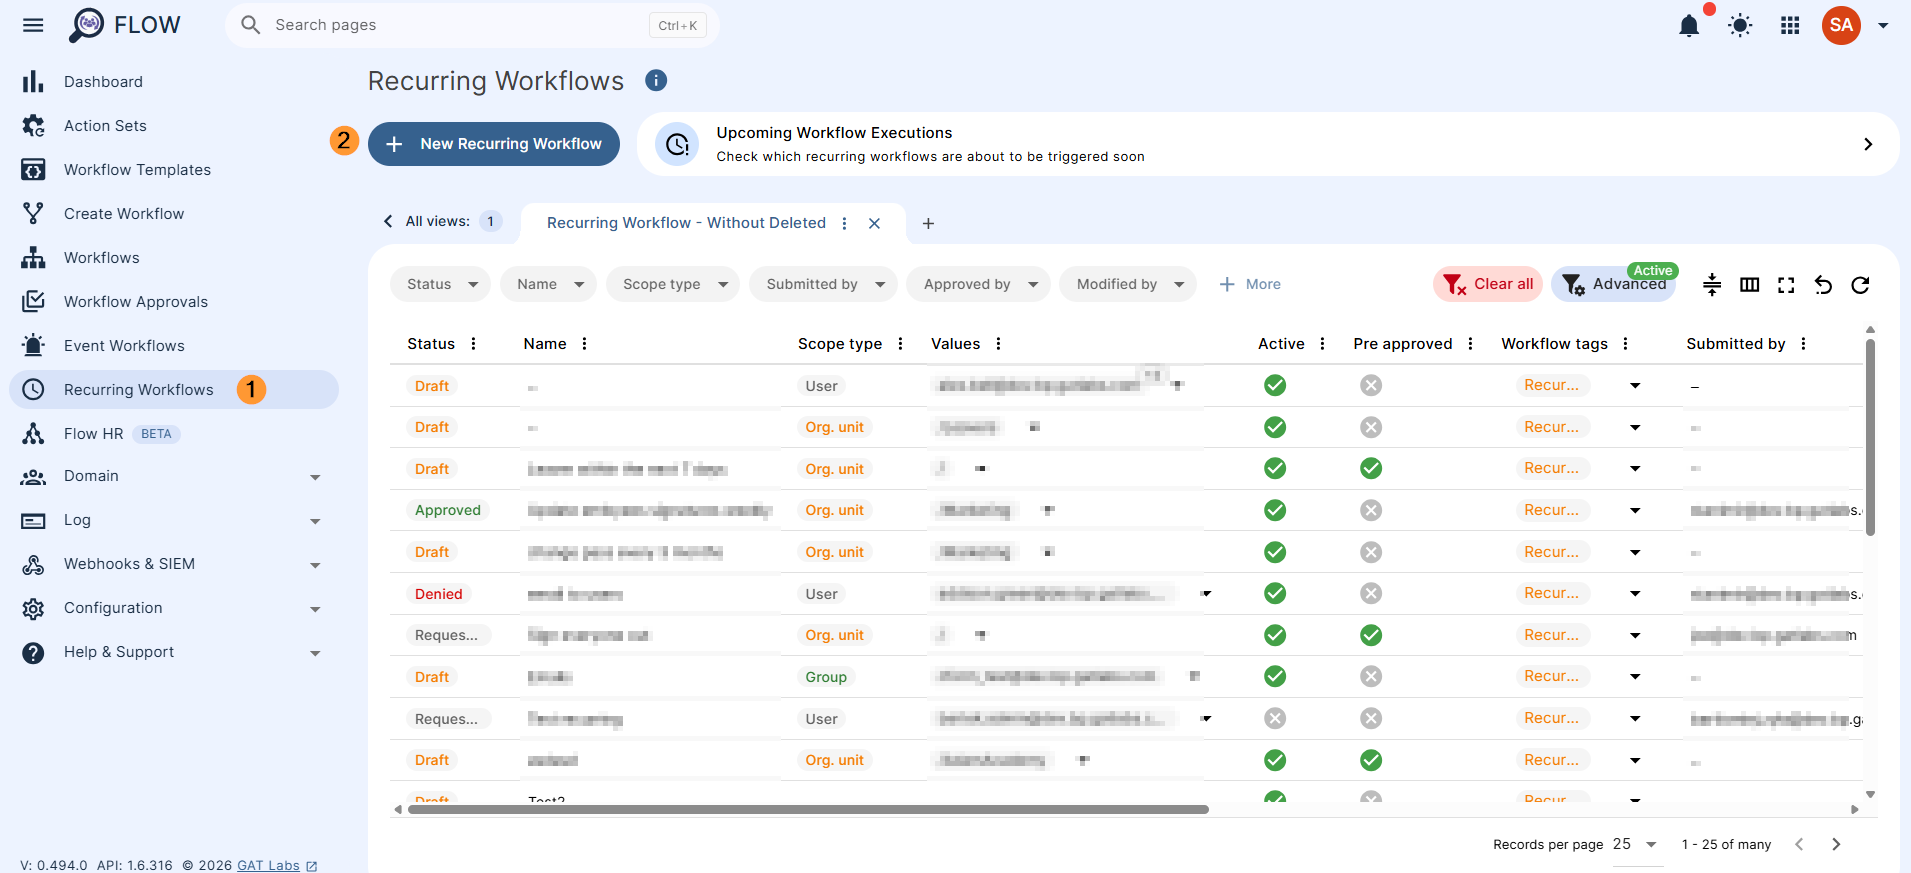
Navigate to Flow > Recurring workflow > New recurring workflow
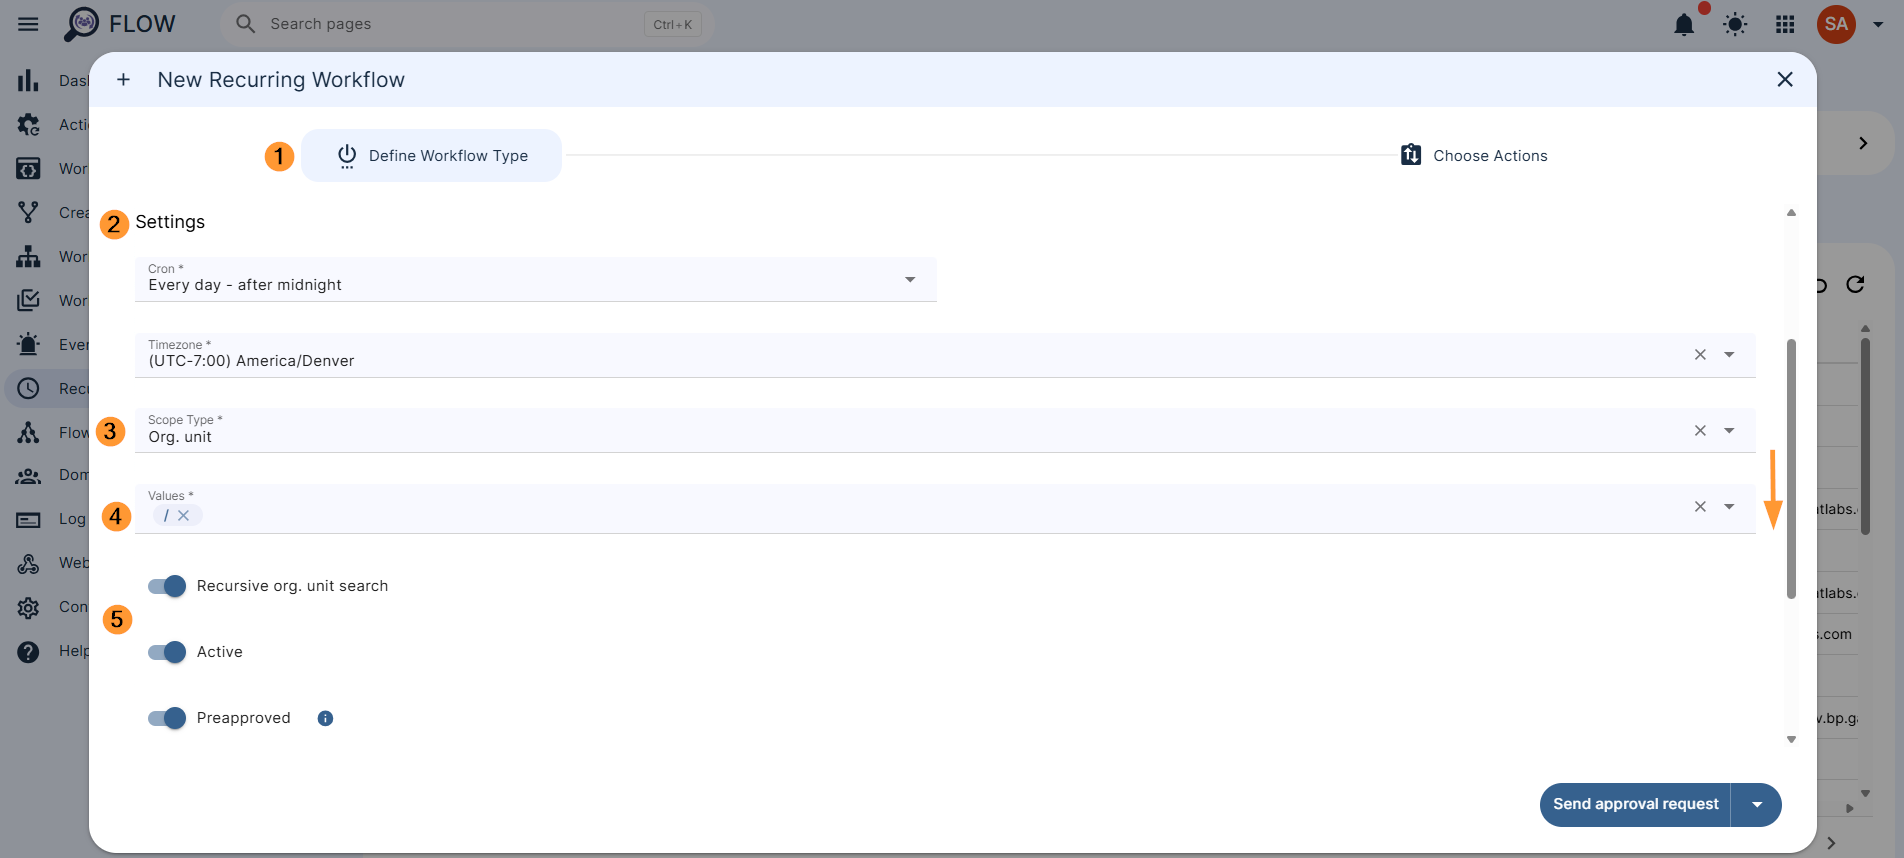
Step 2. #
For this example, we enable the following options:
- Cron – select the time the workflow to run
- Timezone – select time zone
- Select Scope – select what users to be affected.
- Recursive OU search – capturing all sub-OUs of selected OU.
- Active – enable workflow.
- Preapproved – select to avoid needing the Security Officer’s approval after every time the report runs. A security officer has to only approve initially when this is selected.
- Fill in any additional details you want.
Step 3. #
Clicking “send approval reqest” will take you to the Choose Actions subtab.
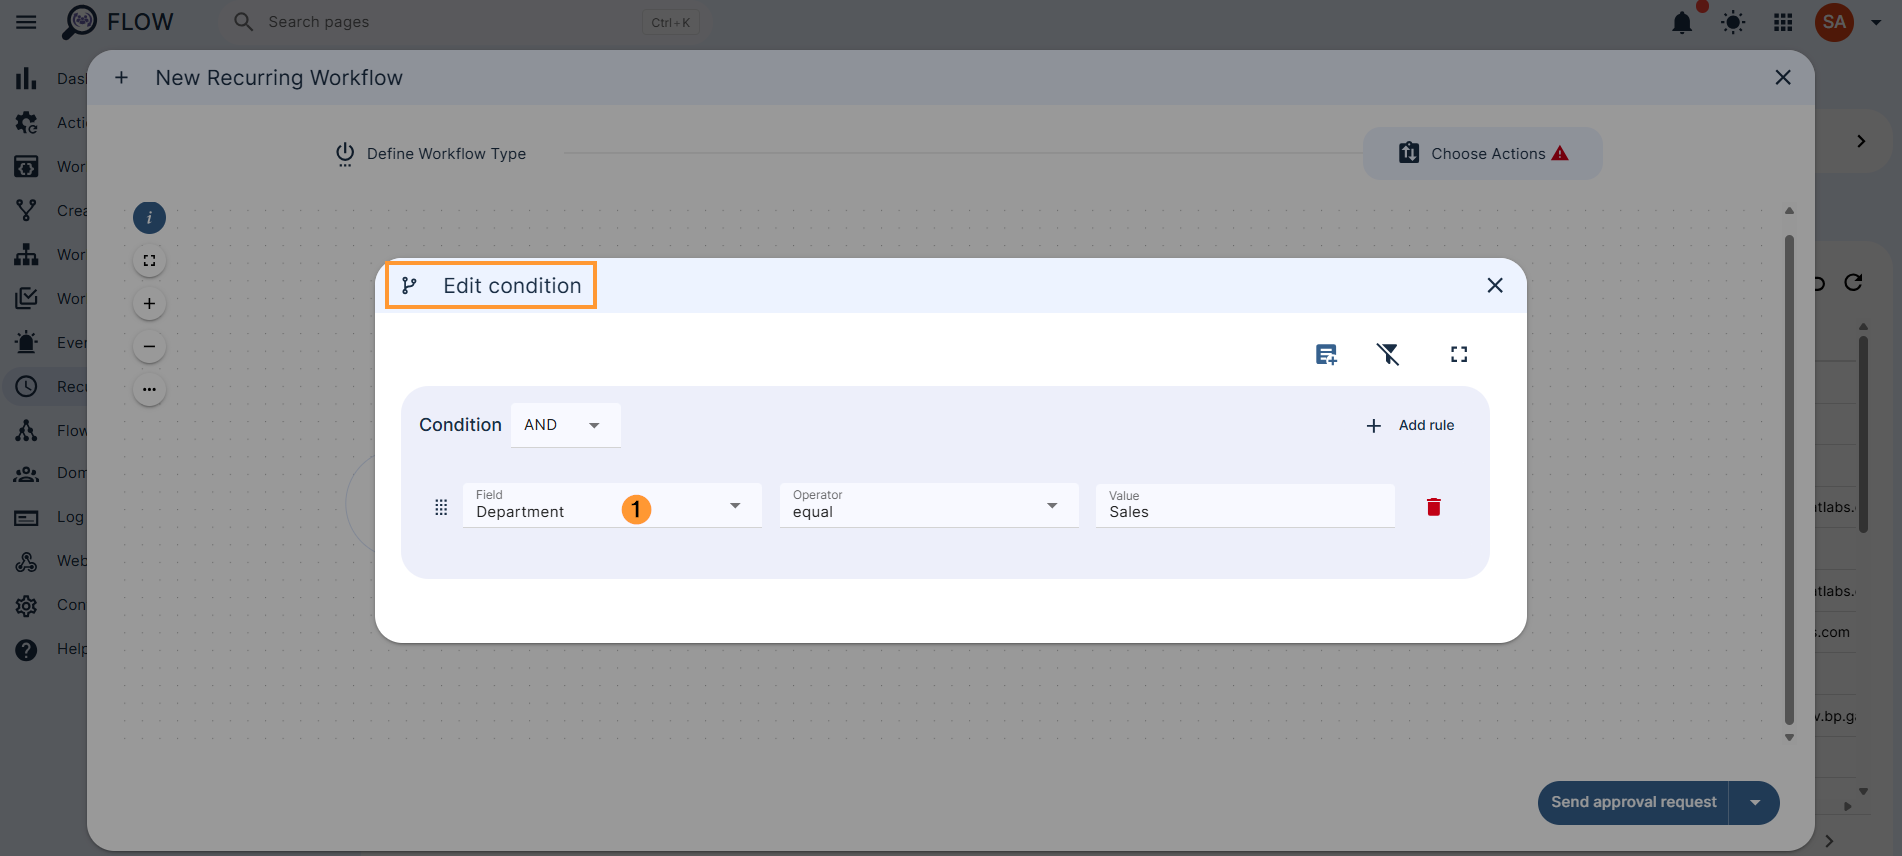
In there click on the + Add note button (1) and select Add condition (2)
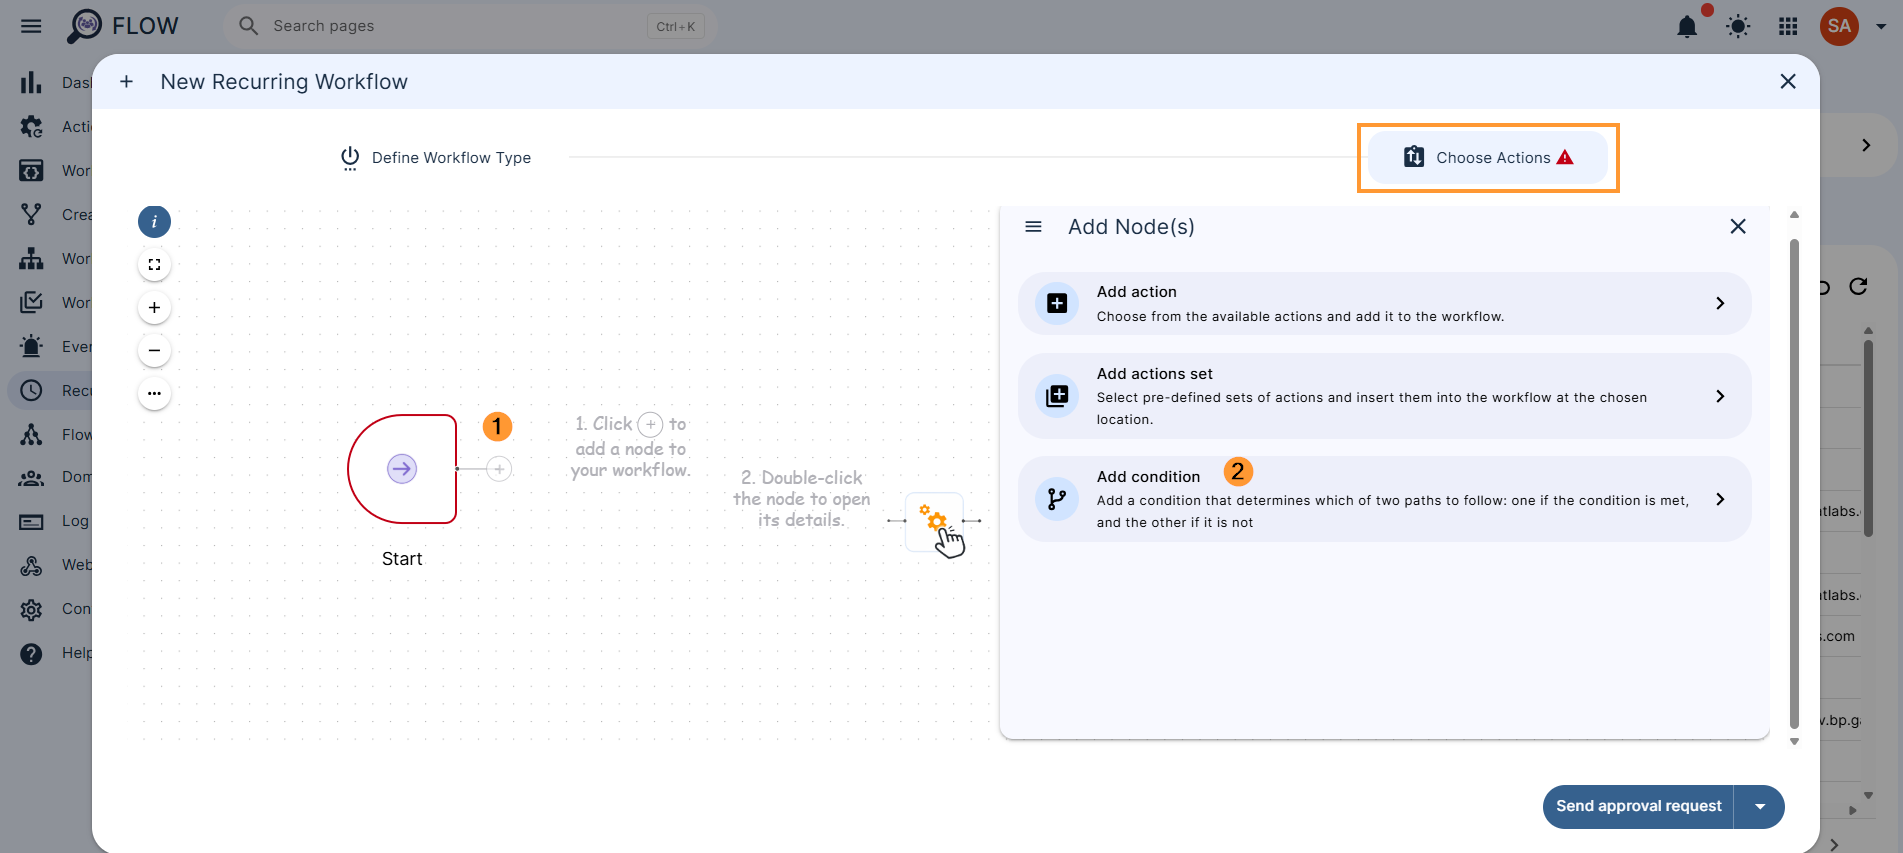
Here you can add a Department condition.
Double click on the condition and fill in the info.
Add action in case the condition is true. For this example, we are adding the action Change organization unit to the /Sales OU.
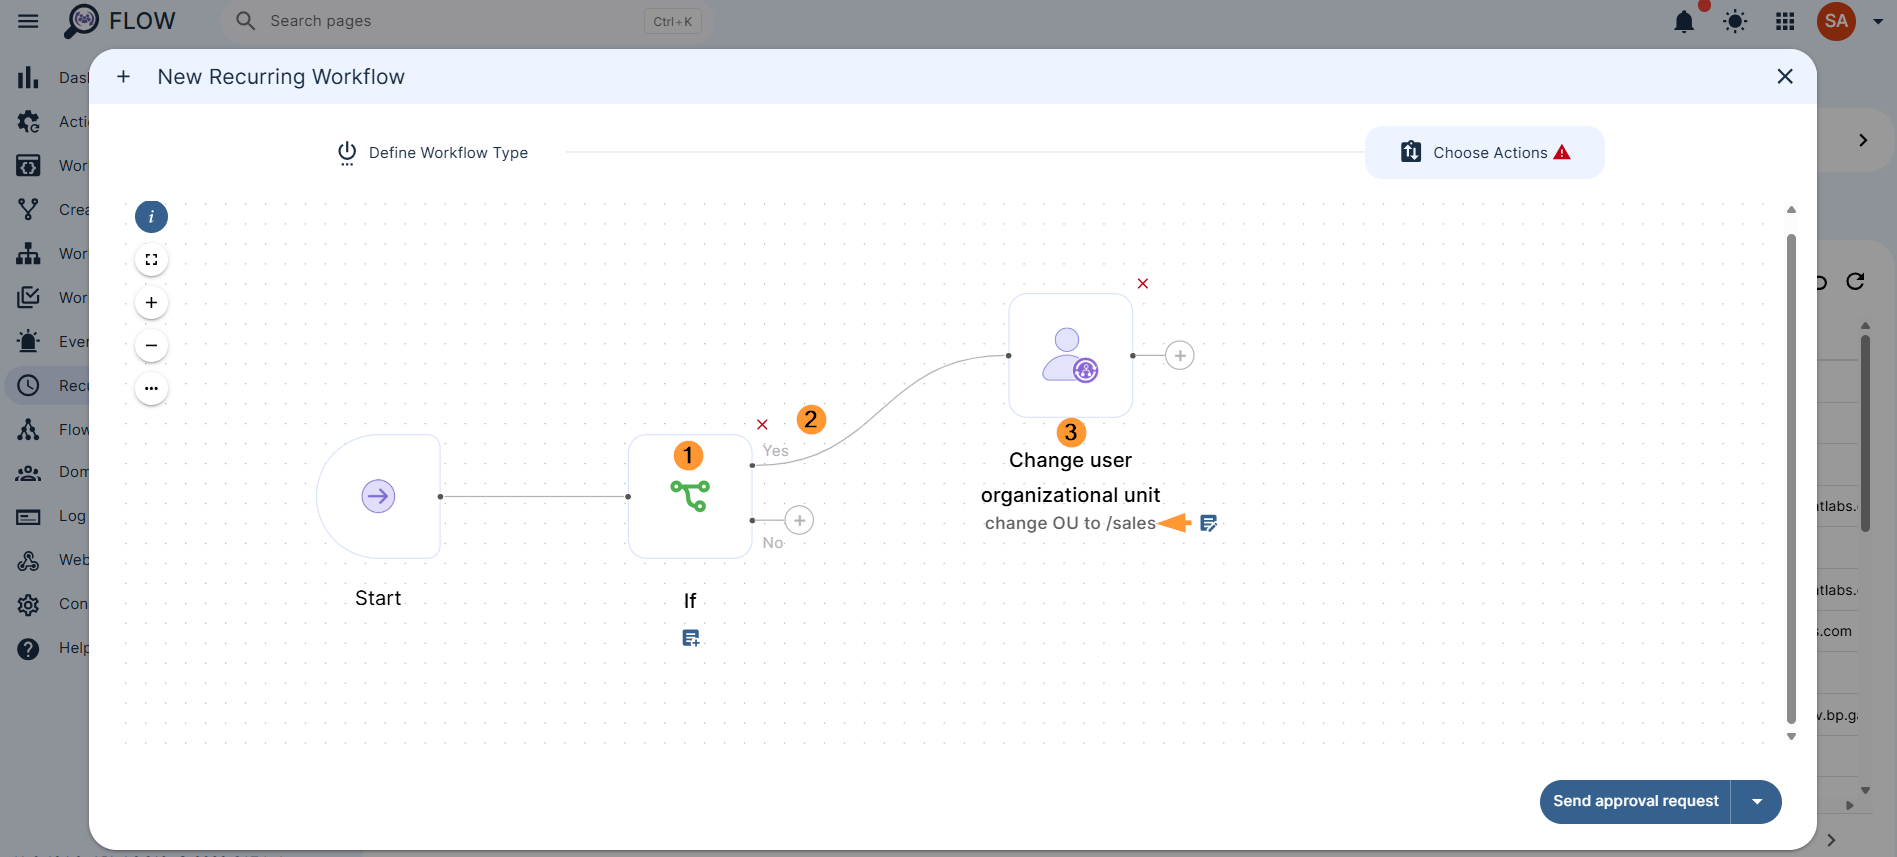
You can add additional conditions, so to match if Department = Sales, add to Sales org. Unit.
If department = Marketing, add to Marketing org. unit etc.

When all the conditions you want are filled in, click on Send approval request.
Note: As recurring workflow, initially the workflow must be approved, if pre-approval is enabled, every time the workflow needs to run, no approval will be required.
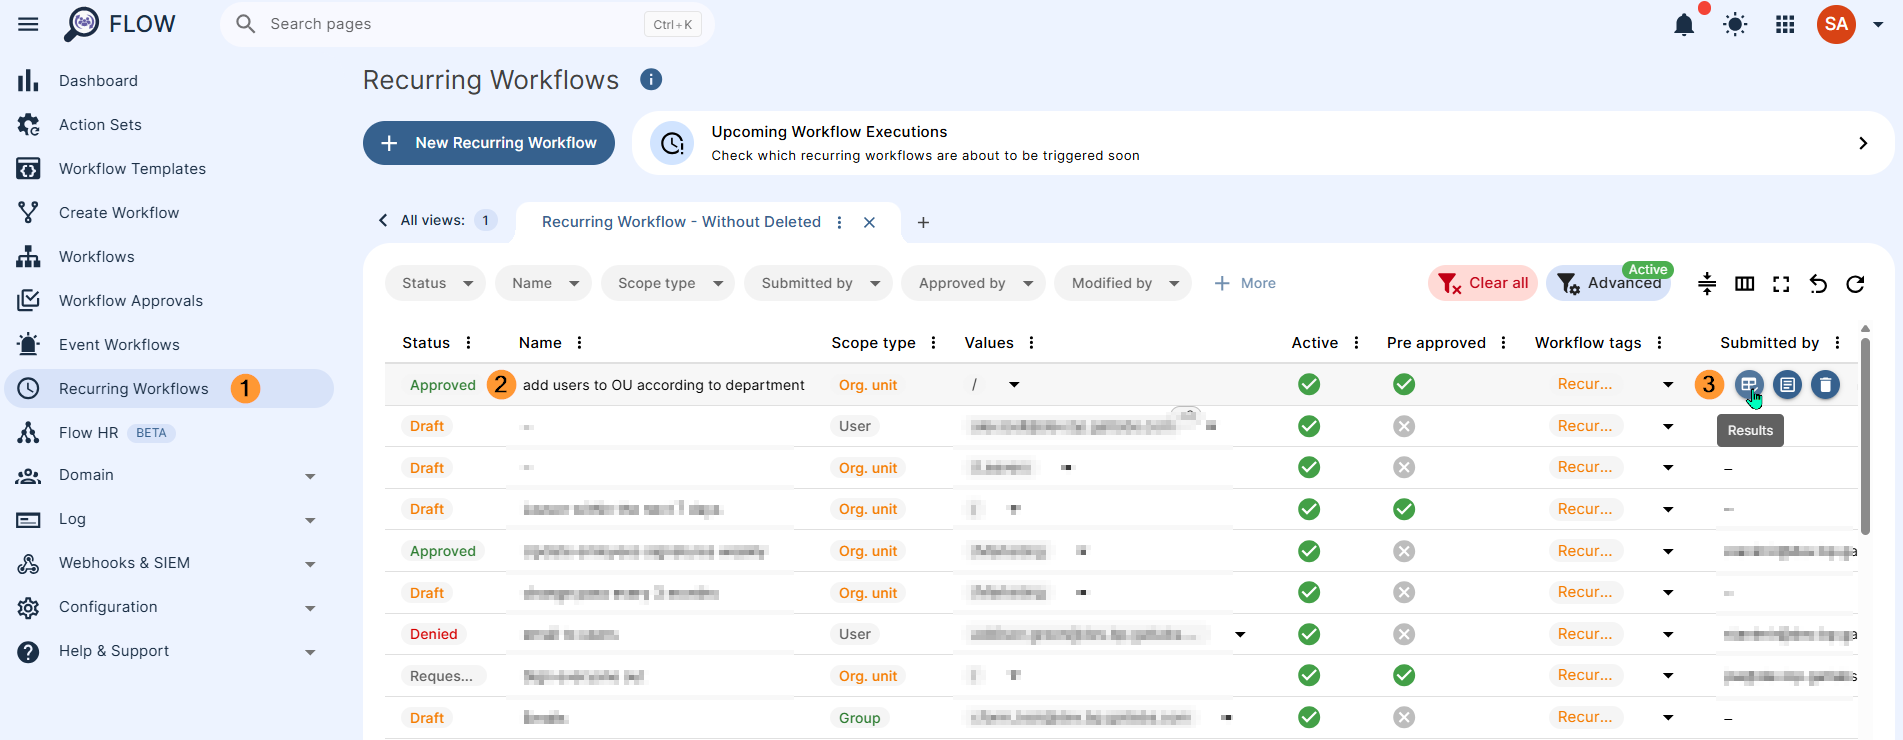
Results #
Once the workflow is approved, it will execute at the set time. To check the actions executed, view the results in the Recurring workflow.