

Update the user’s custom attributes with GAT Flow #
More details are available here: Manage Custom Attributes.
Step 1. #
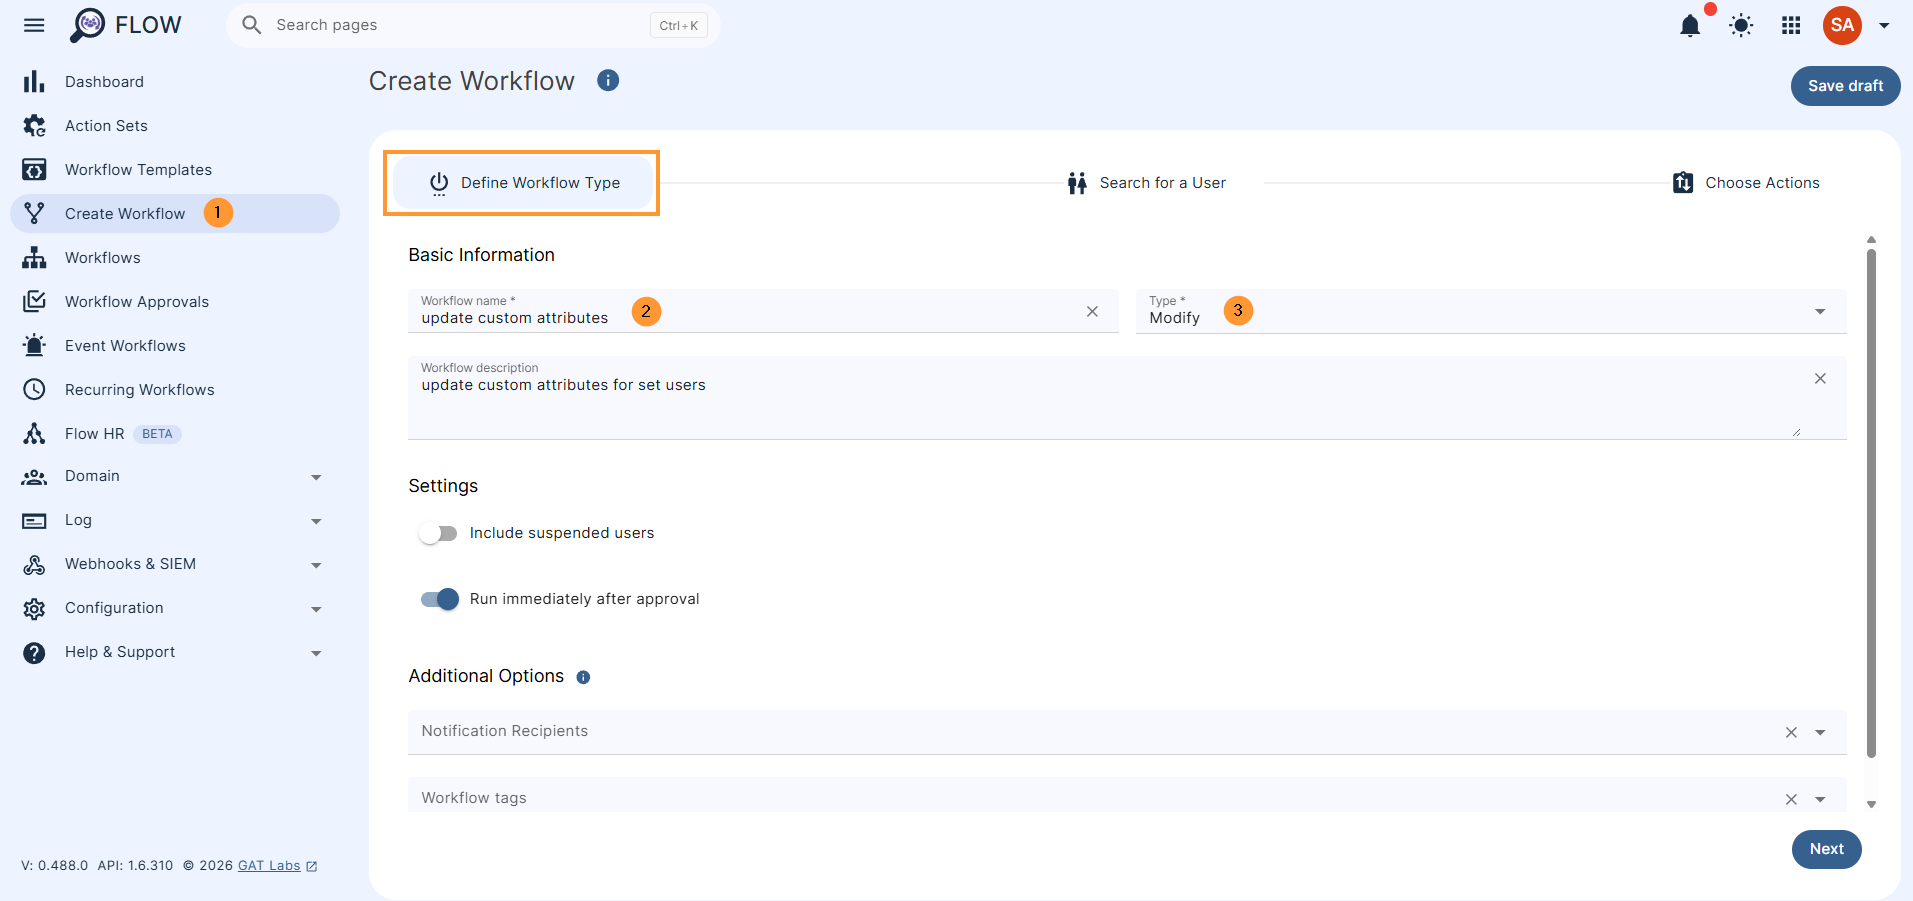
First, to set the user custom attribute, navigate to GAT Flow -> Create workflow
- Name – enter workflow name
- Type – select workflow type (Modify)
- Click next to proceed
Step 2. #
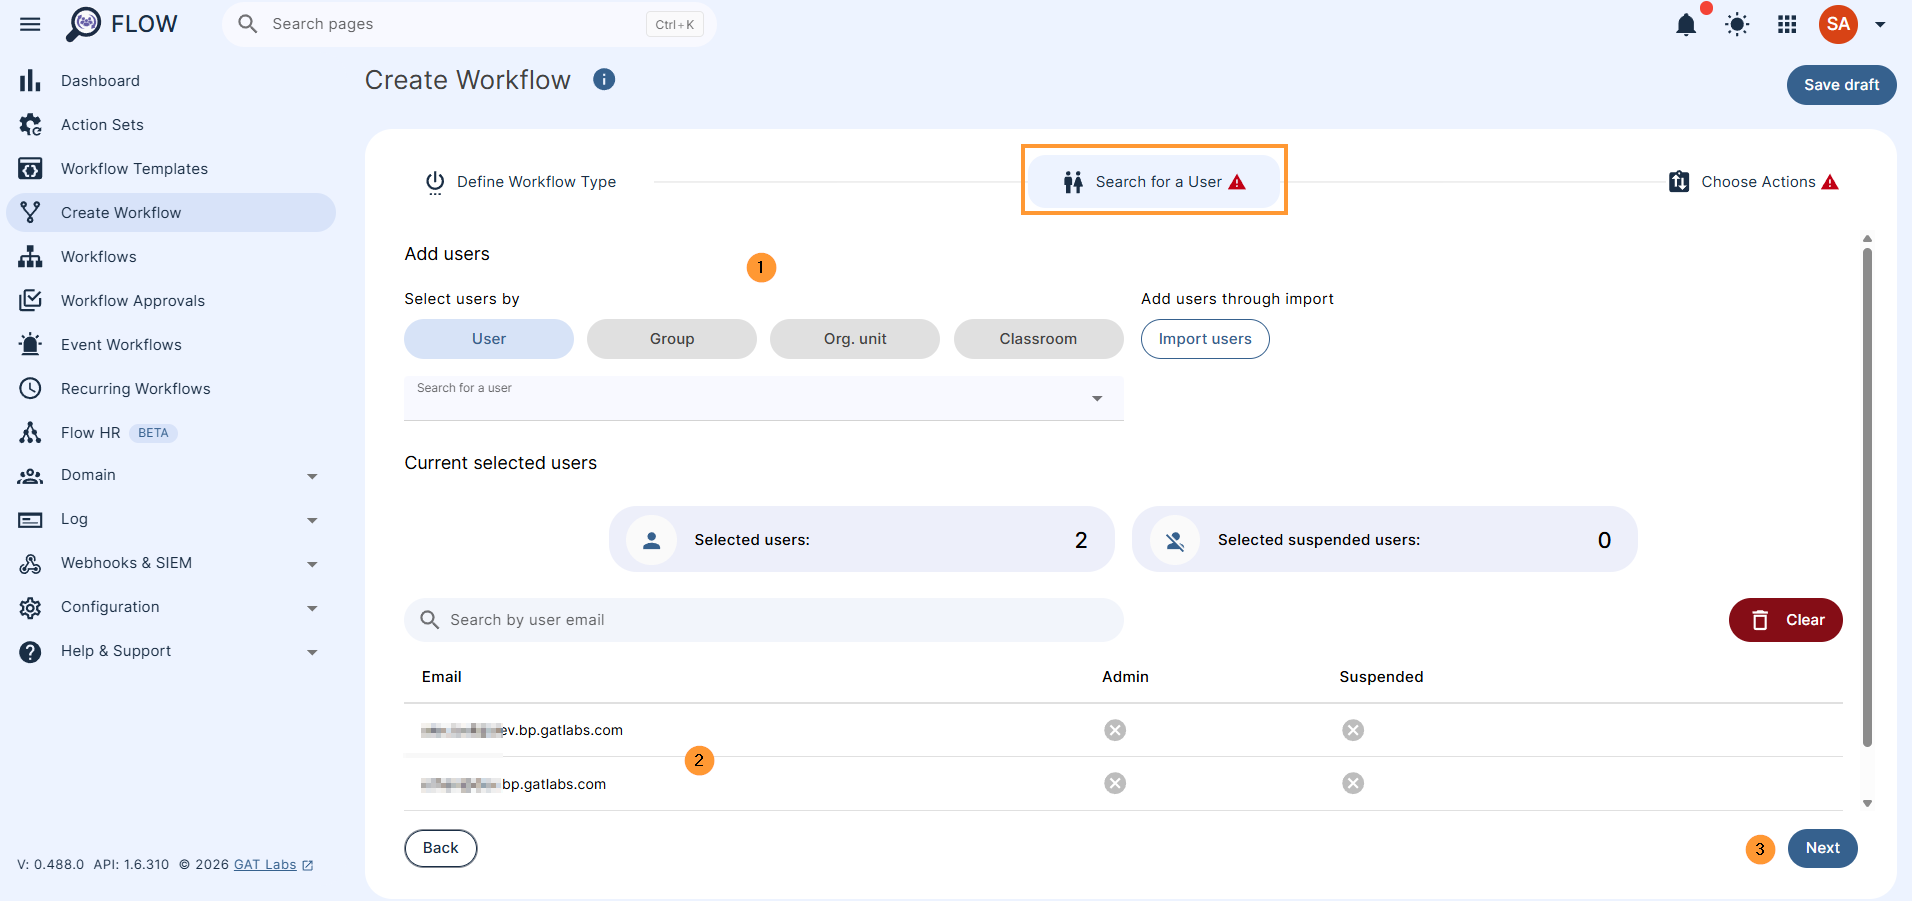
Search for a user(s) or group of users, or the whole OU (1) if the specific ‘custom attribute’ needs to be applied globally.
After selecting single or multiple users for this workflow (2), click on Next (3) to move to the next step.
Step 3. #
In Choose actions, click on the + button to Add action (2)
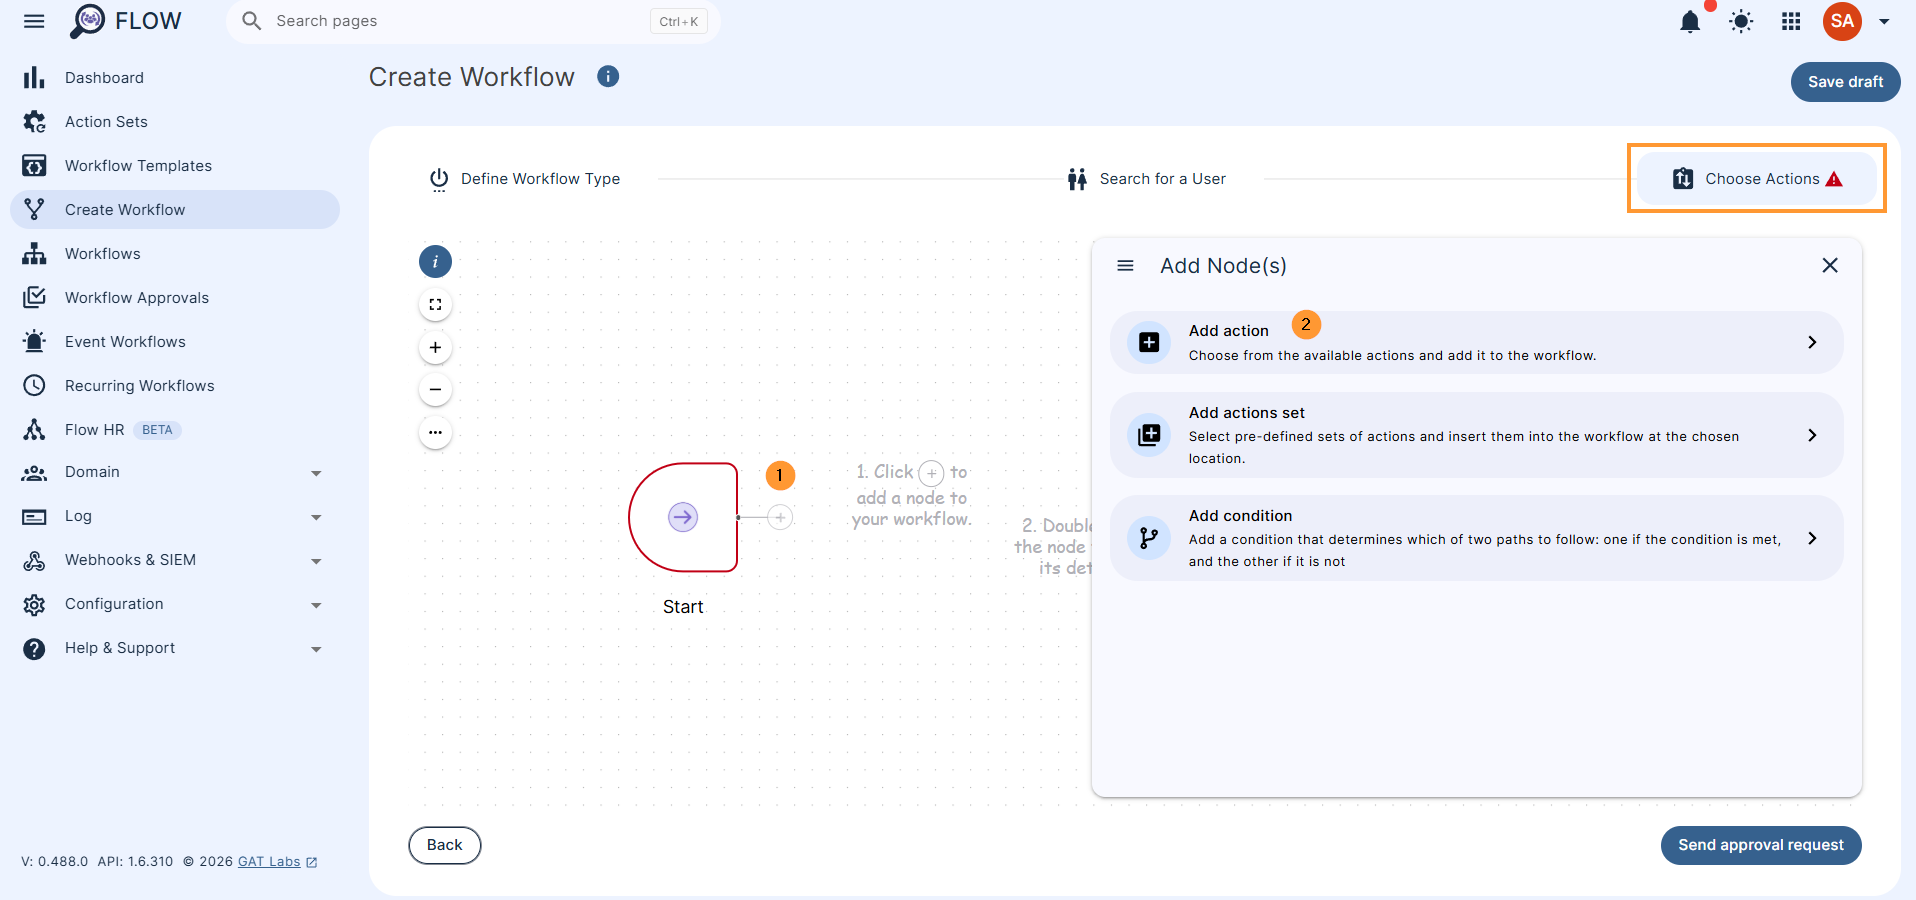
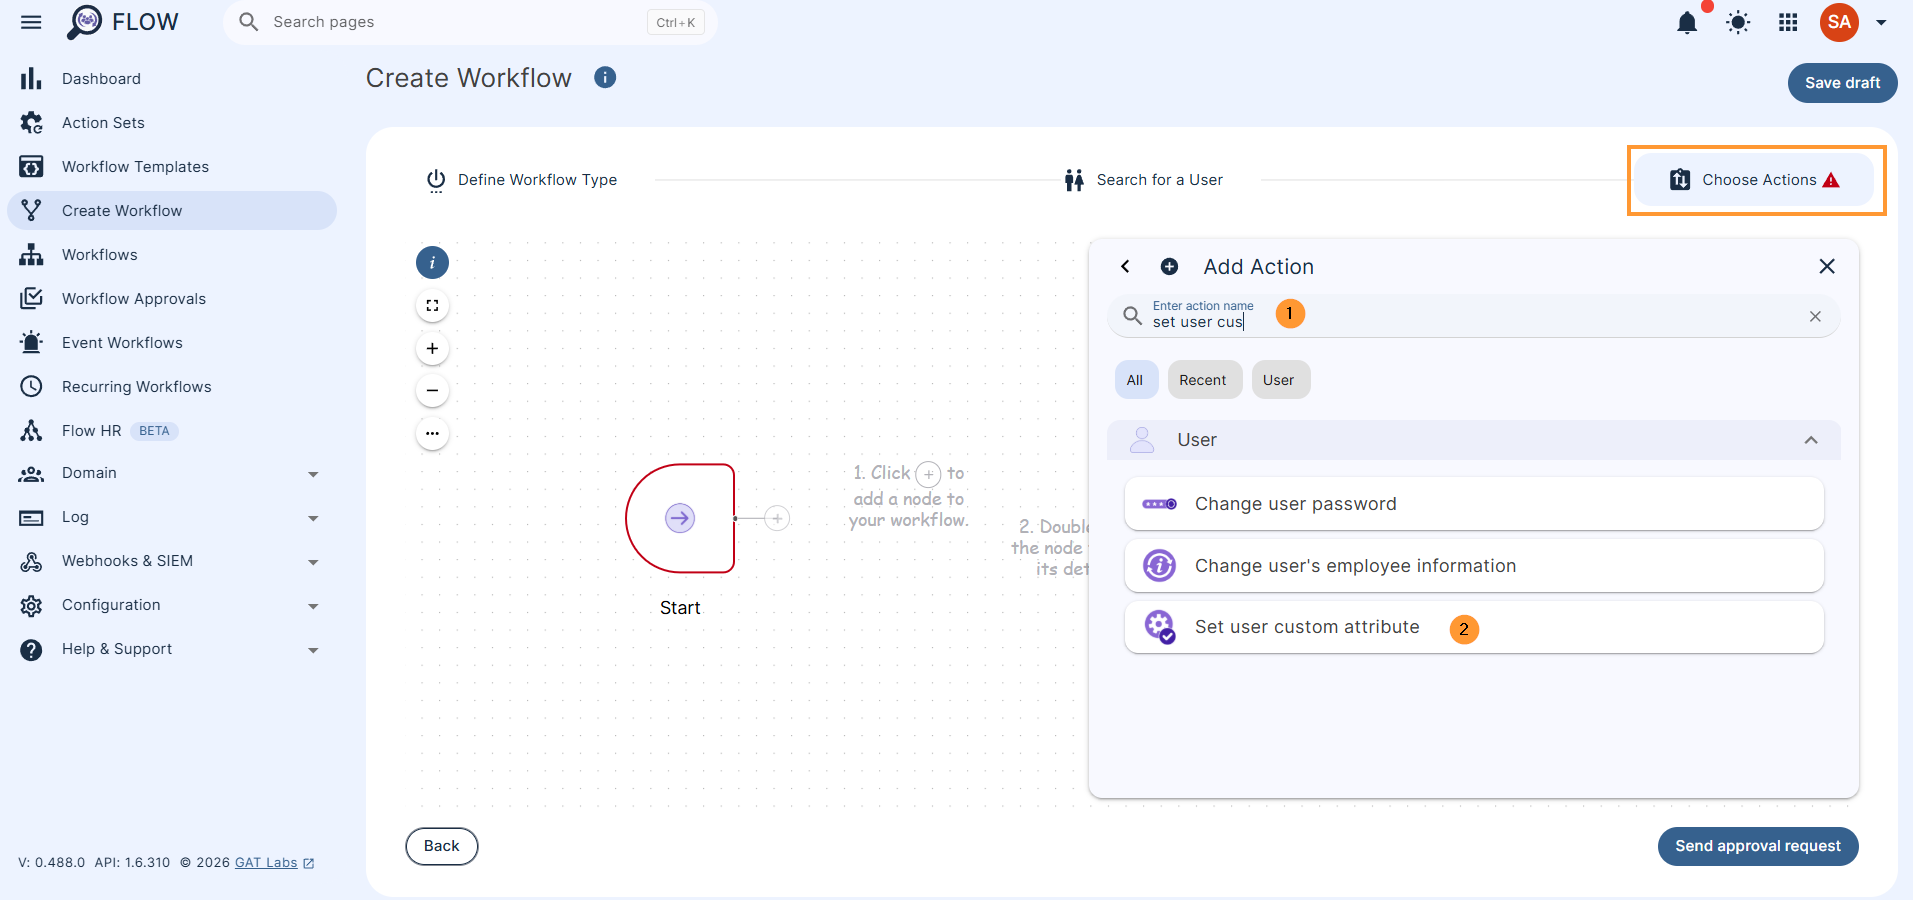
Search for the action Set user custom attribute
Double-click to open it and fill in its details.
Sets the user’s custom attribute value. Text fields can be auto-populated. You can also click on a variable to copy it to the clipboard.
Update the selected attribute accordingly (1-2). When ready, click on Send approval request (3).
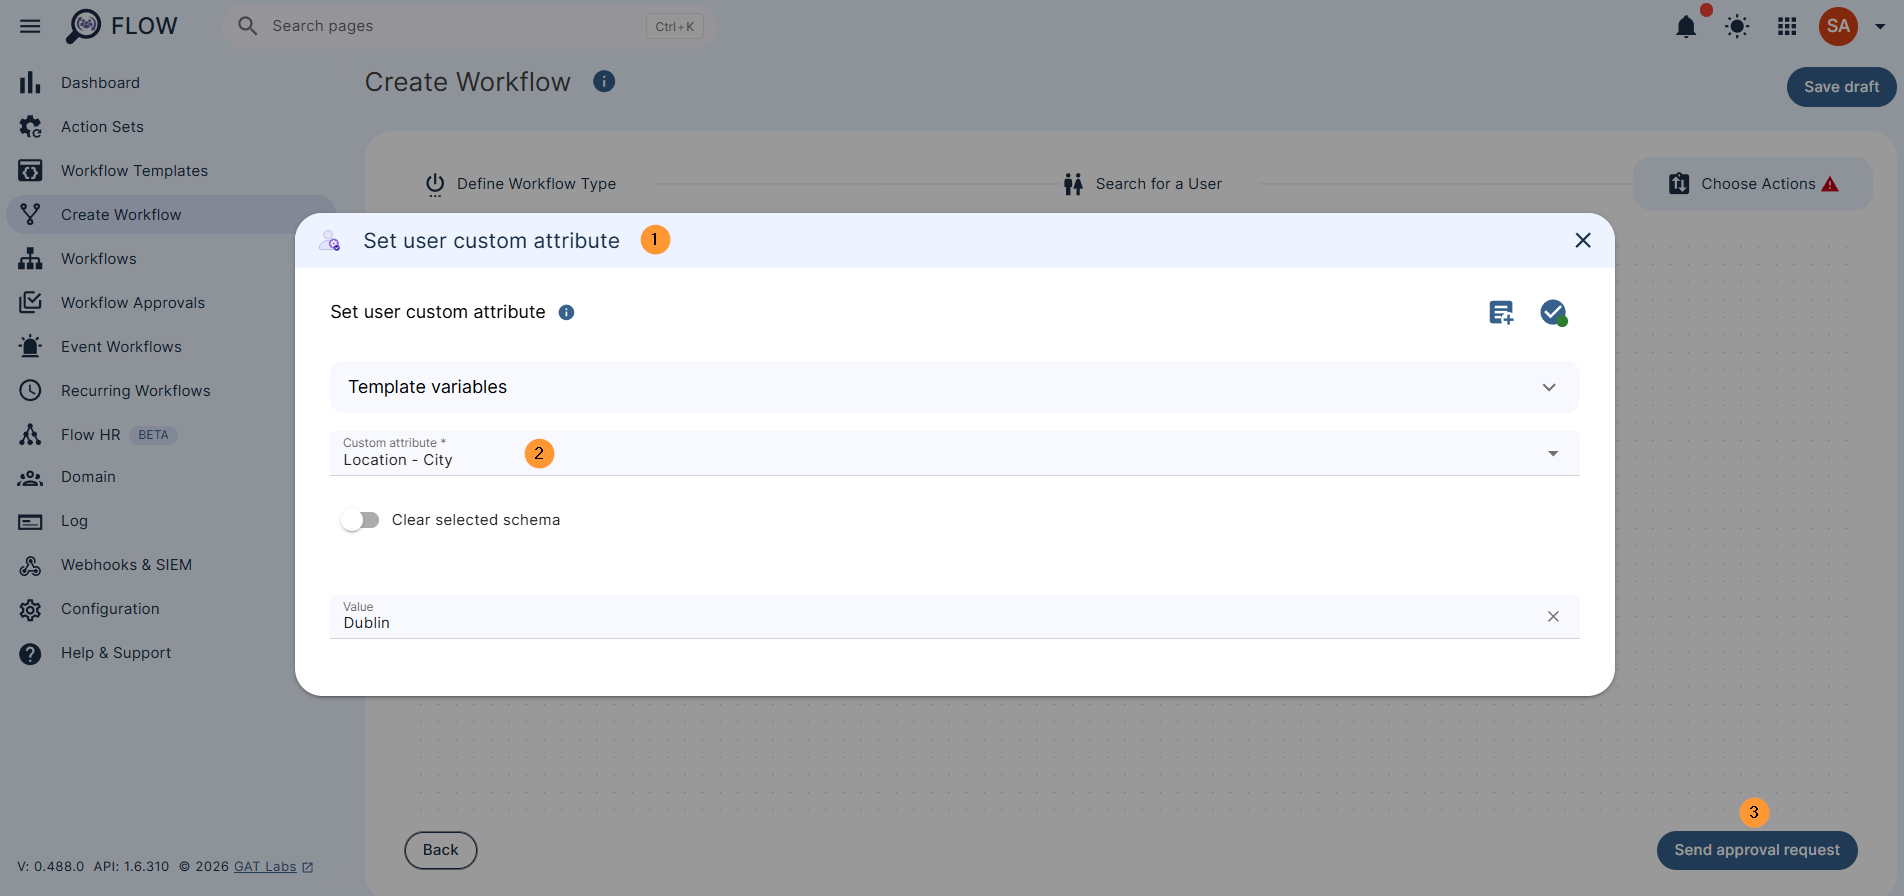
Some custom attributes might have multiple values added by using the ‘Add new value‘ button. The existing multiple values can also be cleared out at once by clicking on the ‘Clear selected schema‘ button.
Step 4. #
The request goes to the Security Officer for approval. When approved, the ‘custom attribute’ is updated accordingly under the user’s account selected for this workflow.
You can review the workflow status under the Workflow module:
Result #
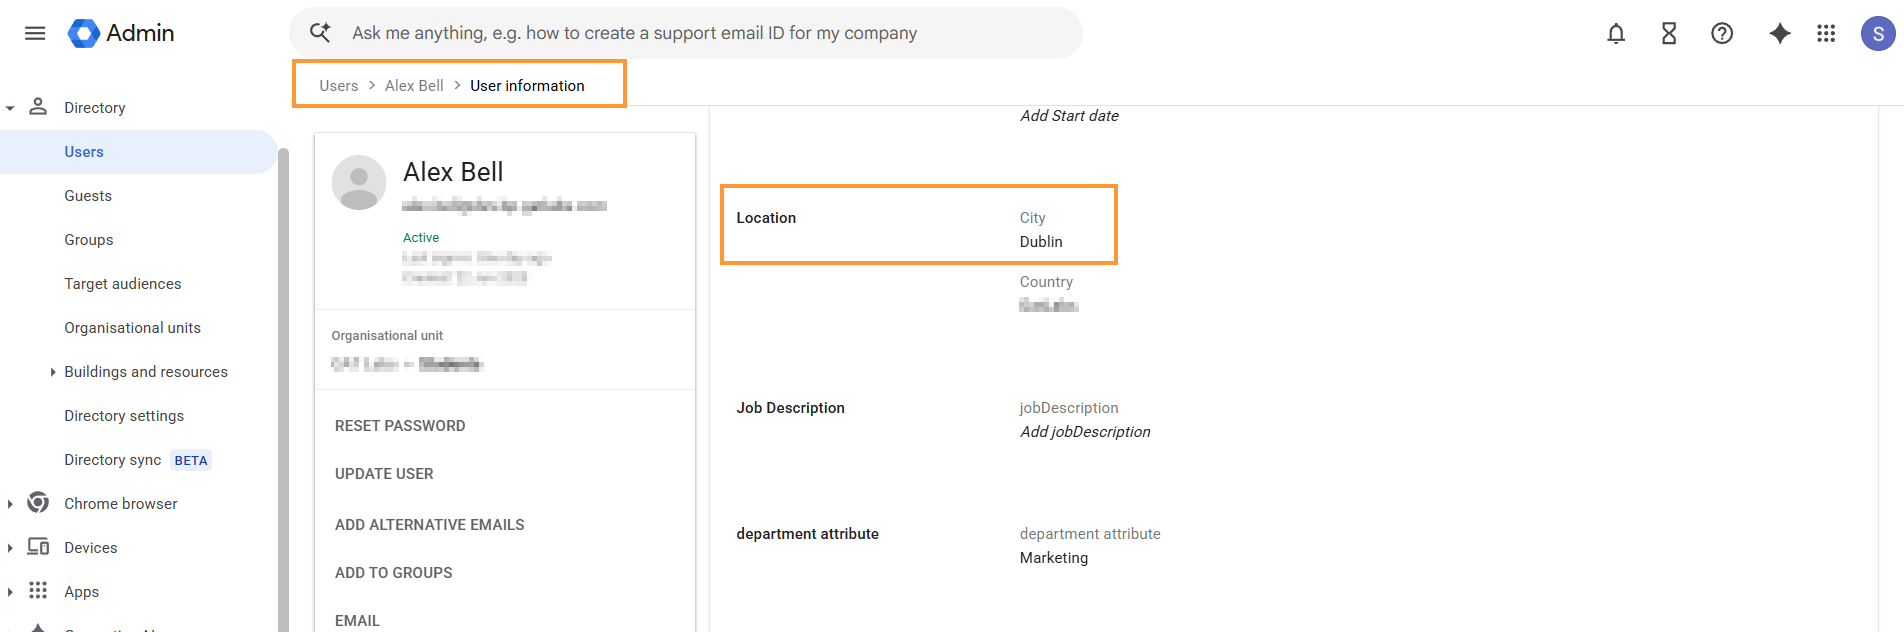
Once approved and done, the job is triggered, and the submitted ‘custom attribute’ is updated under the user’s account in question.
A Google Admin can view the updates in the Admin console under the User information section:
He can also view it in GAT Flow under the Users module, from where he can also edit the details.
To get there, the Admin needs to navigate to GAT Flow > Domain > Users >, search for the user in question, hover over, and on the right side, click on the Pen icon to Update
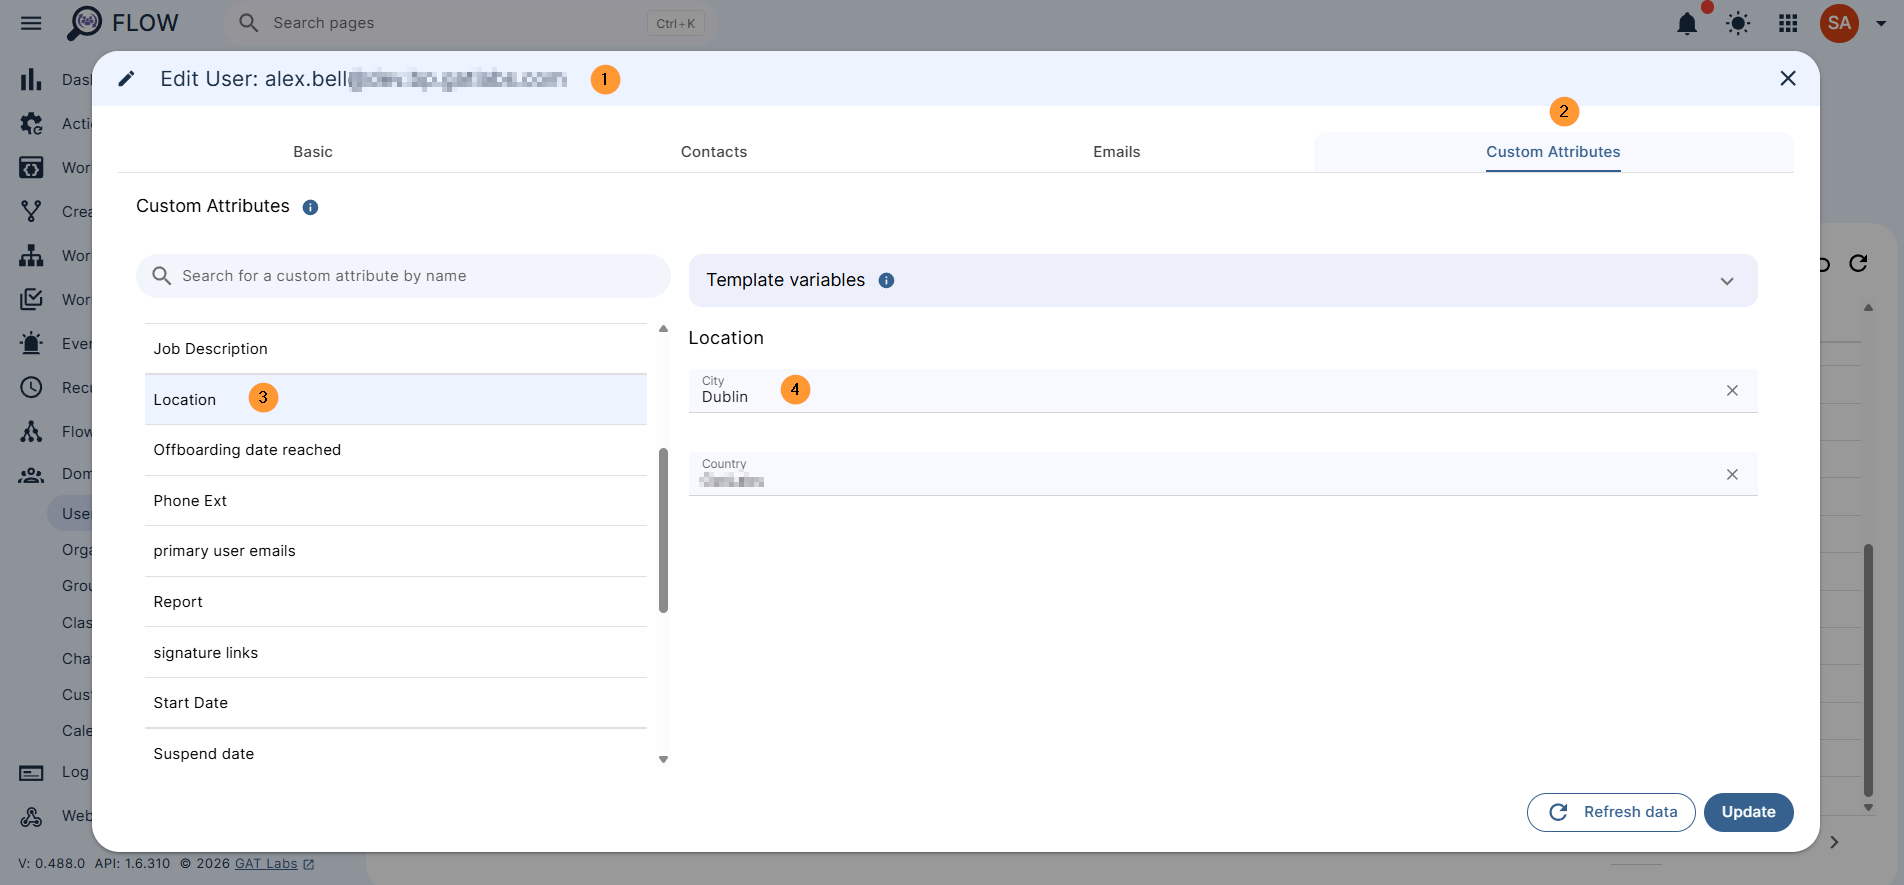
NOTE: The Users module is only accessible by the Admin. Only the Administrator can make direct changes under the Users section in Flow.


