

Filter by IP Mapping #
IP Mapping is the action of assigning a custom name to an IP Address.
This is a filter that can be created by assigning a custom name (text) to an IP address.
- Device private. IP v4 mapping
- Device public. IP v4 mapping
It can be used to filter IP address data by searching for the custom name instead of the IP address itself.
Create IP Mapping #
Navigate to Shield > Configuration > IP Addresses > Mapping
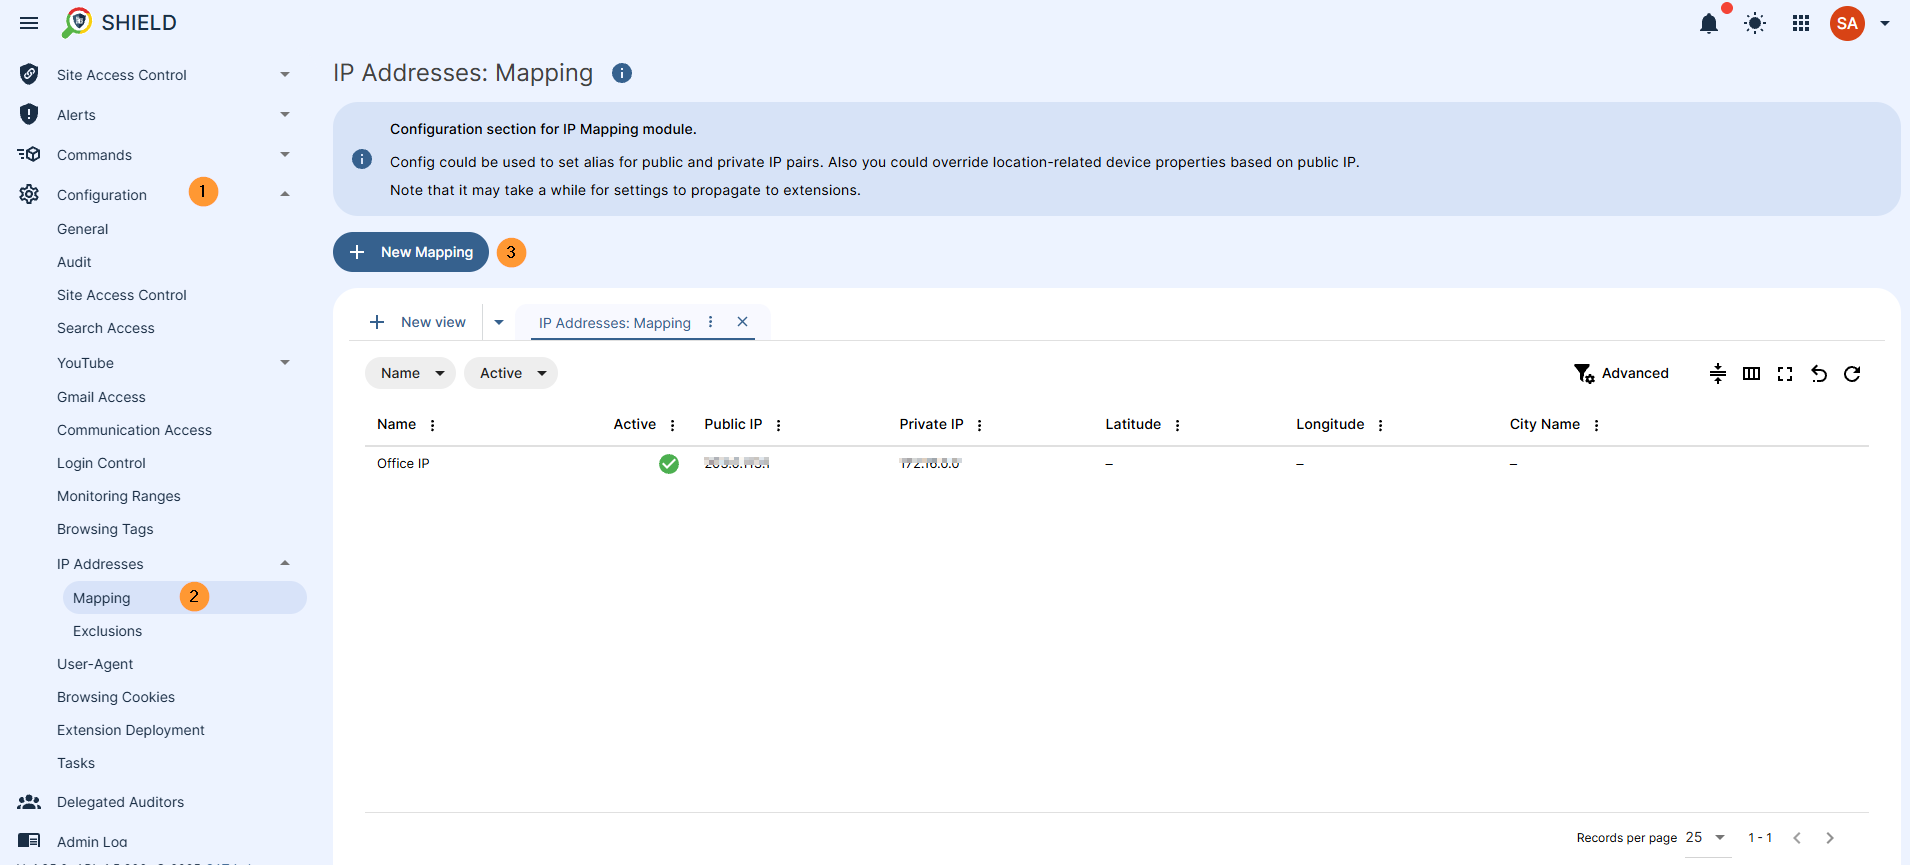
This will allow you to set up IP Mapping.
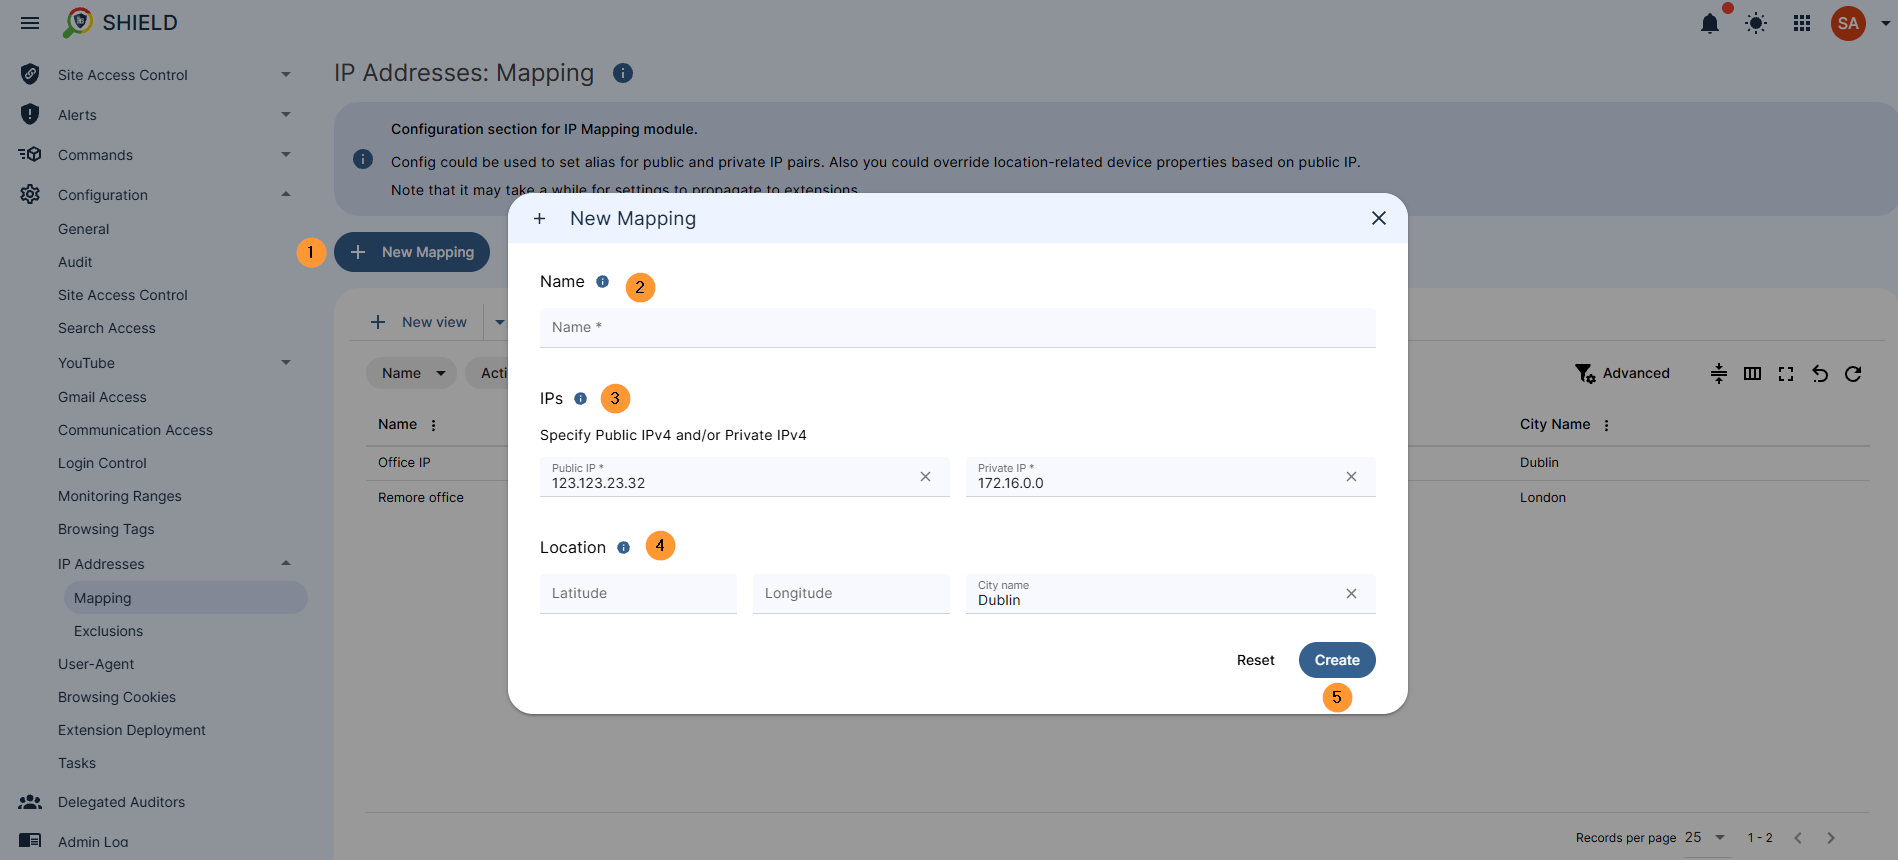
Click on + New mapping, and a pop-up menu will be displayed. Fill in the details.
- IPs –Define public and/or private IPv4. Entered addresses will be used to modify device data presented in the Geo Reporting section.CIDR notation is optional.
-
Public and Private IP addresses – Specify Public IPv4 and/or Private IPv4
- Location – If public and private IPs match with device IPs, then location details will be overridden.
- Coordinates latitude – set default latitude
- Coordinates longitude – set default longitude
- City name – set default City name
Result #
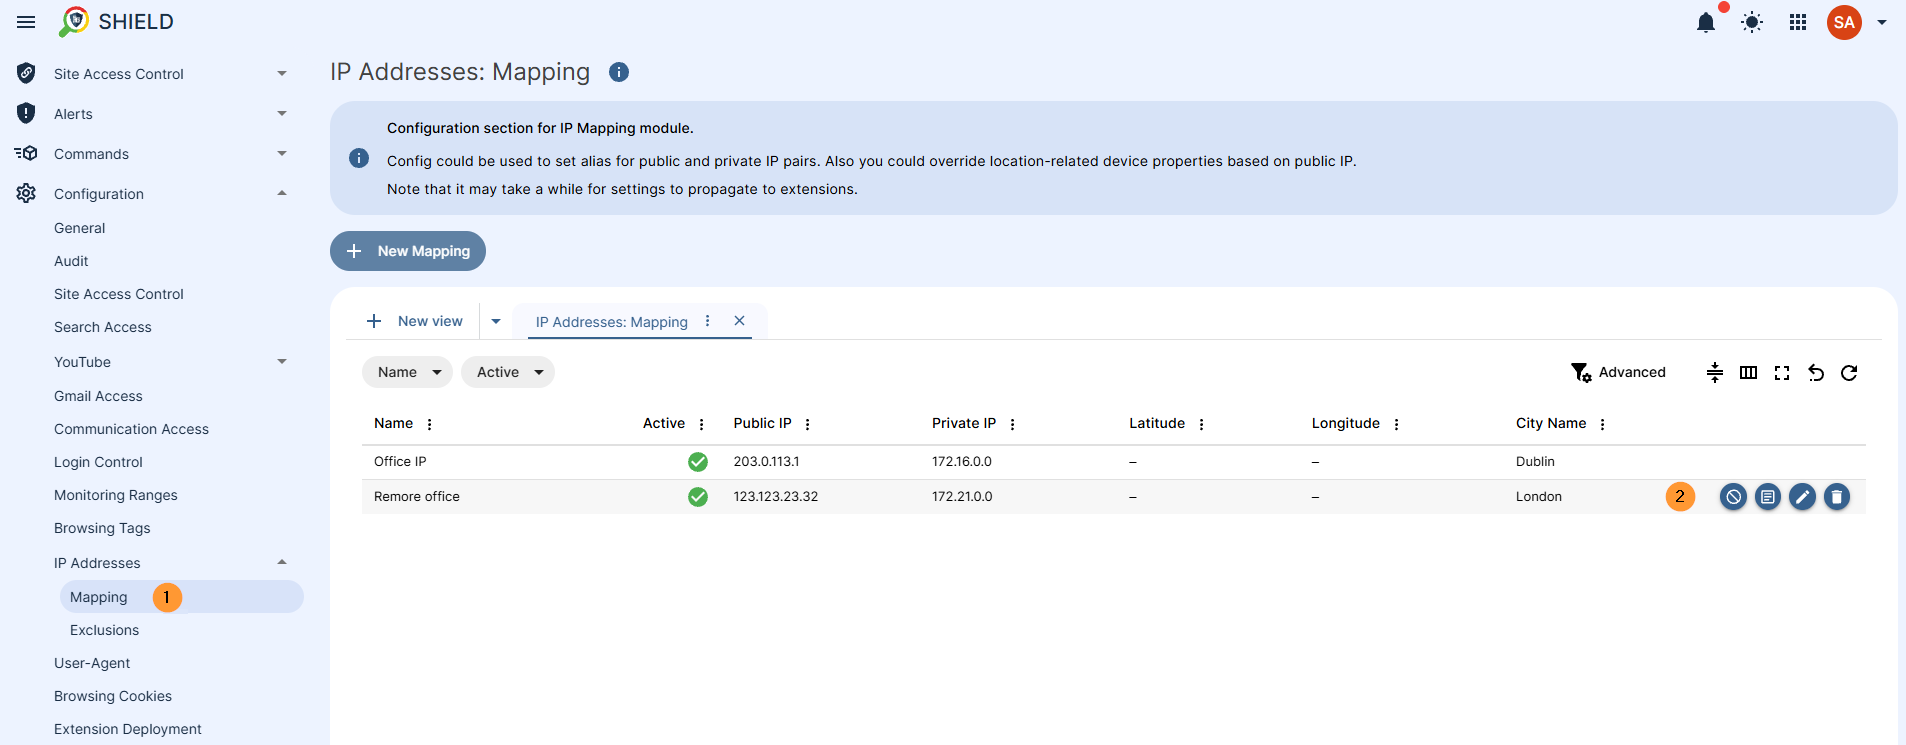
When clicking on Save, the IP Mapping will be saved to the list.
Under the Action tab, the IP Mapping can be edited (pen icon) or deleted (x icon).
Filter by IP Mapping #
In the Shield console, you can run a search by the IP Mapping filters that we just created.
For example:
Search for the browsing filtered by the Mapped IP.
- Device private. IP v4 mapping
- Device public. IP v4 mapping
On the top right corner you can filter by time frame.
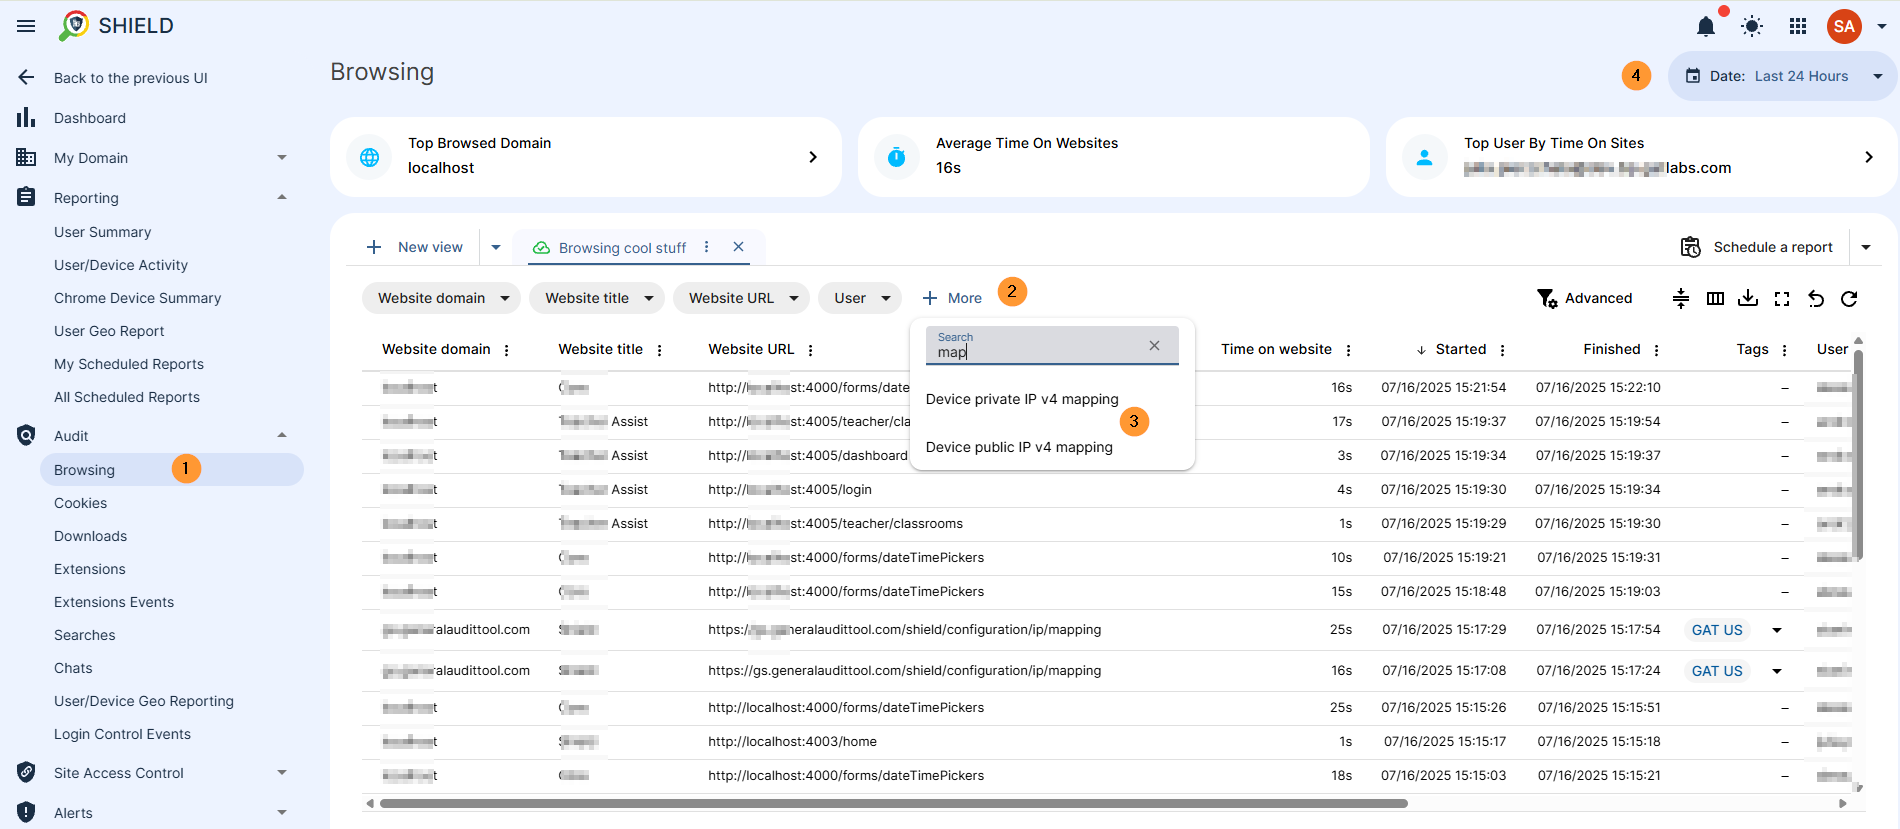
The filters above are available in every section under Audit in the Shield console.
Those filters can be used to filter IP addresses.
Instead of manually entering the IP address, the IP-mapped custom name can be used.


