

Create and Manage New Google Classrooms in GAT Flow #
GAT Flow simplifies many processes for Google Workspace for Education Admins. The Classroom tab within the tool also helps create, modify, and delete Google classrooms in a simple and efficient way.
An Admin can add, edit, or delete Classroom, Teachers, and Students.
When the classroom is created, and the Students are assigned, the Guardians can also be assigned to each student.
For more info on how to manage students’ guardians, see this post here: Create, Modify, Delete or Add Guardian to Classroom via GAT Flow
Creating a new classroom #
To add a new Classroom, navigate to GAT Flow > Domain > Classrooms > New Classroom
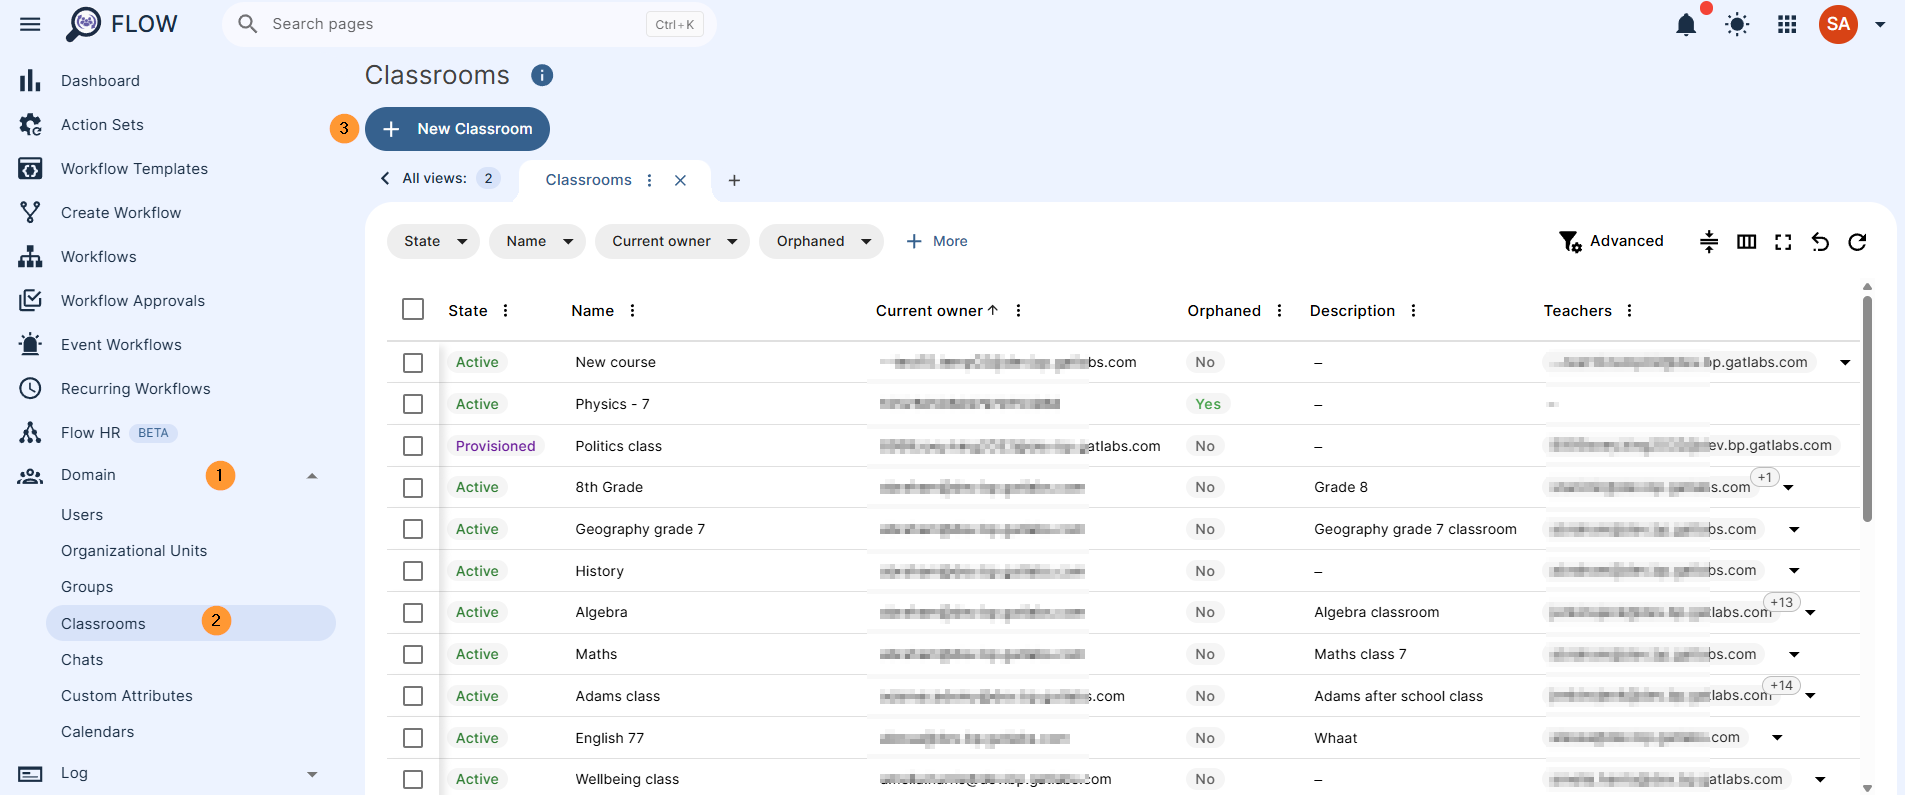
A new window will be displayed, where the classroom details must be filled in.
General info #
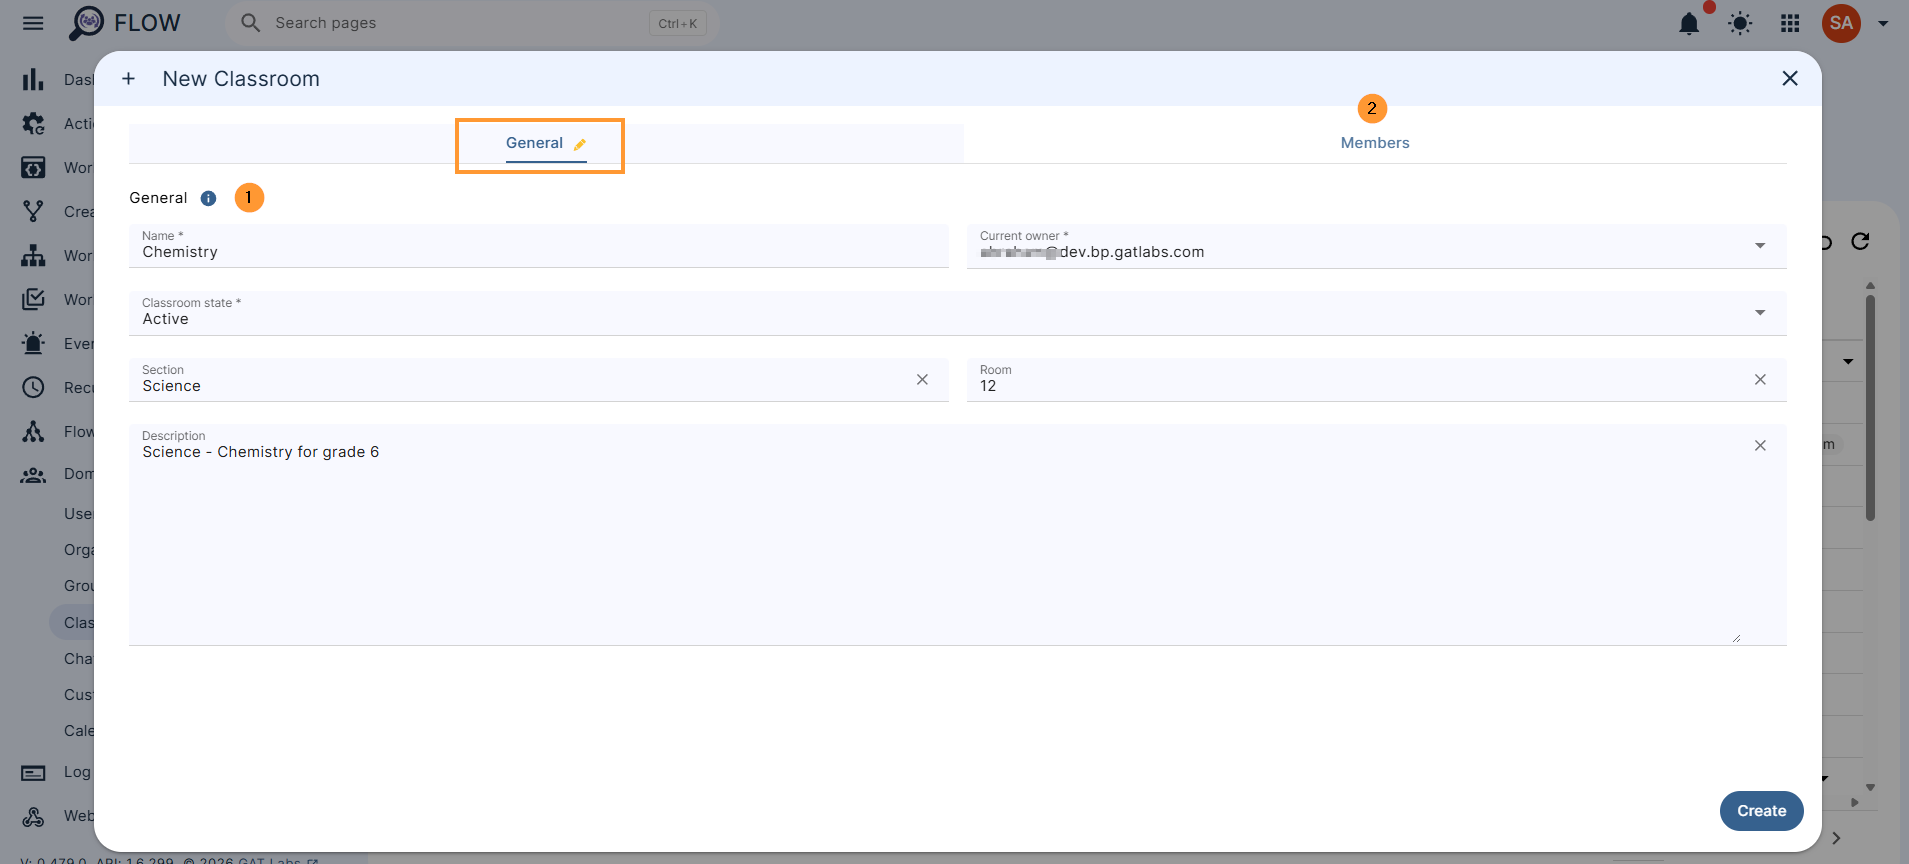
Fill in the compulsory info about the classroom in the General tab.
- Name – enter the classroom name
- Current owner – enter the owner of the classroom
- Classroom state – select the classroom state
- Unspecified
- Active
- Archived
- Provisioned
- Declined
- Suspended
- Section – enter the section
- Room – enter the classroom room
- Description – enter description for the classroom
Add members to the Classroom #
In the Members tab, add members to the classroom.
Add members manually #
Click on the Add member button and add the students and teachers to the classrooms.
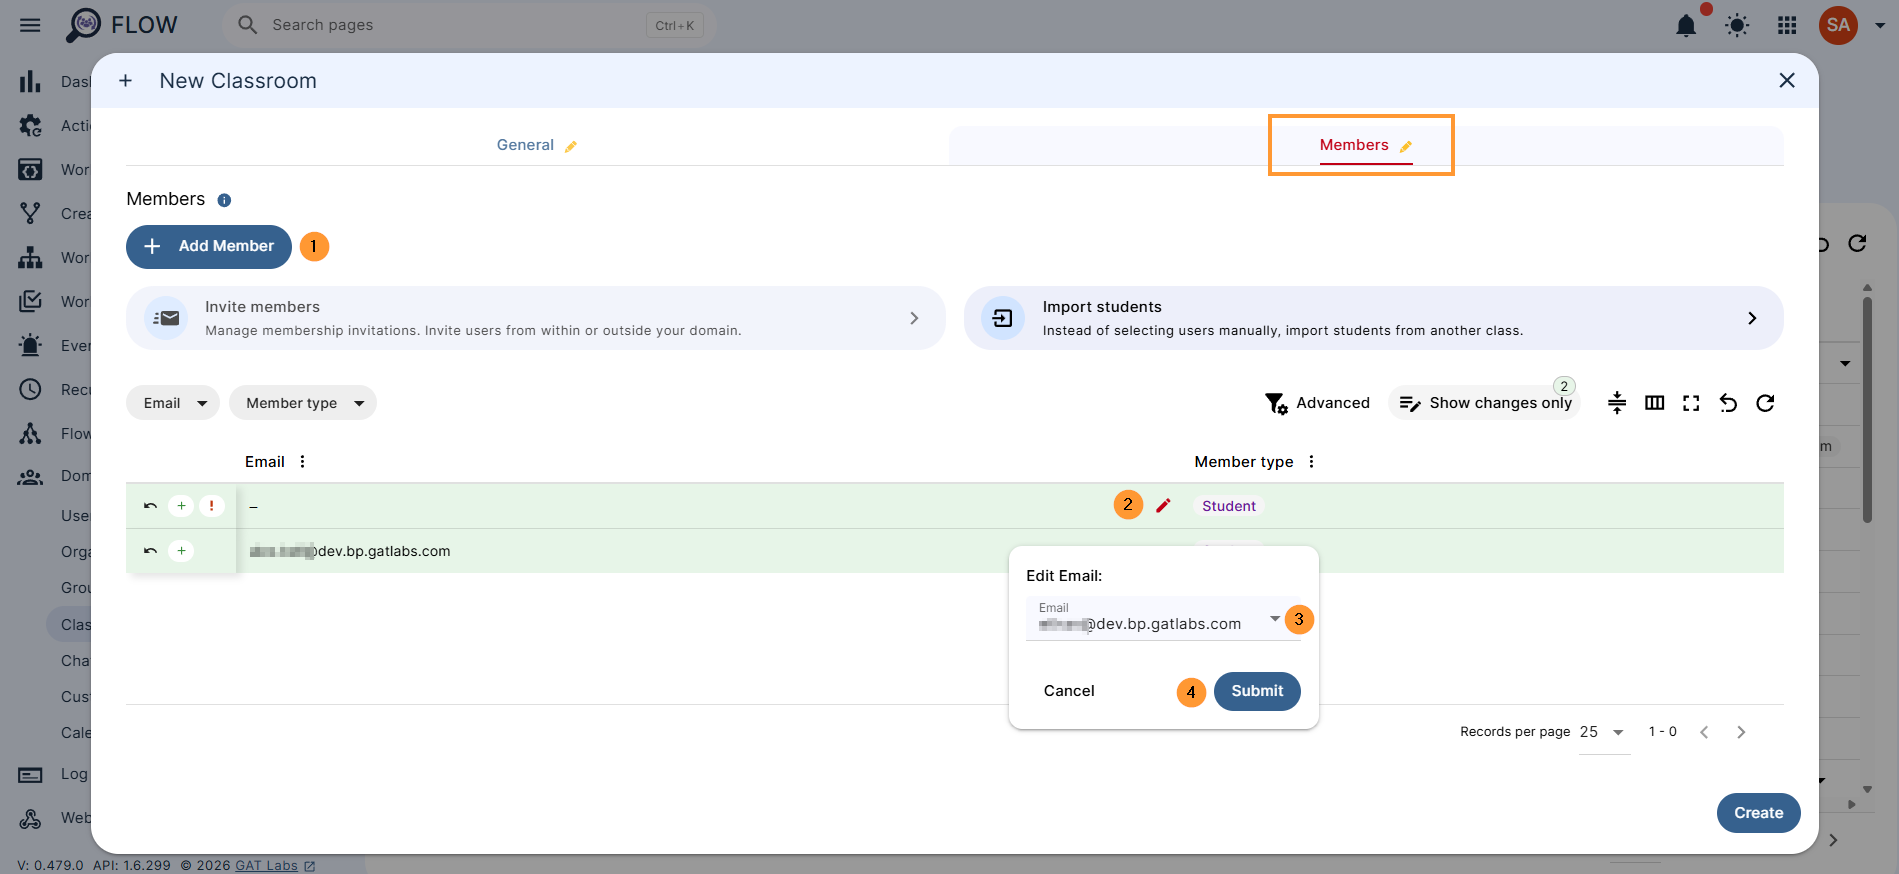
Click on the + Add member button, in the field below, click on the “red pen” icon, and add the email of the user and select the member type to be Teacher or Student.
Invite members #
Invite members – Invitations can be managed after creating the classroom.
Import students #
Import students – Instead of selecting users manually, import students from another class
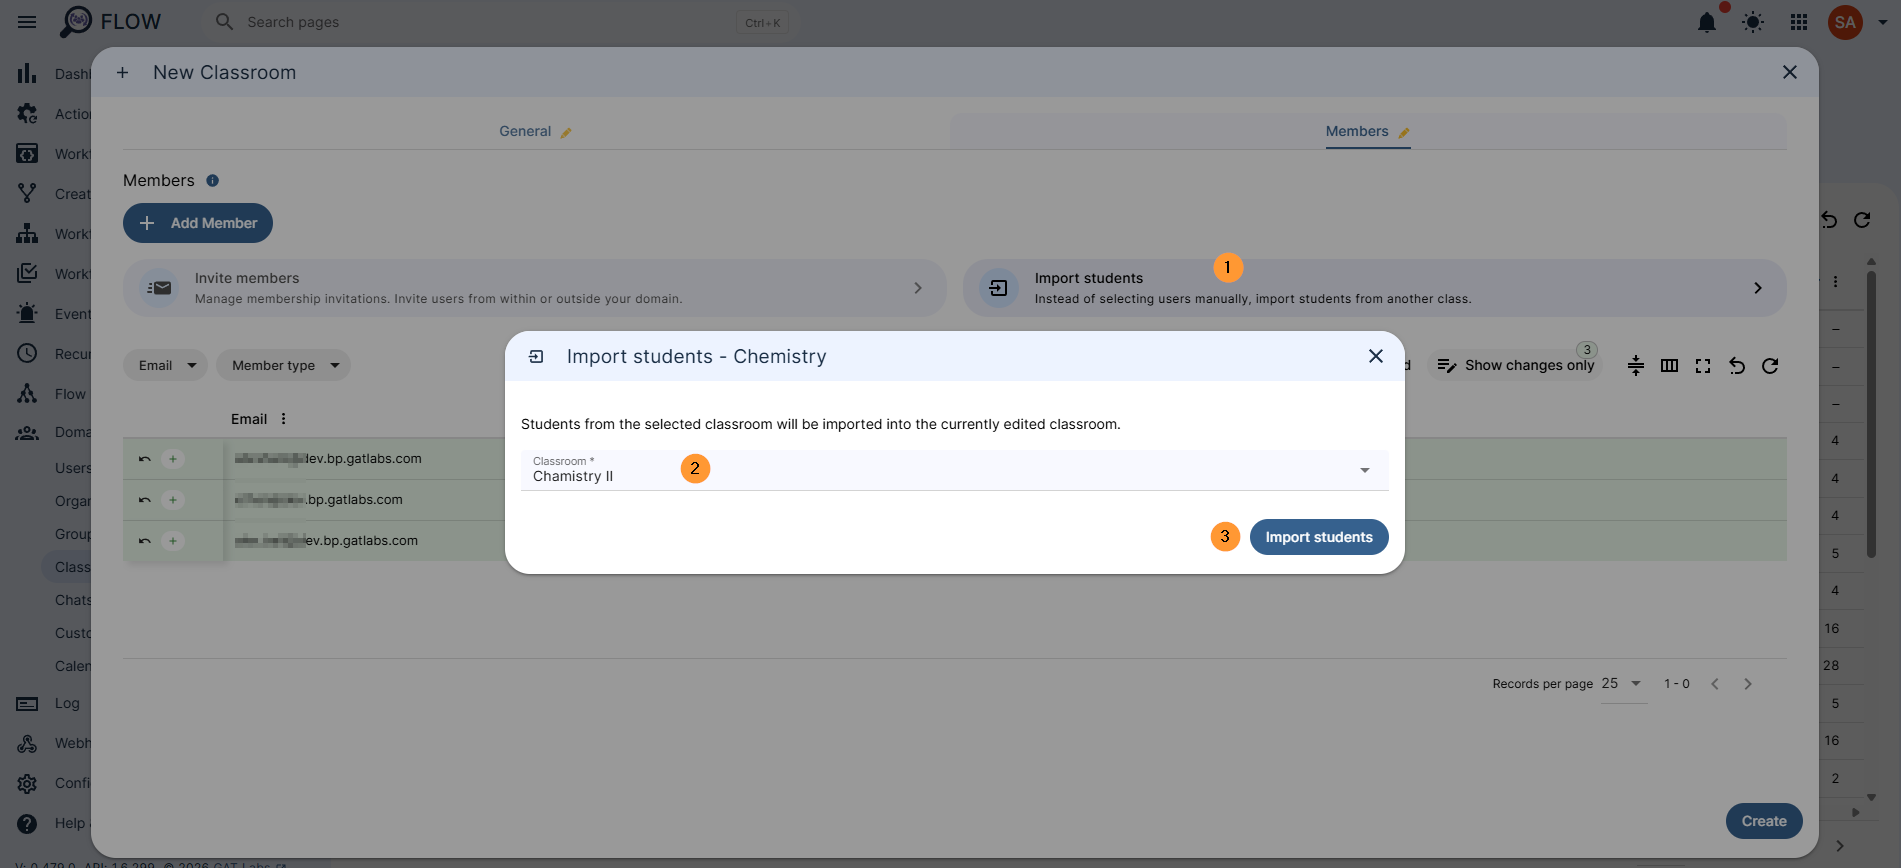
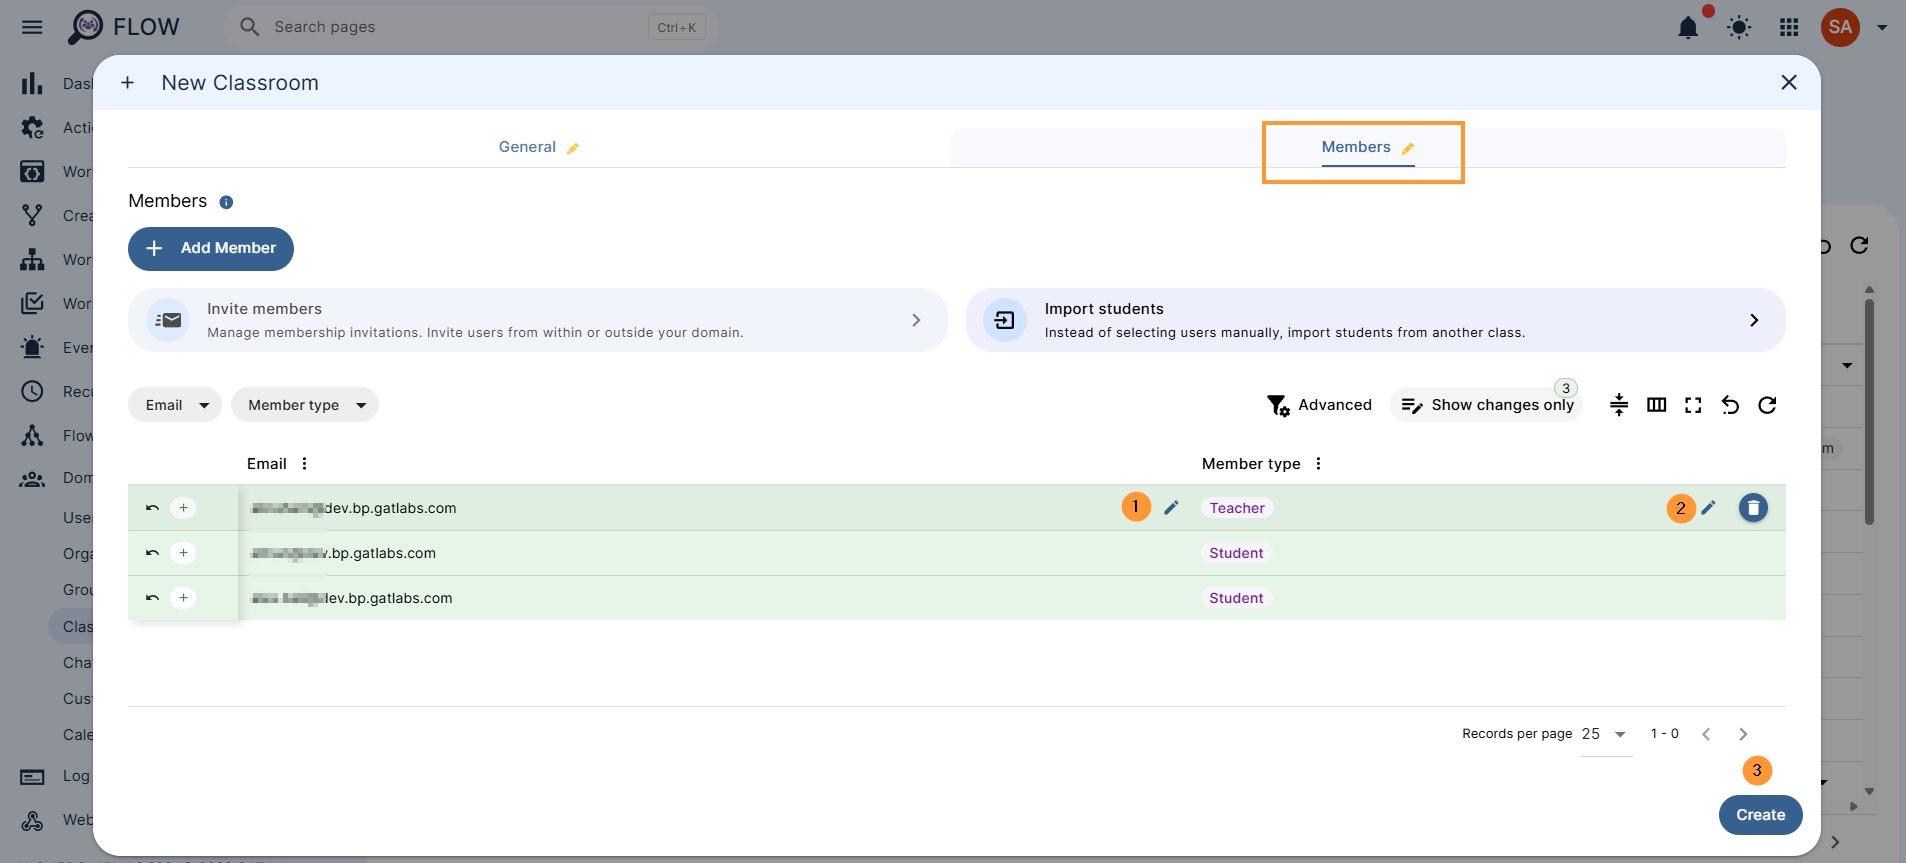
When ready, and all students and teachers are added, click on the Create button.
The Classroom will be created instantly.
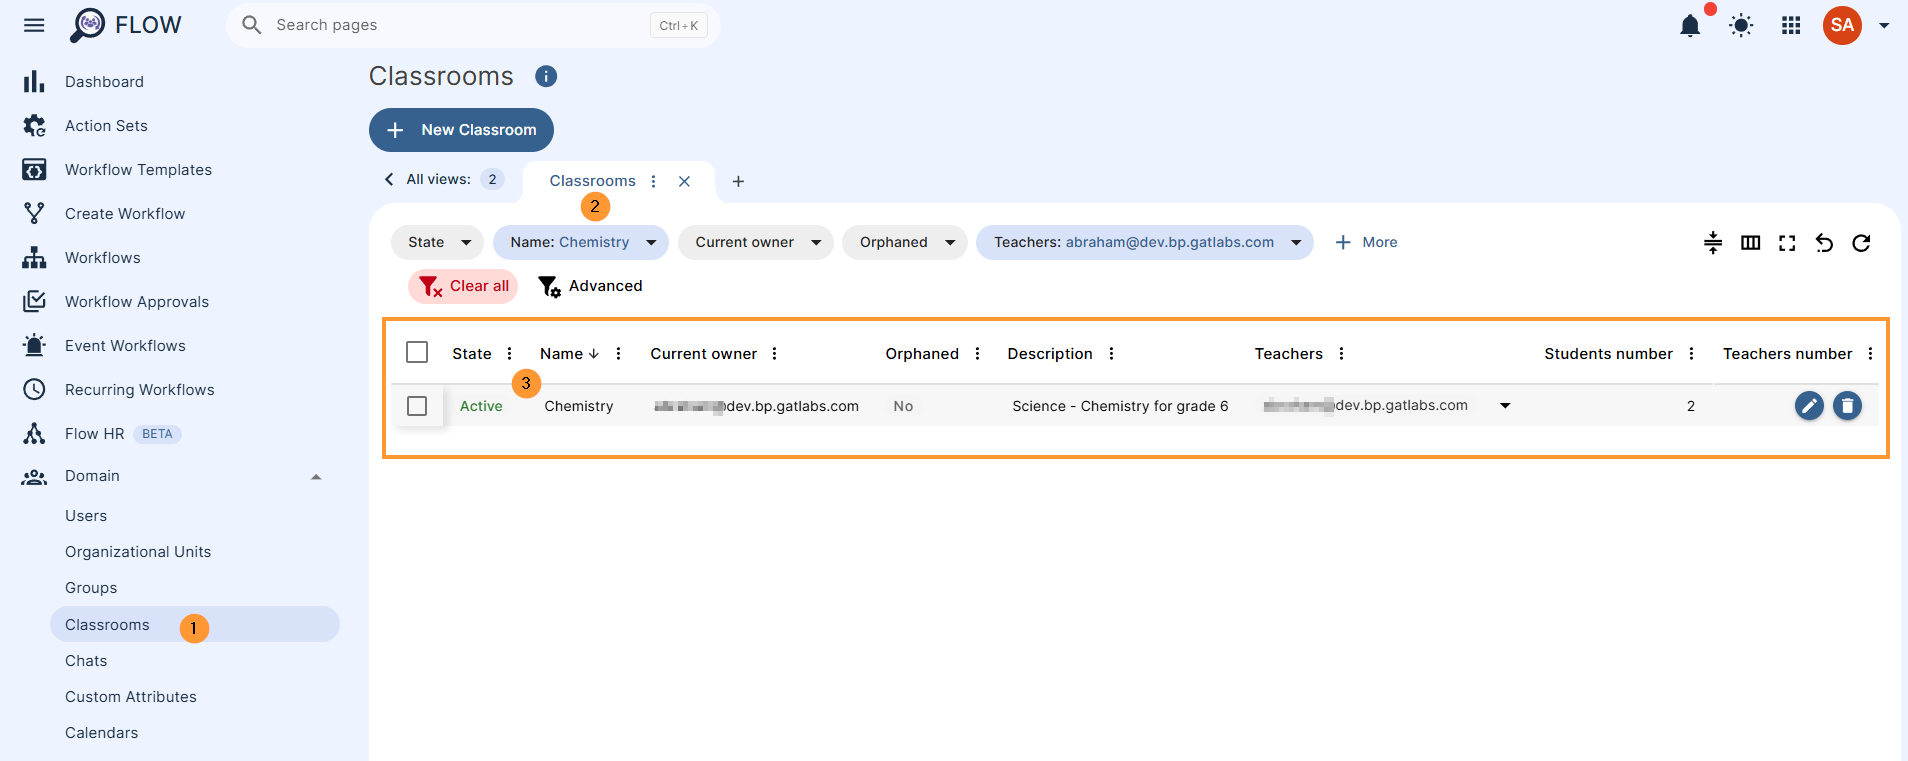
When the classroom is created, it can be found in Flow right away. As an Admin, you can further update the classroom.


