

How to Install GAT Shield Extension #
In this document, we will cover the steps to install the GAT Shield extension. It’s an audit, reporting, and security Chrome Extension for your Google Workspace environment.
GAT Shield is a Chrome extension that the Super Admin of the domain must install via the Google Admin console.
Below, we will cover how to deploy the GAT Shield extension to your users.
Step 1. #
First, navigate to the Google Admin console.
In the Admin console, from the menu on the left, click on Devices > Chrome > Apps and extensions.
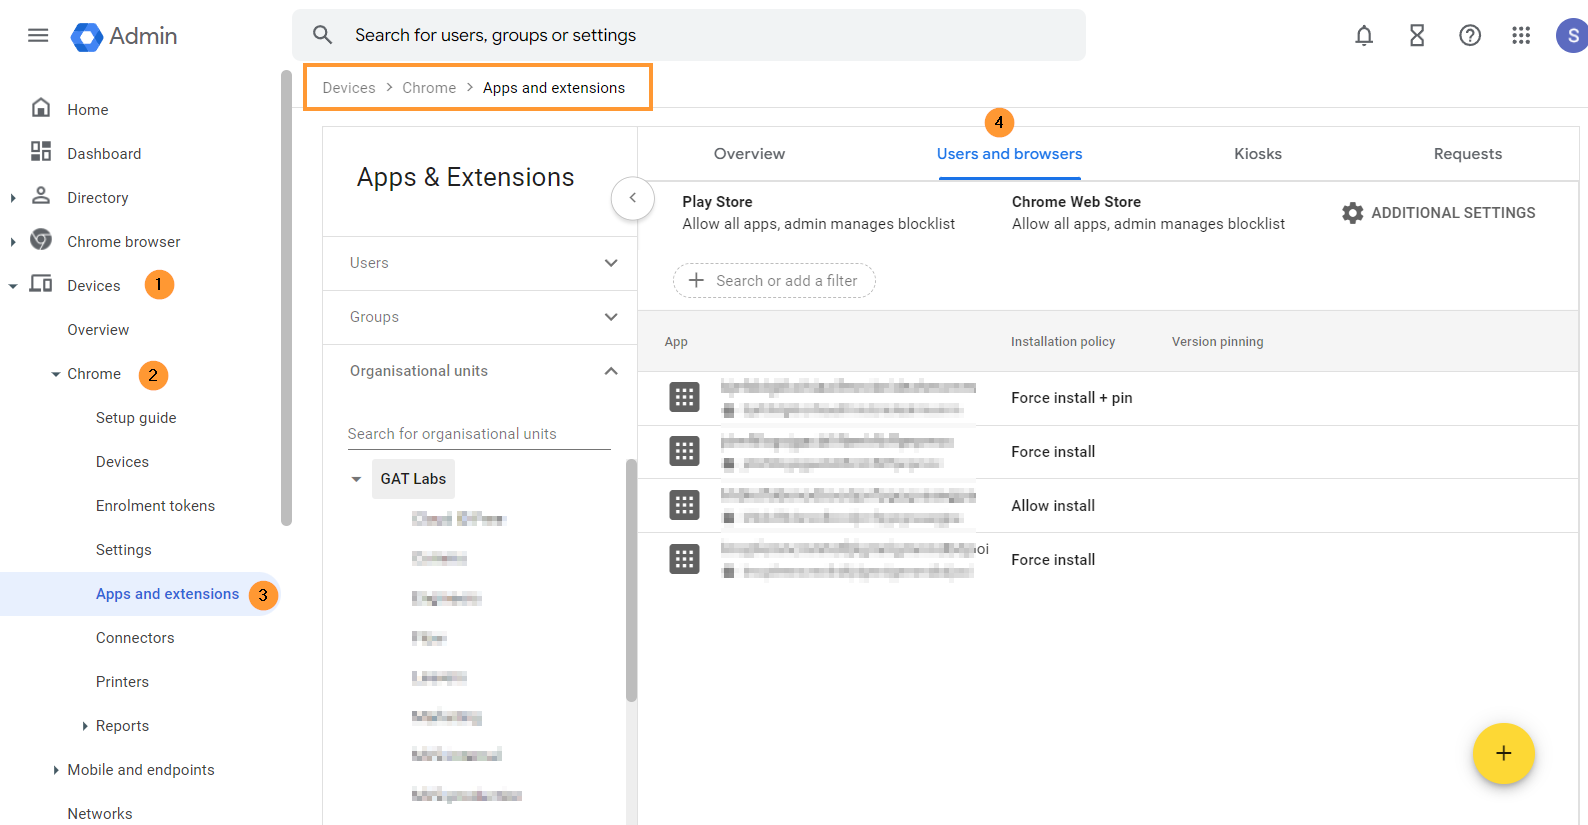
From the top menu, select Users and browsers.
A new page will be displayed with all the Chrome extensions deployed to the domain.
Step 2. #
To install the GAT Shield extension.
- Pick the the root Org Unit (1) or a sub-OU where you want to deploy Shield (2).
- Click on the + (yellow button)

- Pop up menu will be displayed
- Select Add the Chrome app or extension by ID (3).
Step 3. #
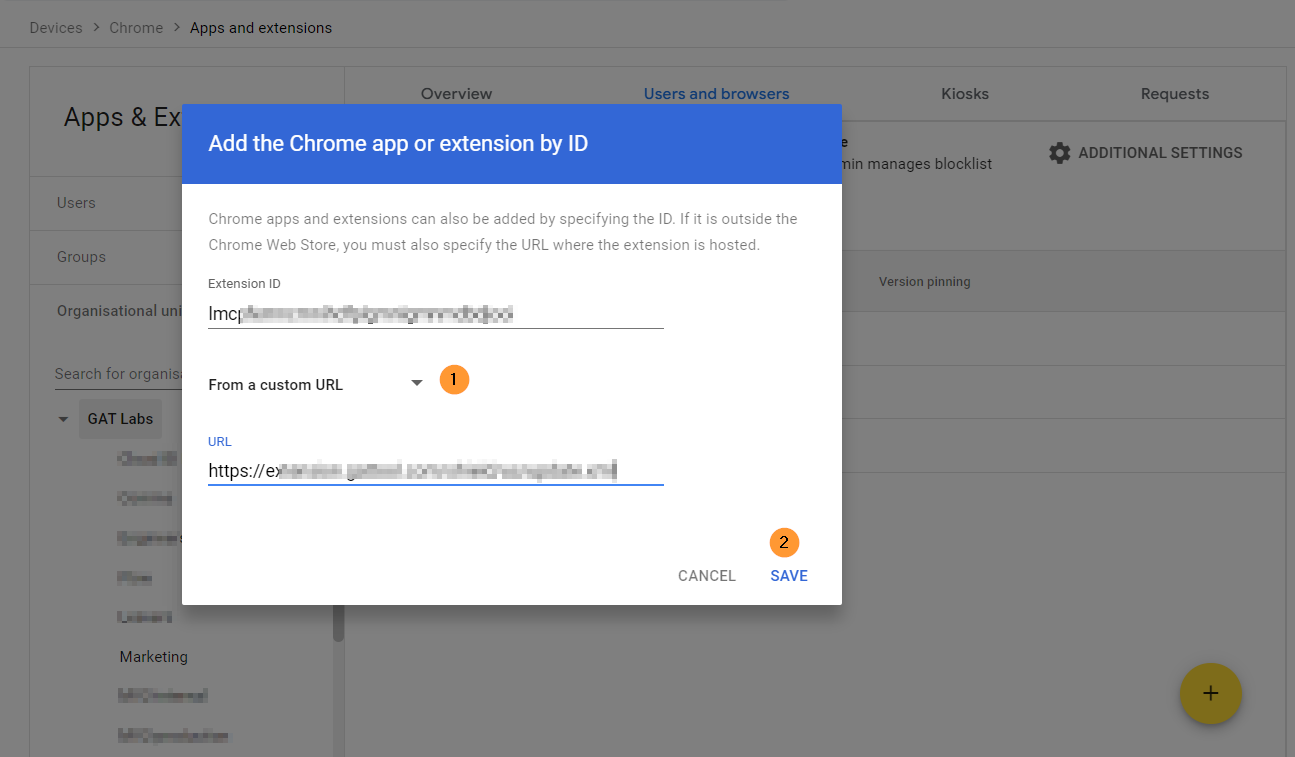
- In the Add the Chrome app or extension by ID
- Select the From a custom URL option (1).
View the Shield extension details #
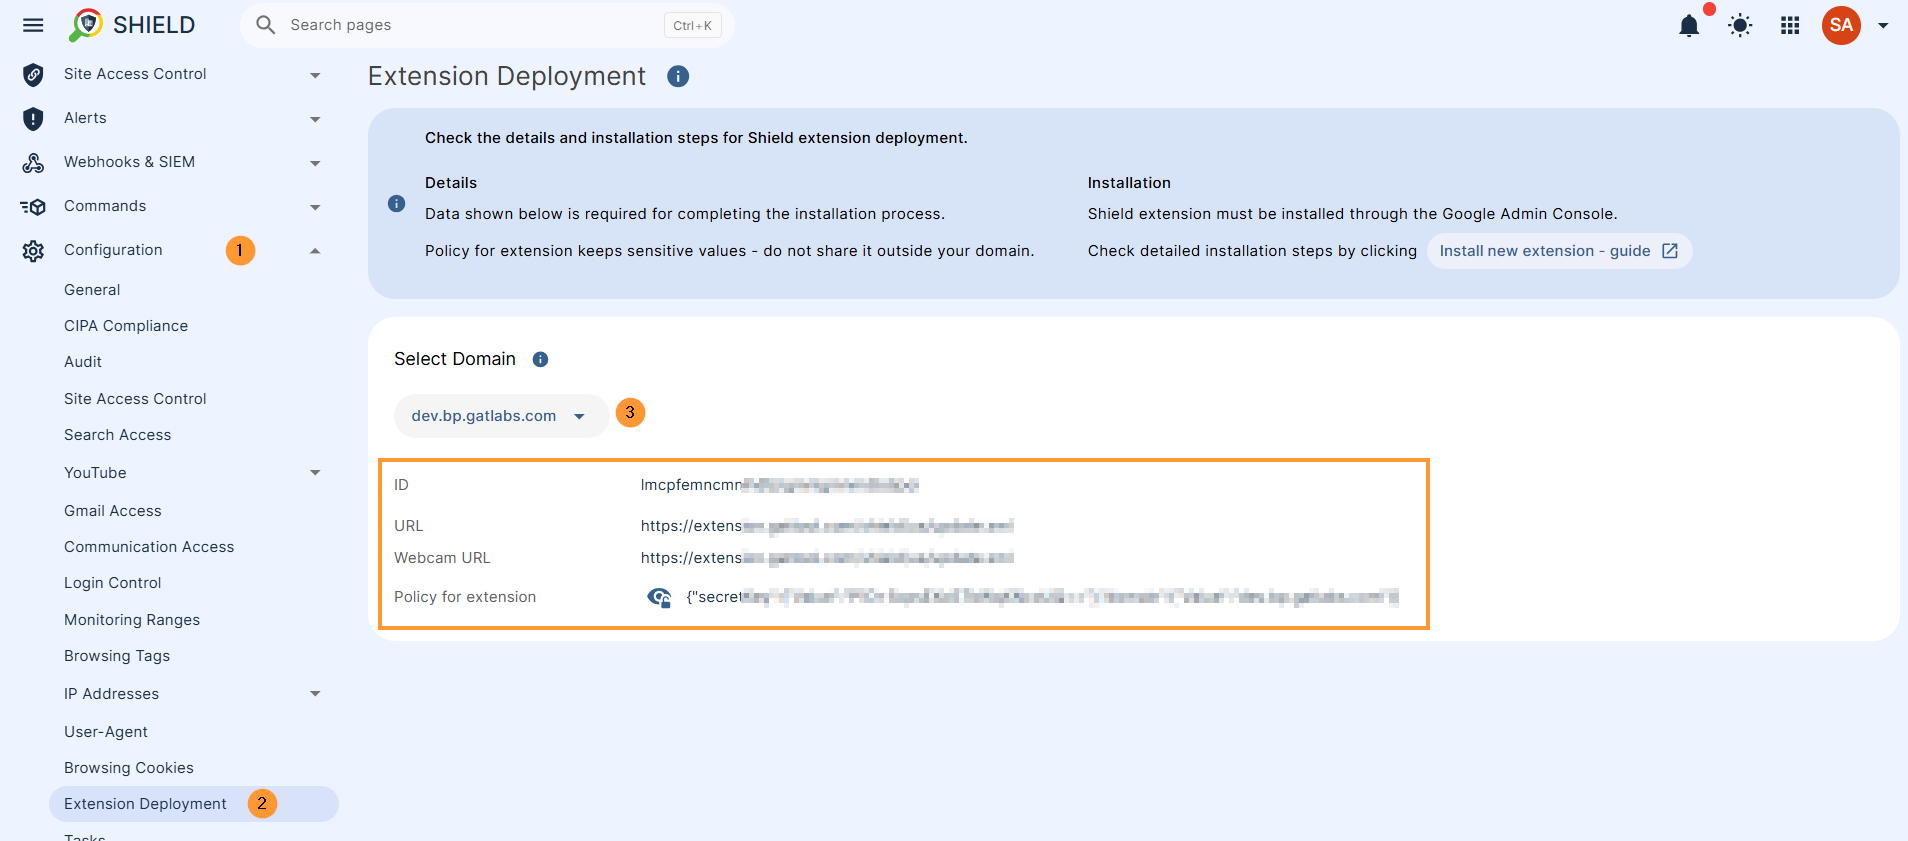
- Navigate to GAT Shield > Configuration > Extension deployment
- Select the data you need, copy the extension ID and URL
- Copy the data and paste in the Google Admin console – From a custom URL option above.
- Click on the Save button.
The Shield Extension is now installed.
Step 4 – Installation policy #
- Click on the newly installed extension.
- You will see a pop-up window on the side.
- In the Installation policy
- Click and select Force install.

Scroll down on the same window to the bottom of the page to find the Policy for extensions.

View the Shield extension details for Policy for extensions #
- Navigate to GAT Shield > Configuration > Extension deployment
- Select the data you need, copy the Policy for extension details
- Select the your domain
- Paste the “Policy for extension” data (secretKey) in the field (1)
Permissions and URL access #
Under the Permissions and URL access field, click on and select Allow all permissions (2).

After doing all the changes, click the Save button on the top right.
Sentential One #
Sentential One users see Note 1
Result #
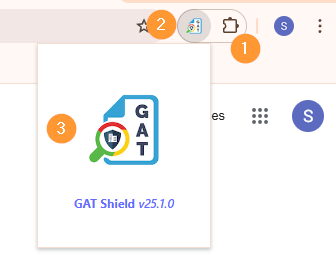
When the Shield extension is deployed, the end-users must be logged into the Google Chrome browser with their domain accounts.
The extension will appear under their Google extensions.
The browsing activity will then be reported to the GAT Shield console for the Admins to manage.
Note 1 #
Note that SentinelOne Antivirus blocks access to the GAT Shield plugin. To solve the problem related to that, uncheck the box – visible in Deep visibility, in the SentinelOne console:


