Flow is a User management tool within the GAT+ set of Audit tools.
Flow allows the Google Admins to:
- Onboard and create new users to the domain
- Modify existing users
- Offboard and delete users from the domain
How to onboard a user #
The steps below will show steps to create and onboard a user to the domain.
Launch GAT+ and navigate to Flow

When logged in, select Create workflow

In Workflow type pick a name (1) and select type to OnBoarding (2)

Click on Next to proceed (3)
Note: Run immediately after approval option – if disabled it allows to set this flow to run in future time and to schedule the workflow to run at the specific date and time:

Select Domain and pick the email prefix from the available variables

Click on Import users in bulk via spreadsheet or Add new user.
Add New User #
Click on Add new user to add manually user via the UI

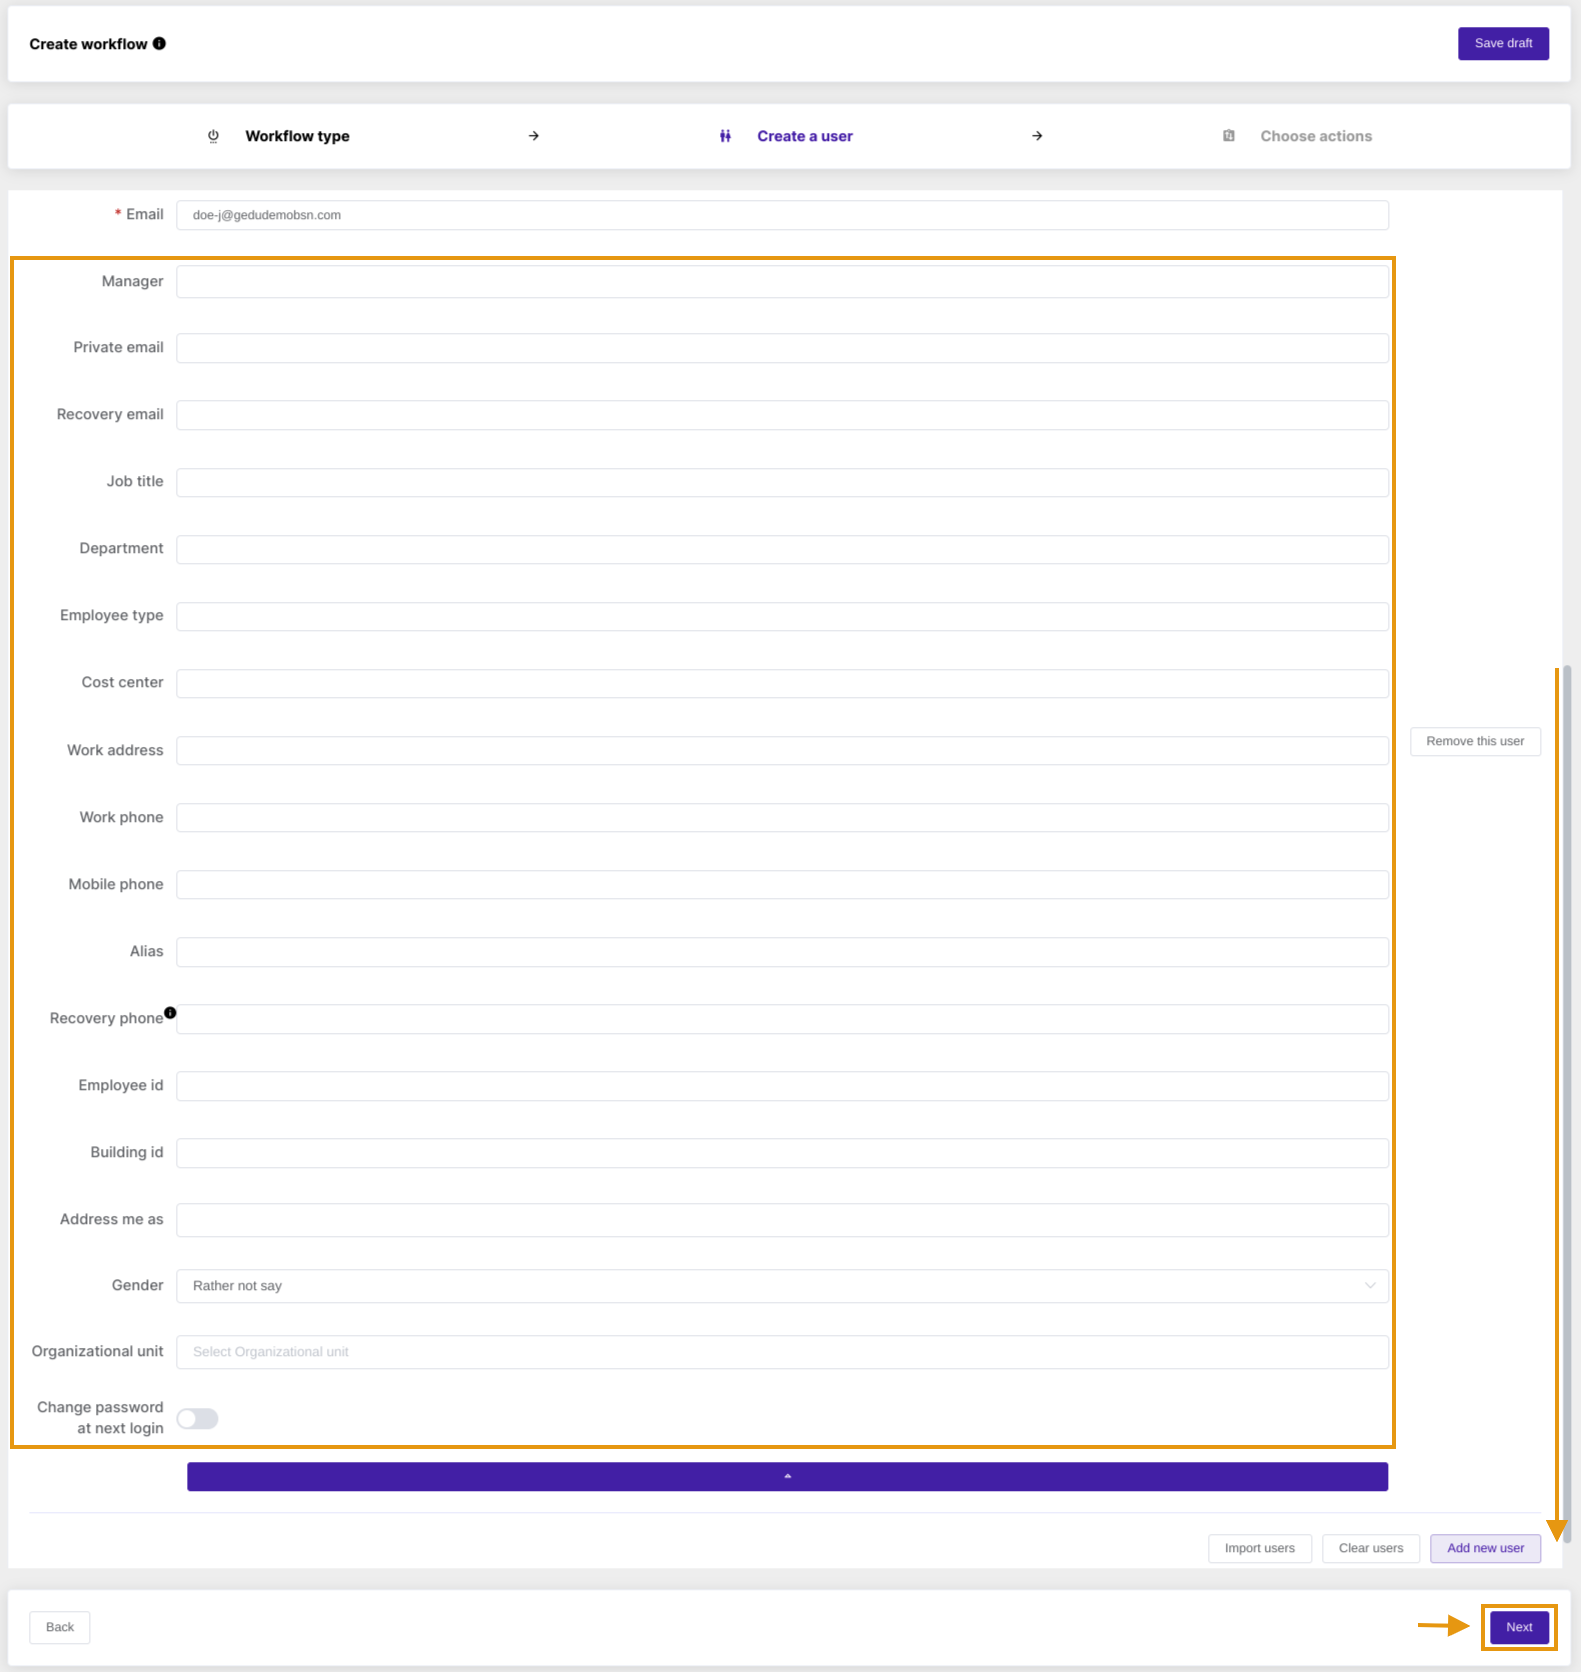
Fill in the details for the new user.
Clicking on the arrow option under the Email section will expand the view to add additional info for the user.

When the fields are filled in click on Next
Choose Actions #
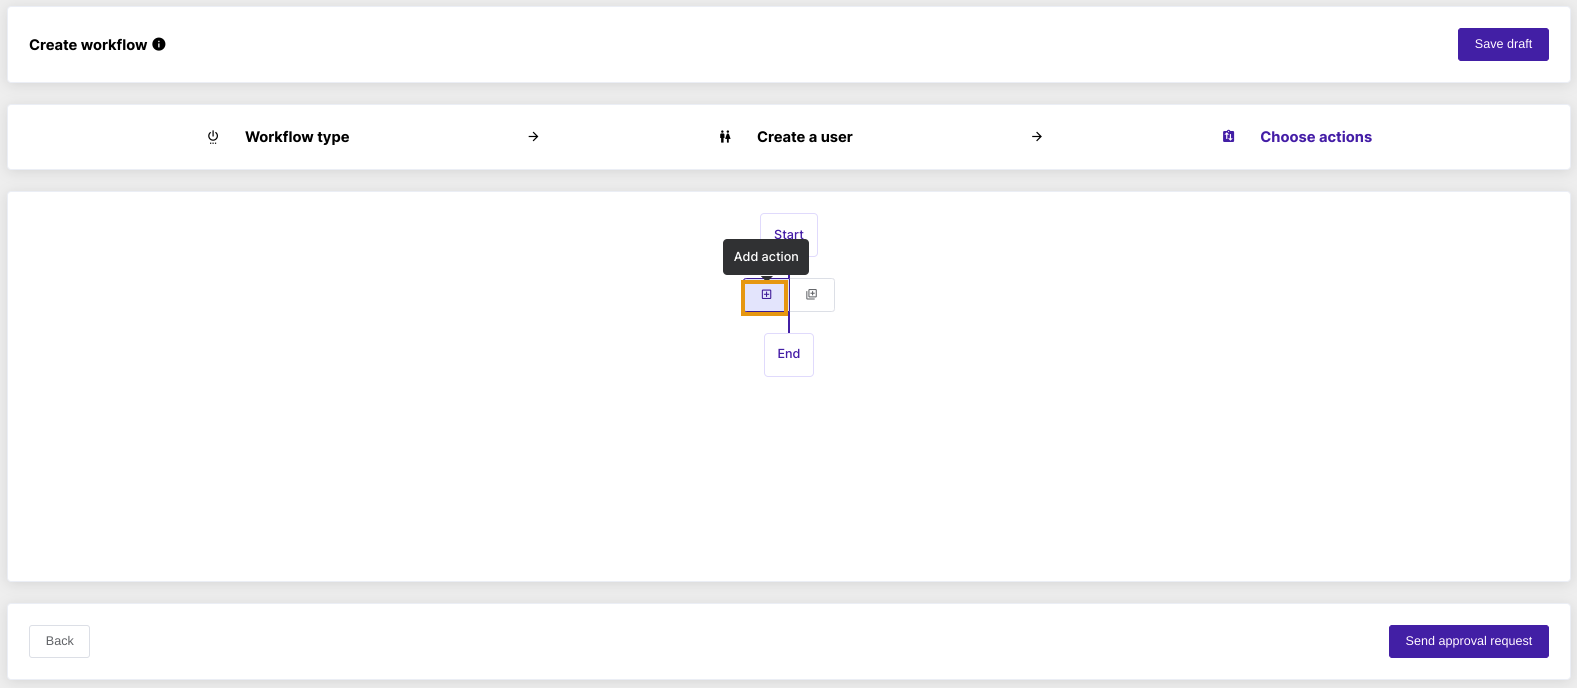
This will lead to “Choose actions” menu.
Under the Choose Actions section (1), click on the “+” button to Add action and search for the particular action (2).

Search for the action:

Pick any of the actions (menu on the left) you would like to add to the workflow you are creating.

When the actions are selected and details filled in click on Send approval request
Send Approval Request #
Once ready with the selected actions click on Send approval request on the bottom left.
A pop-up window will be displayed to confirm.

Click Yes to send the request to the Security Officer for approval. They will receive an email notification for Approval of the request.

The email request will lead the Security Officer to the GAT Flow dashboard – where the request can be approved or denied

Any Security Officer can see the current status of any workflow under the Approval tab.
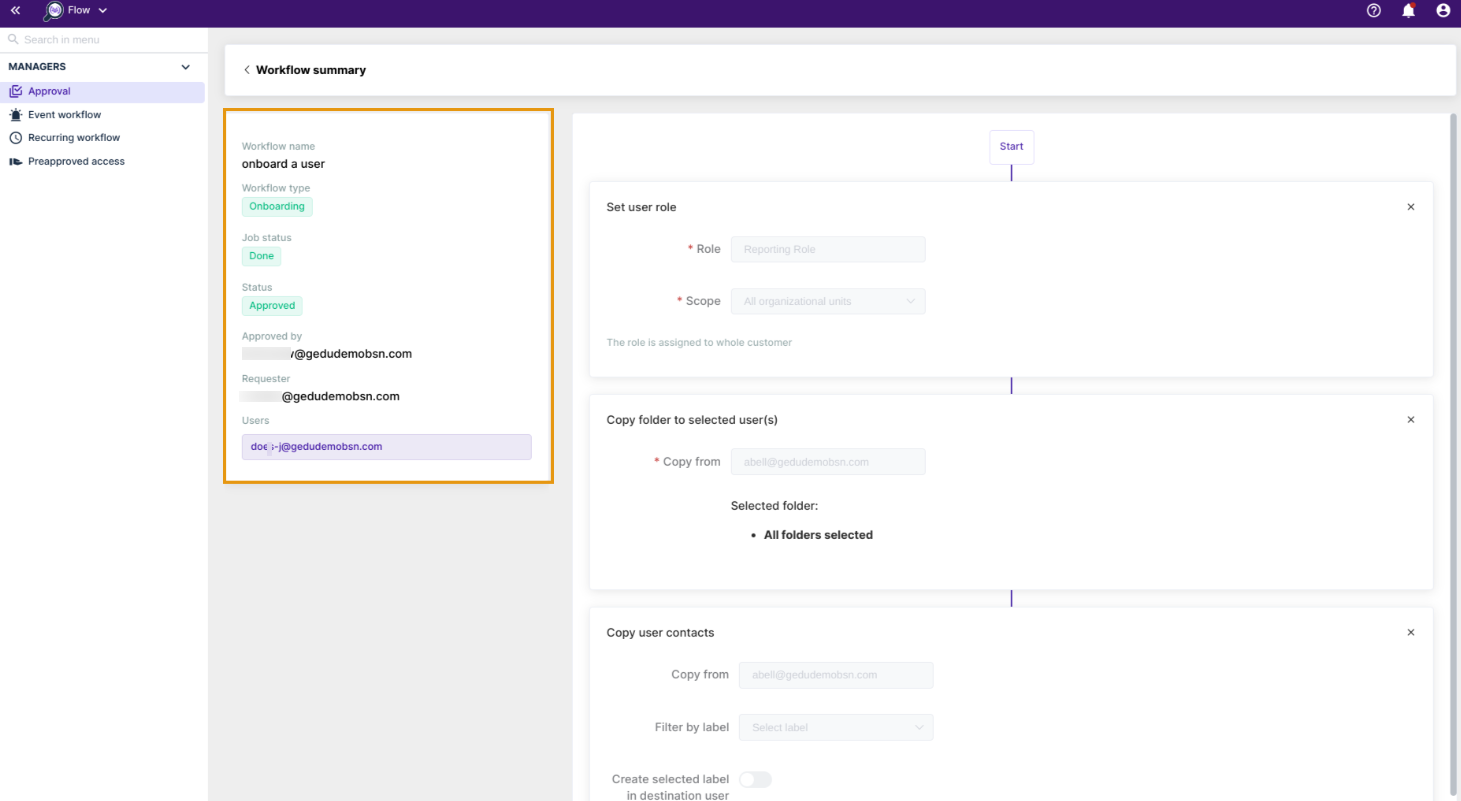
To see the workflow details, they can click on the “eye” icon to review the workflow summary.

Workflow Summary #
The Workflow summary reports the status of the workflow, who requested it and who approved it, and which user account was affected by the workflow.

The workflow Requester received an automatic email notification about the status of the workflow


