

Recurring Workflows in GAT Flow #
You can use GAT Flow to automate recurring actions within the Google Workspace environment.
These recurring workflows can enforce specific user settings that can’t be controlled on the Google Workspace Admin Console.
Configure a Recurring Workflow #
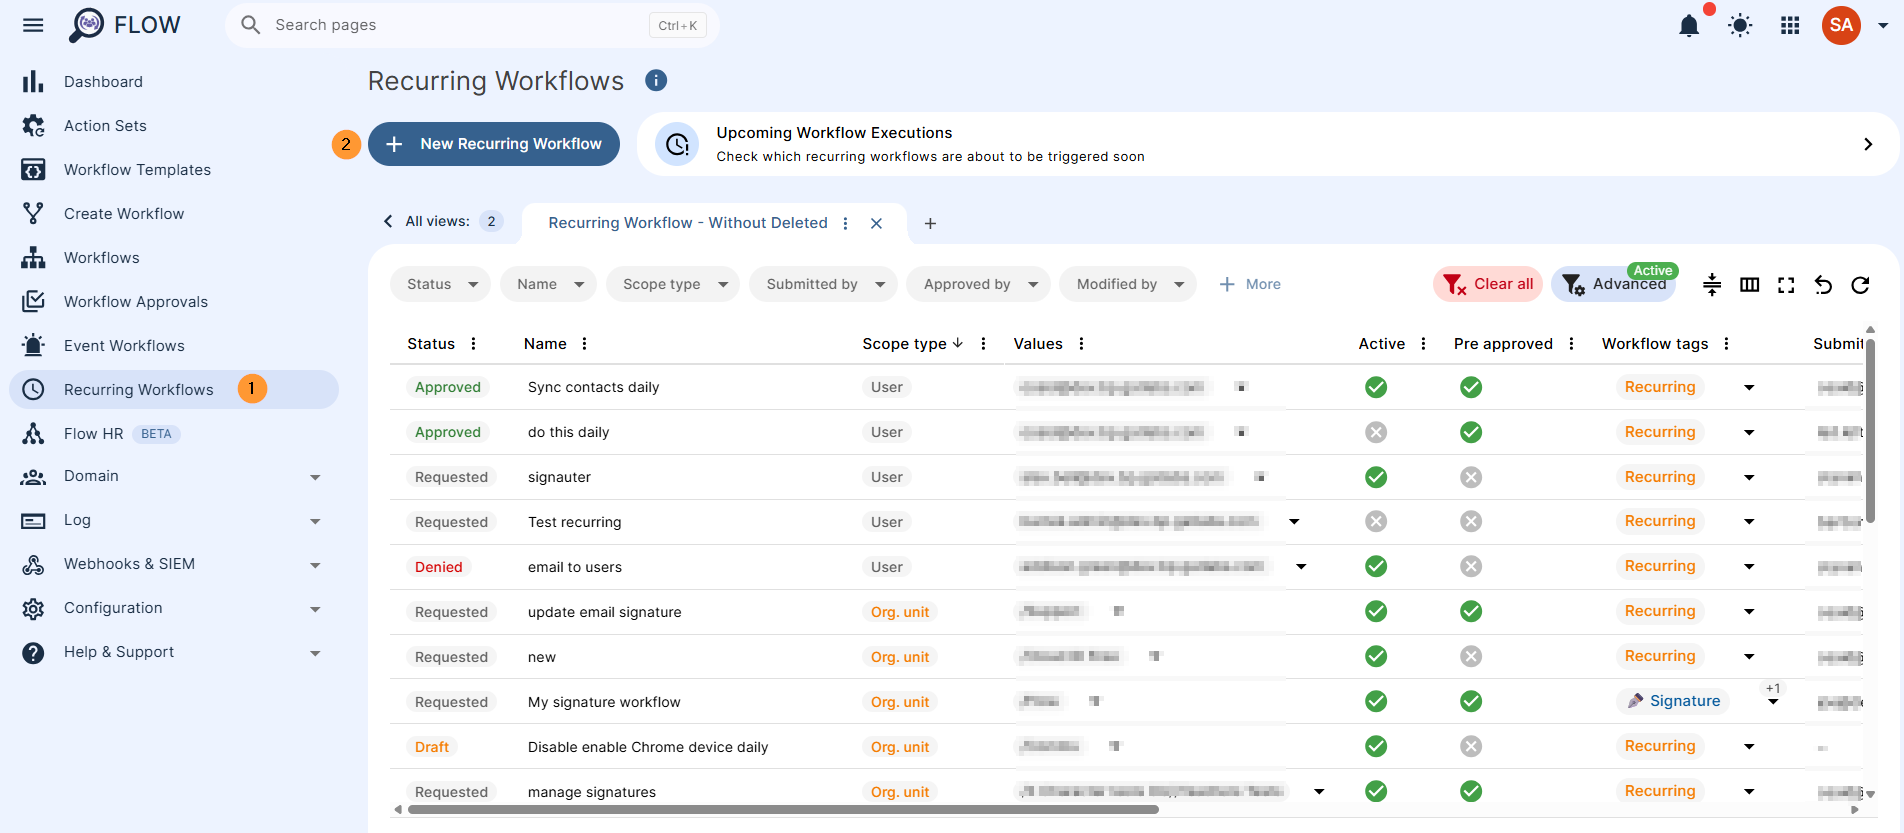
Navigate to GAT Flow > Recurring workflow > + New Recurring workflow
Fill in the workflow #
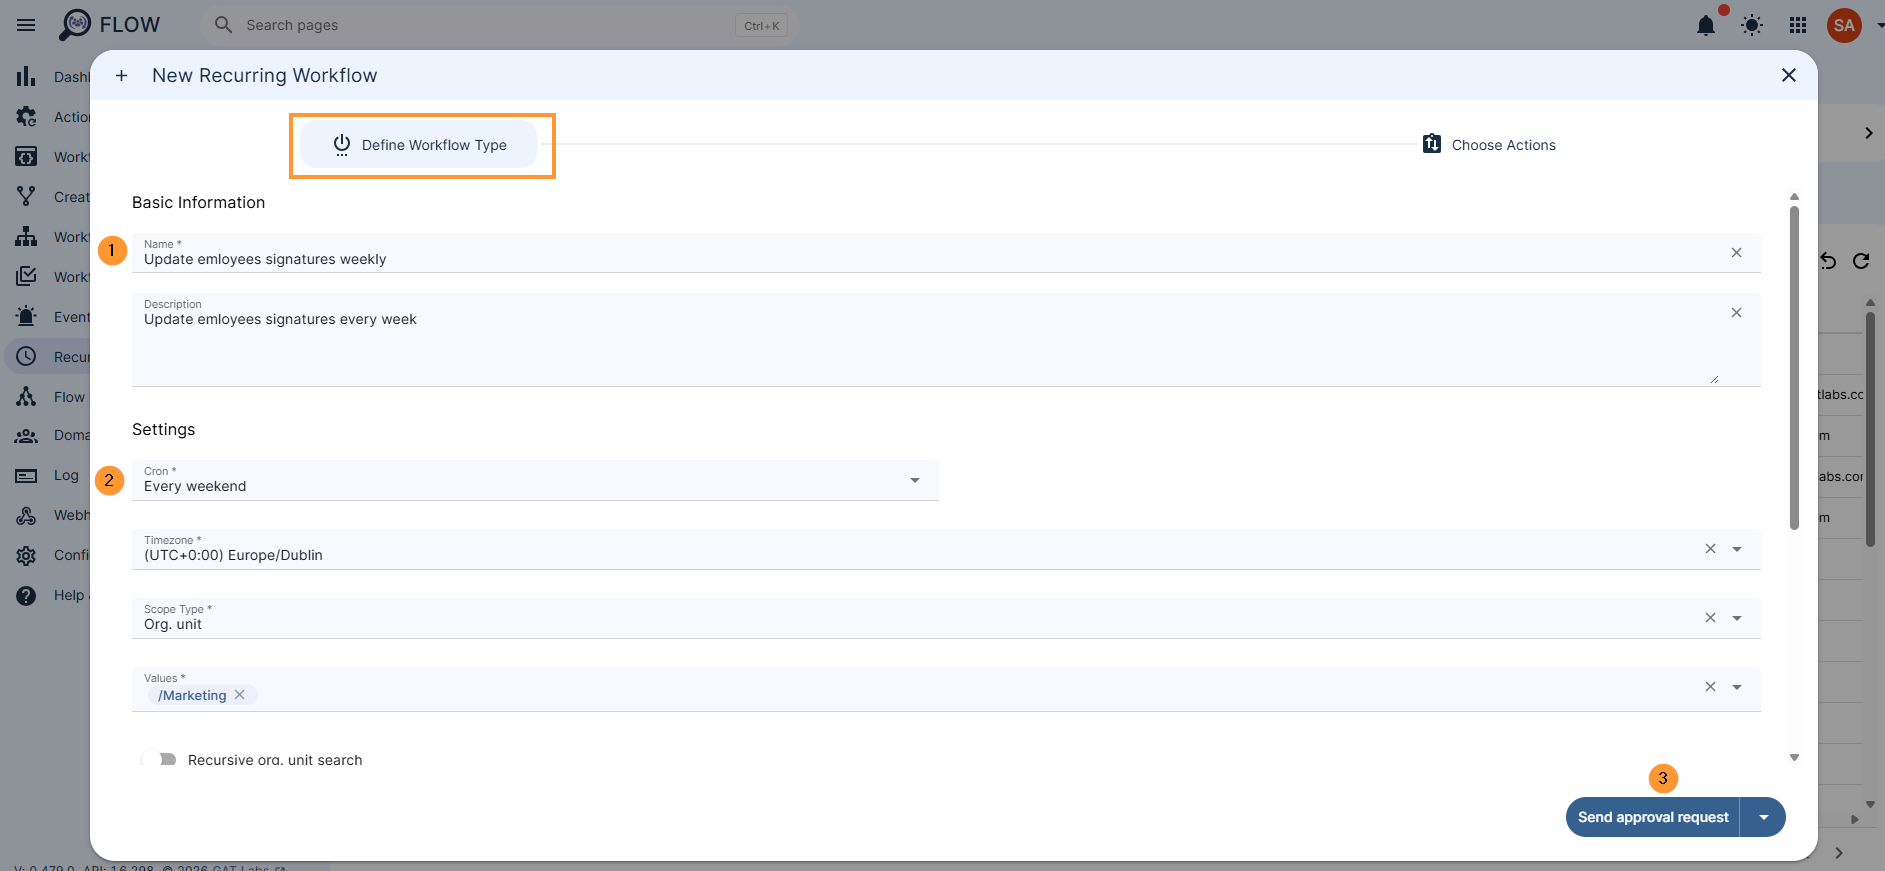
In the Define workflow type, fill in the required information
- Name – enter a workflow name
- Description – enter a description for the workflow (optional)
- Cron – Select the time when the workflow is to occur (cron expression)
- Every day – after midnight
- Every weekend – every Saturday
- Every first day of the month – every first day of the month
- Custom – select custom cron expression – by default, only one workflow per day
- Timezone – select your local time zone (unless some other timezone is needed), and the workflow will repeat based on the combination of Cron and Time Zone configurations.
NOTE: Setting up your local timezone when creating a recurring workflow will automatically adjust the execution time when the time changes in your region.
- Scope type – select what users are to be affected by the workflow
- Organization unit – select Org. unit
- Recursive OU search – enable or disable recursive OU search
- Groups – enter the Google Groups
- Users – enter the Users needed
- Organization unit – select Org. unit
- Notify – designate a specific person or group of users to be notified when the workflow is completed.
- Workflow tags – apply your customized tags for easier workflow identification. How to Create Workflow Tags in GAT Flow
- Active – activate or deactivate the Recurring workflow
- Pre-approved – have pre-approval enabled
- If this option is enabled, every workflow to run will be automatically approved.
- If disabled, each time the workflow is automatically triggered, it will need separate approval.
- Include suspended users – If processing of suspended users is enabled, it is possible to select them for any scope
Choose actions #
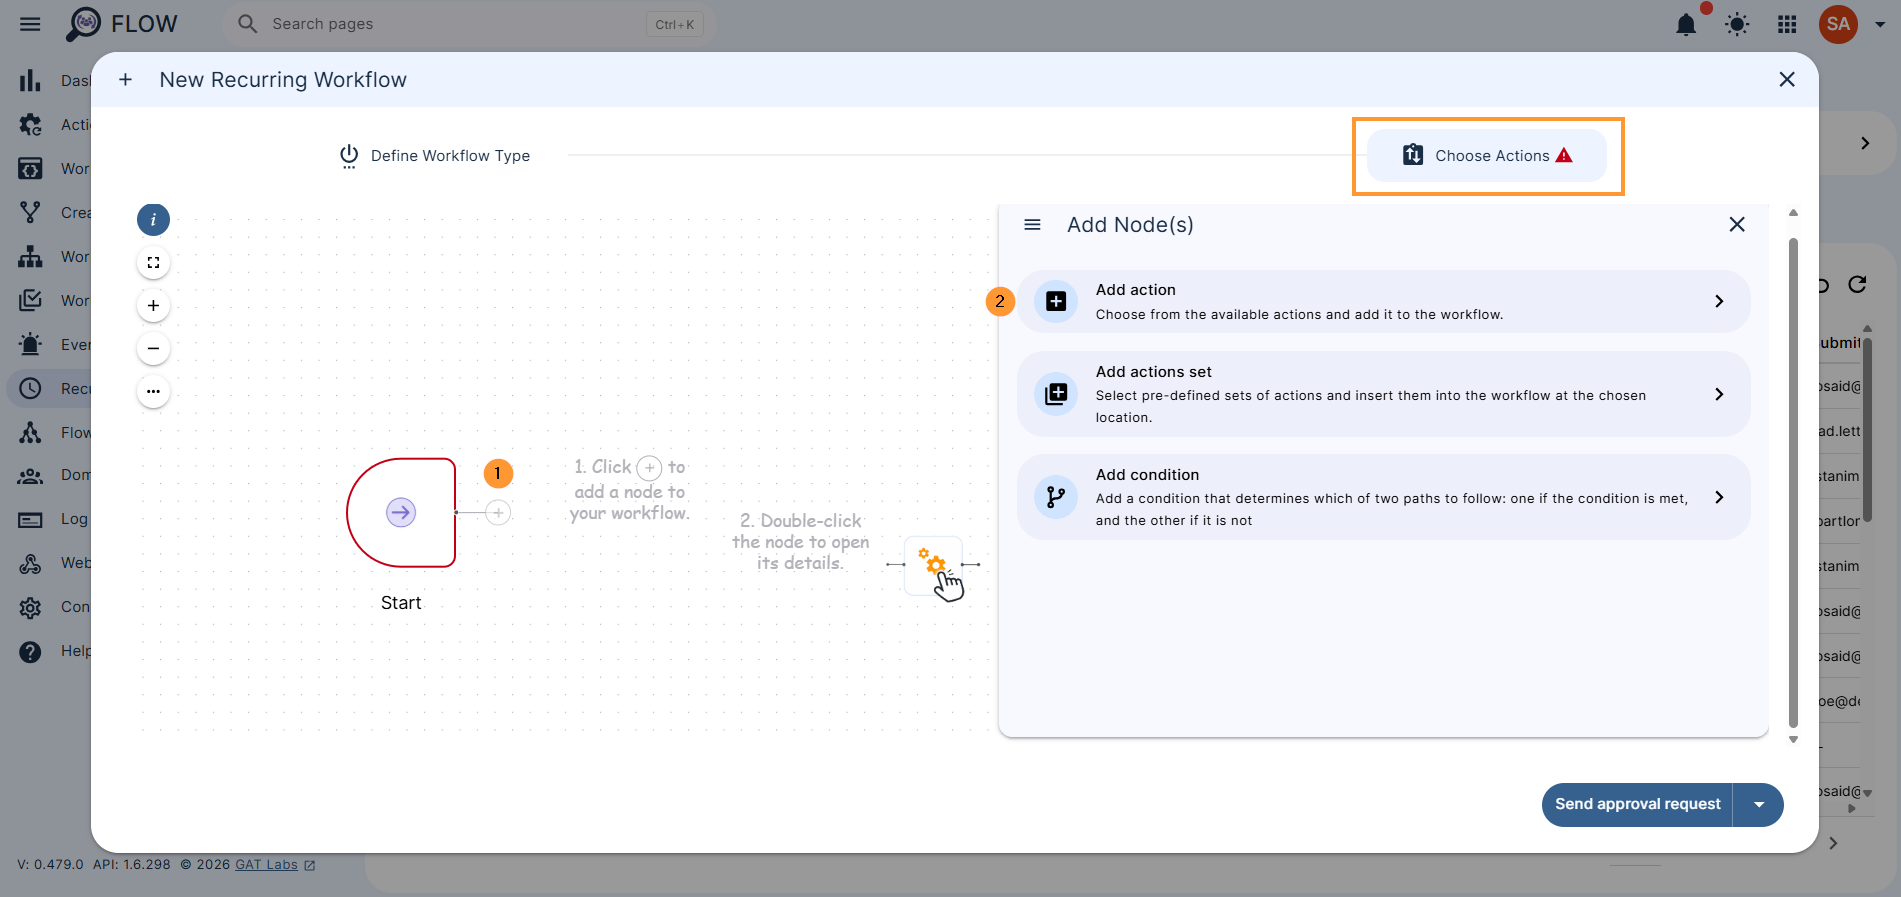
In the “Choose Actions” tab, click on the “+” button and from the 3 options shown, select Add action
Search for the action Set email signature and select it.
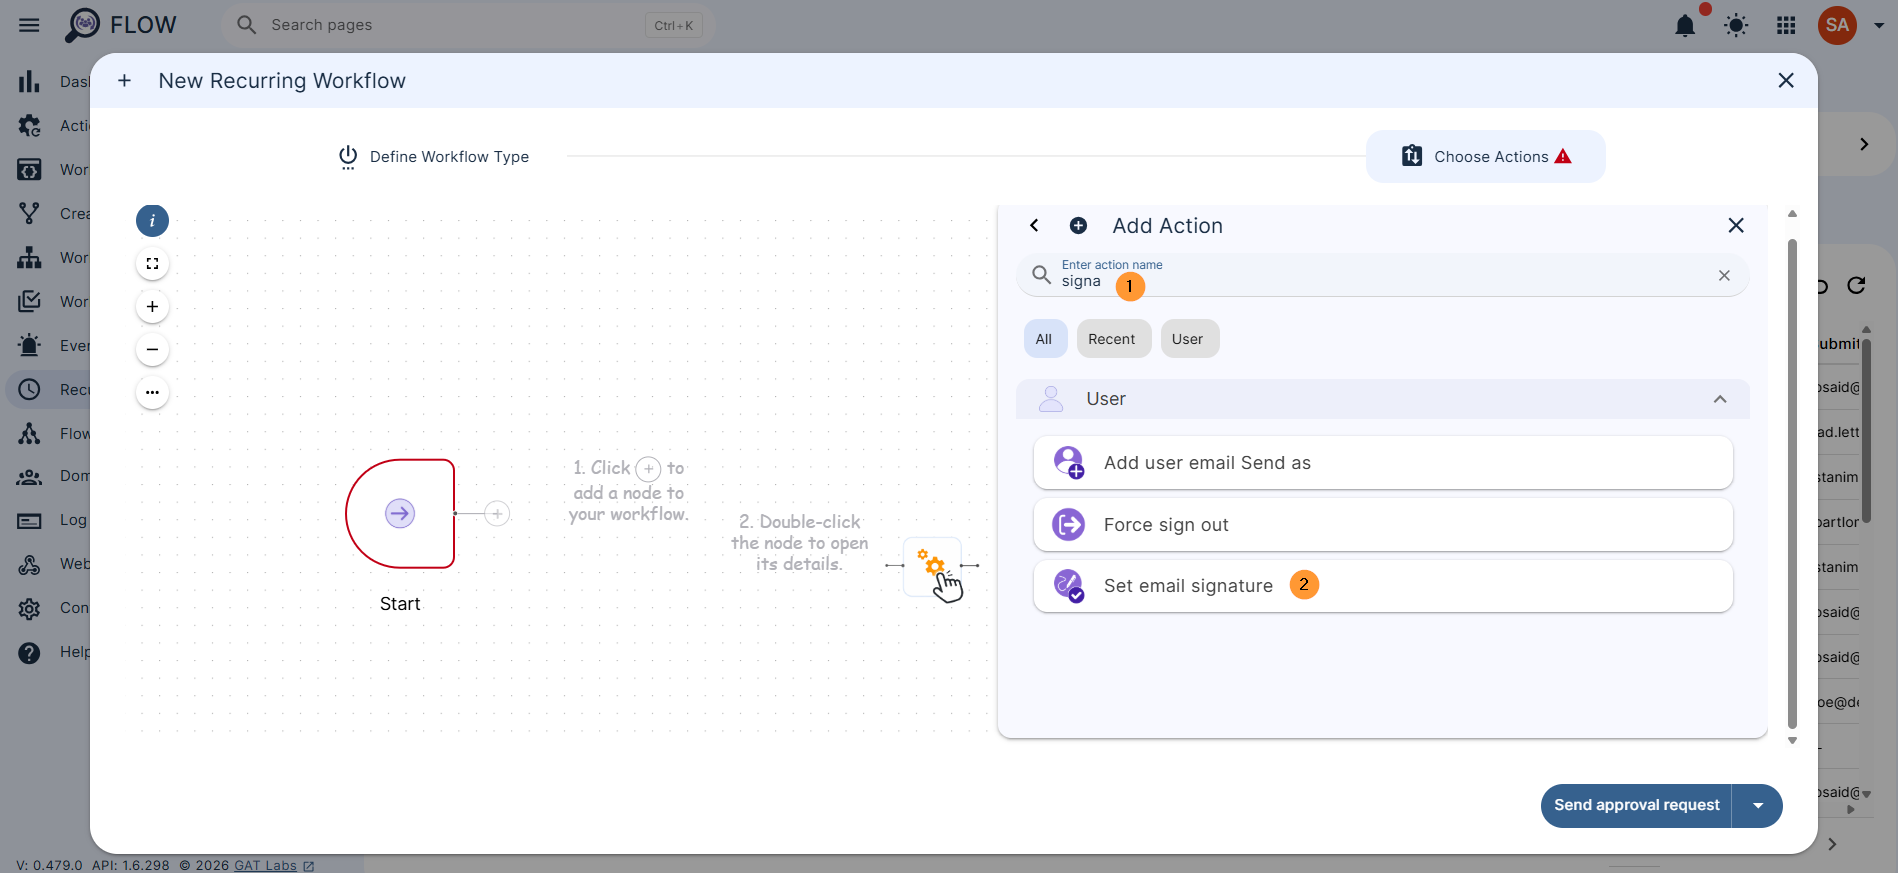
The Actions will be displayed.
Double-click on it to open and fill in the signature details
There are a few ways to create the signatures
- Manually – add the signature using the editor or HTML editor available. Template variables can be used
- Template – pick any of the prepared templates and fill in its details. Template variables can be used
- Copy/paste – copy and paste the HTML code for the signature from elsewhere. Template variables can be used

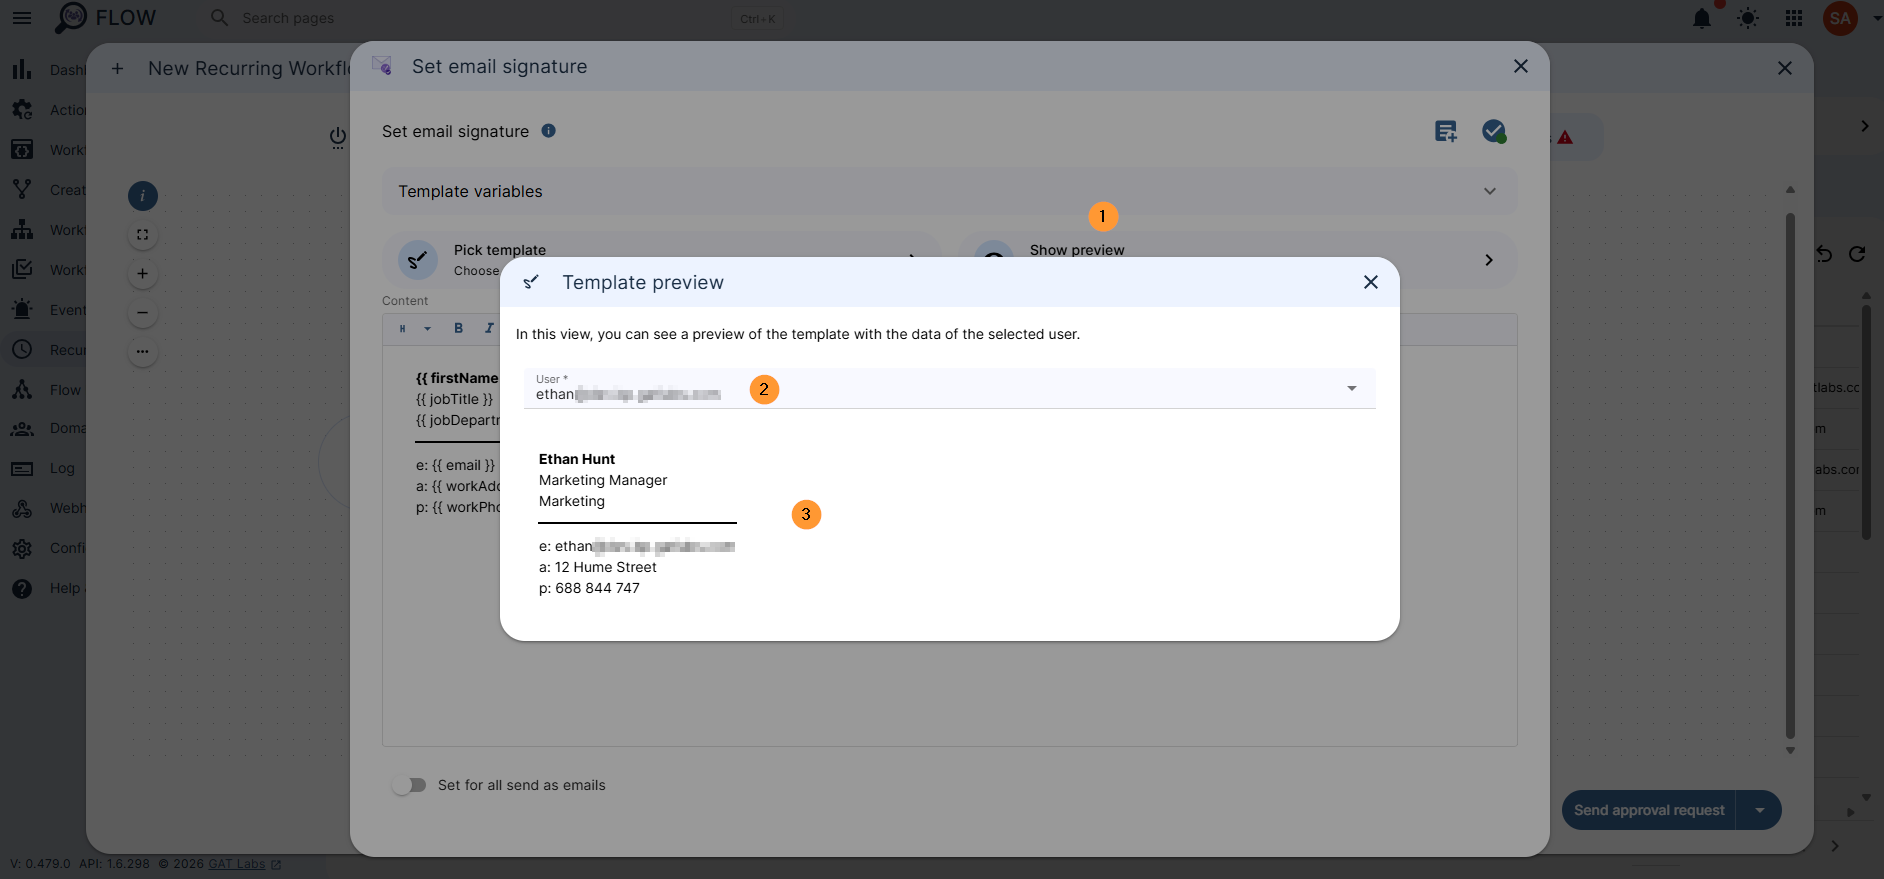
Show preview #
When the signature is created with one of the options, you can preview how it would look to any user of the domain.
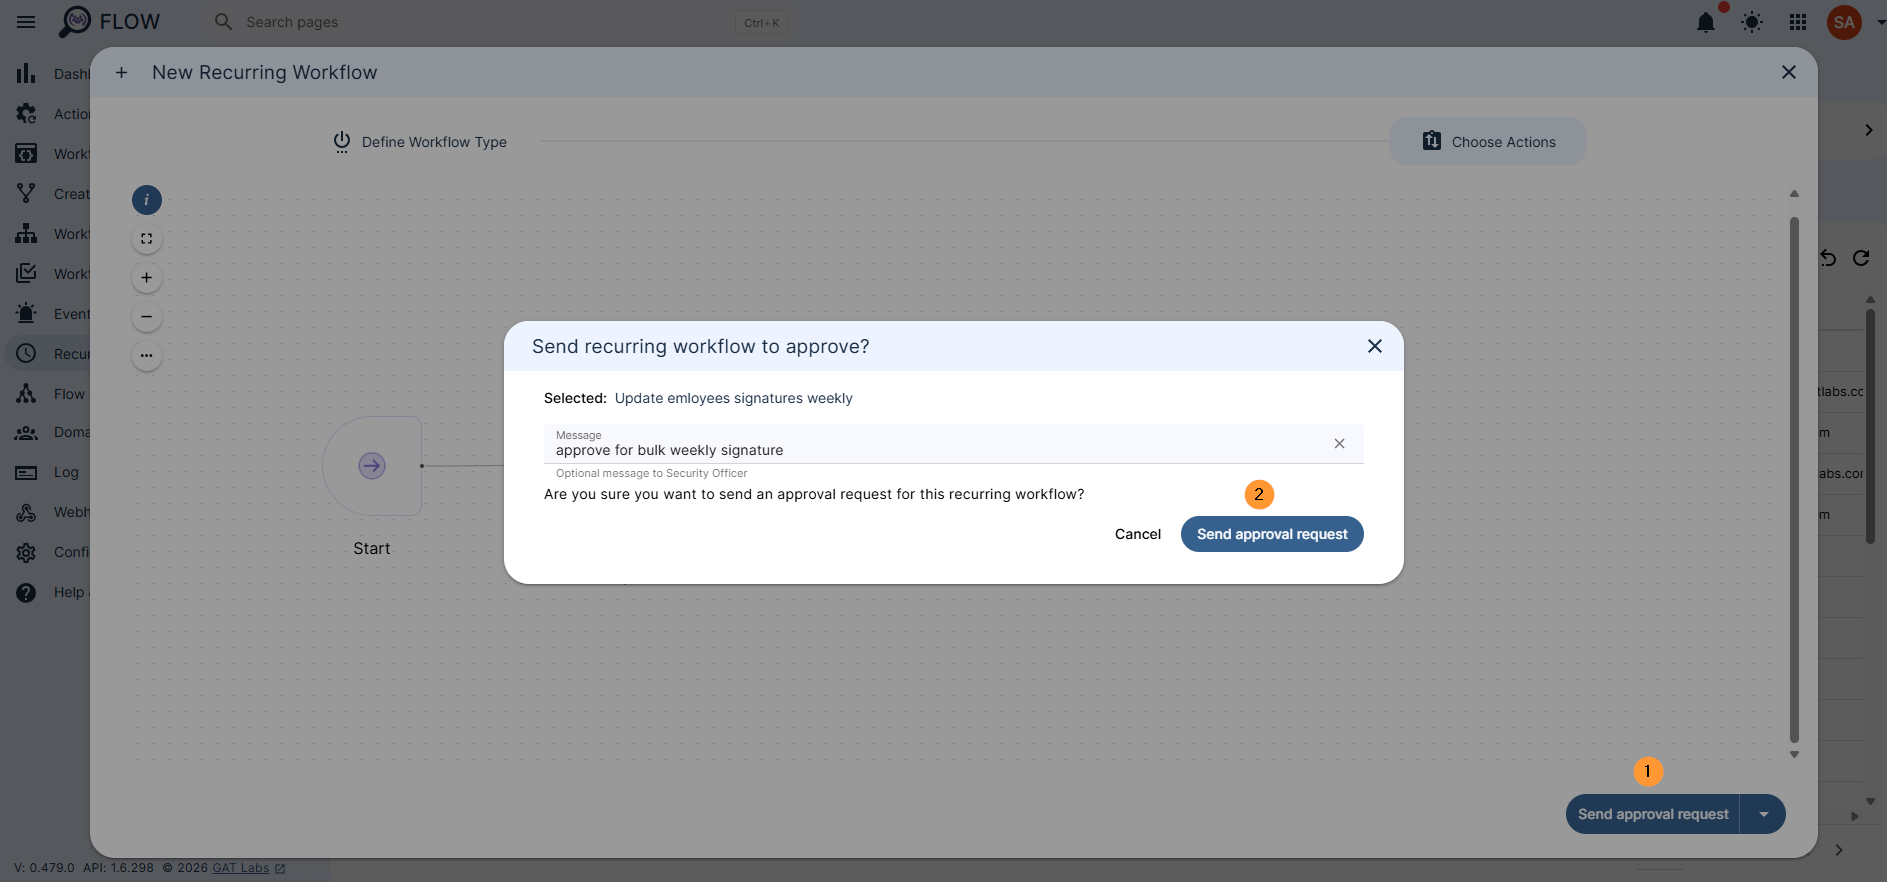
Send the request for Security Officer approval when the signature is set.
Pop up window will be displayed. Enter an optional message for the Security officer.
Click on Send approval request
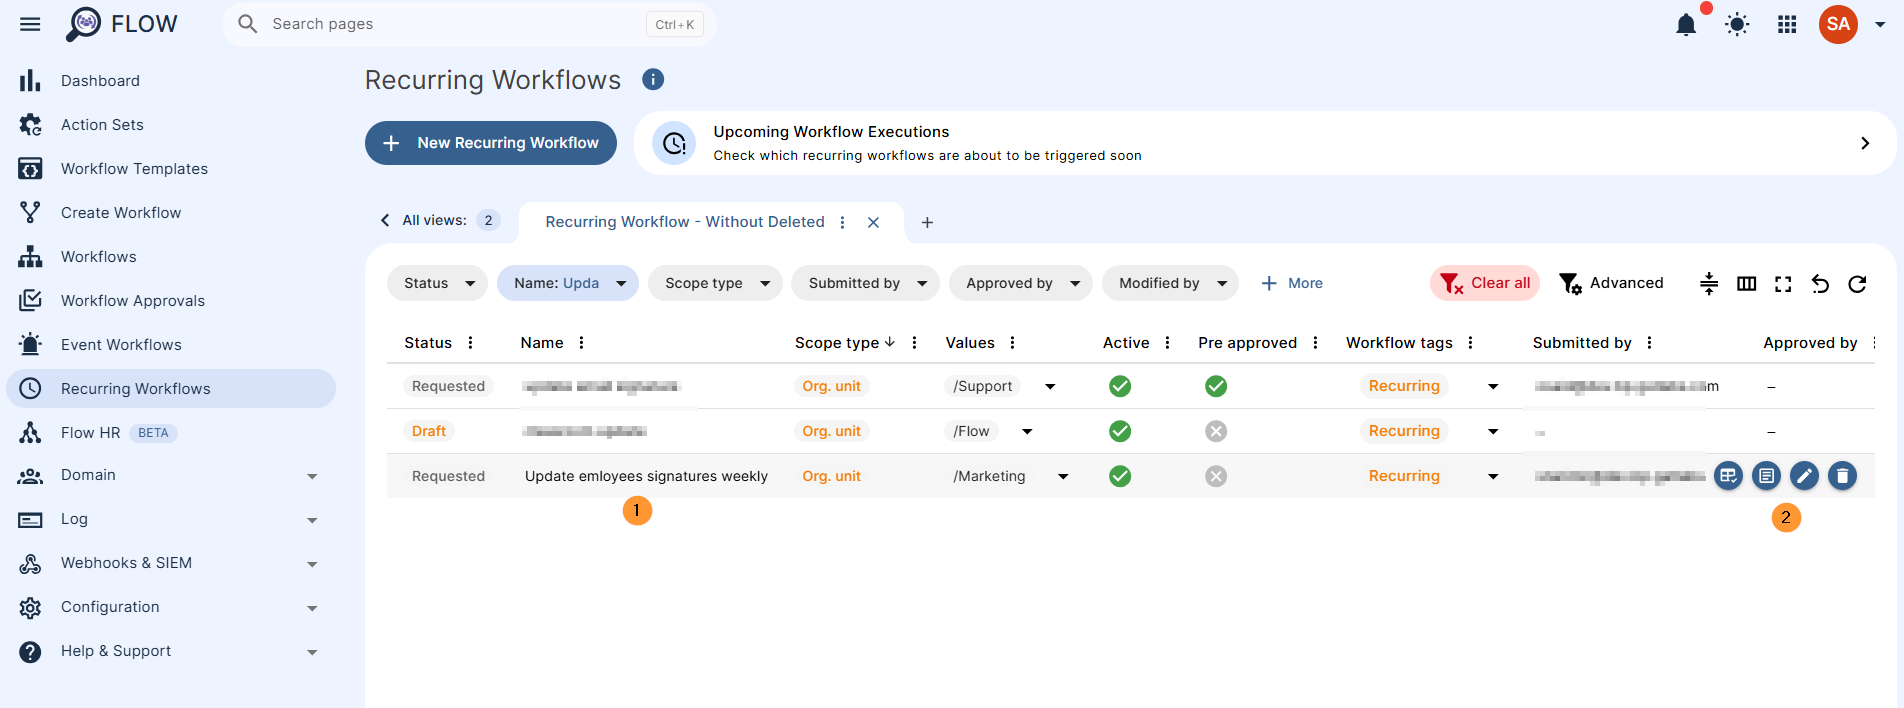
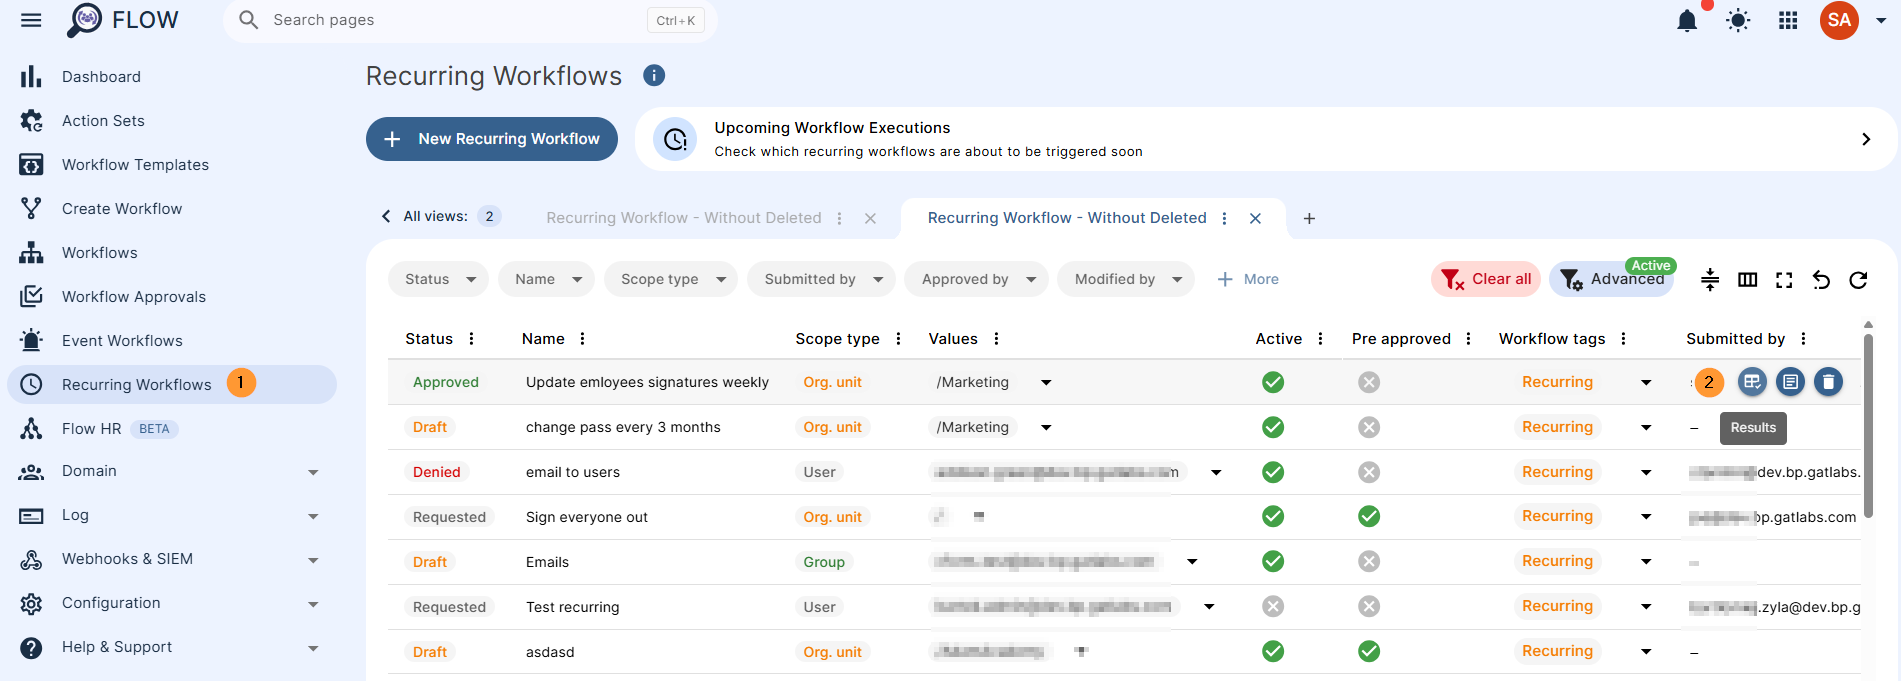
Actions that can be taken on the Recurring workflow
- Results – view the results for the workflow
- Details – view the details of the workflow
- Edit – edit the workflow
- Delete – delete the recurring workflow
Security officer #
Important Note: For Event and Recurring workflow – by default Security Officer must approve the request.
The “pre-approved” (selected above) is for the Actions on the workflow to run without approval; the Event workflow itself must be approved.
When the request is sent, an automatic email will be sent to the Security officers of your domain.
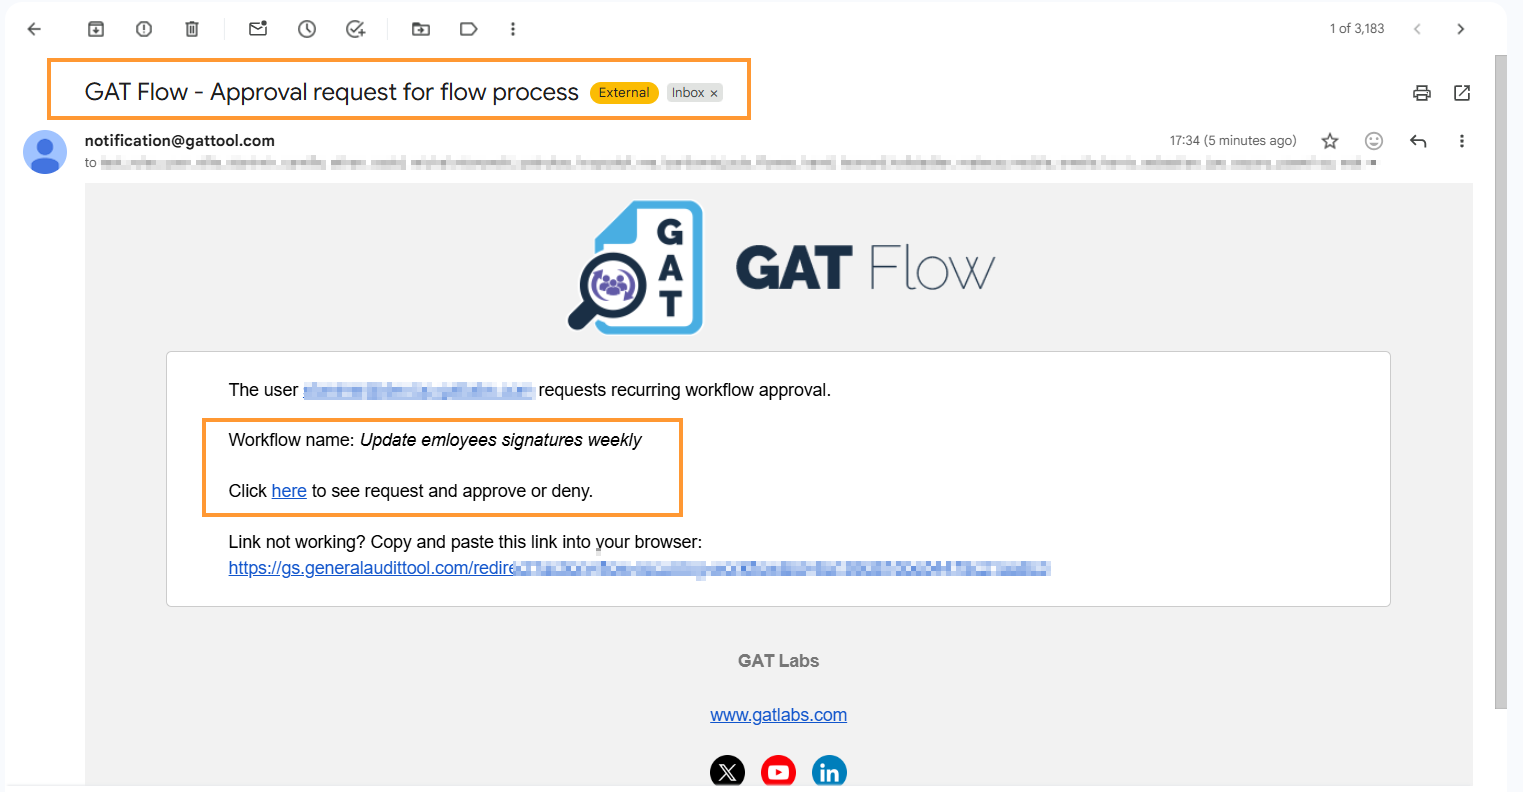
This will lead the Security Officer to the approval page in GAT Flow > Recurring workflow.
Result #
When the Recurring workflow is approved.
- The workflow will be triggered automatically on the occurrence time (in this case, weekly)
The result can be seen in Flow > Recurring workflow > Results
Overview #
Automating recurring workflows in GAT Flow allows Google Workspace administrators to effortlessly enforce and maintain crucial user settings – such as standardized email signatures – across specific organizational units, groups, or users.
By scheduling these tasks to run automatically based on precise time zones and cron expressions, IT teams can eliminate repetitive manual updates, bridge functionality gaps left by the standard Google Workspace Admin Console, and ensure continuous domain compliance with minimal oversight.
Why Automated, Time-Based Recurring Workflows Are Essential #
Implementing automated, time-based recurring workflows is highly beneficial because it transforms reactive administration into proactive, seamless governance.
Instead of manually auditing and updating user configurations, administrators can rely on the system to automatically reset, correct, or apply necessary settings at optimal times (such as after midnight or over weekends).
This minimizes human error, ensures that company branding and security policies remain perfectly uniform across the entire organization, and frees up valuable IT hours to focus on higher-priority strategic initiatives.


