

Settings Options Available when Scheduling Reports in GAT Shield Console #
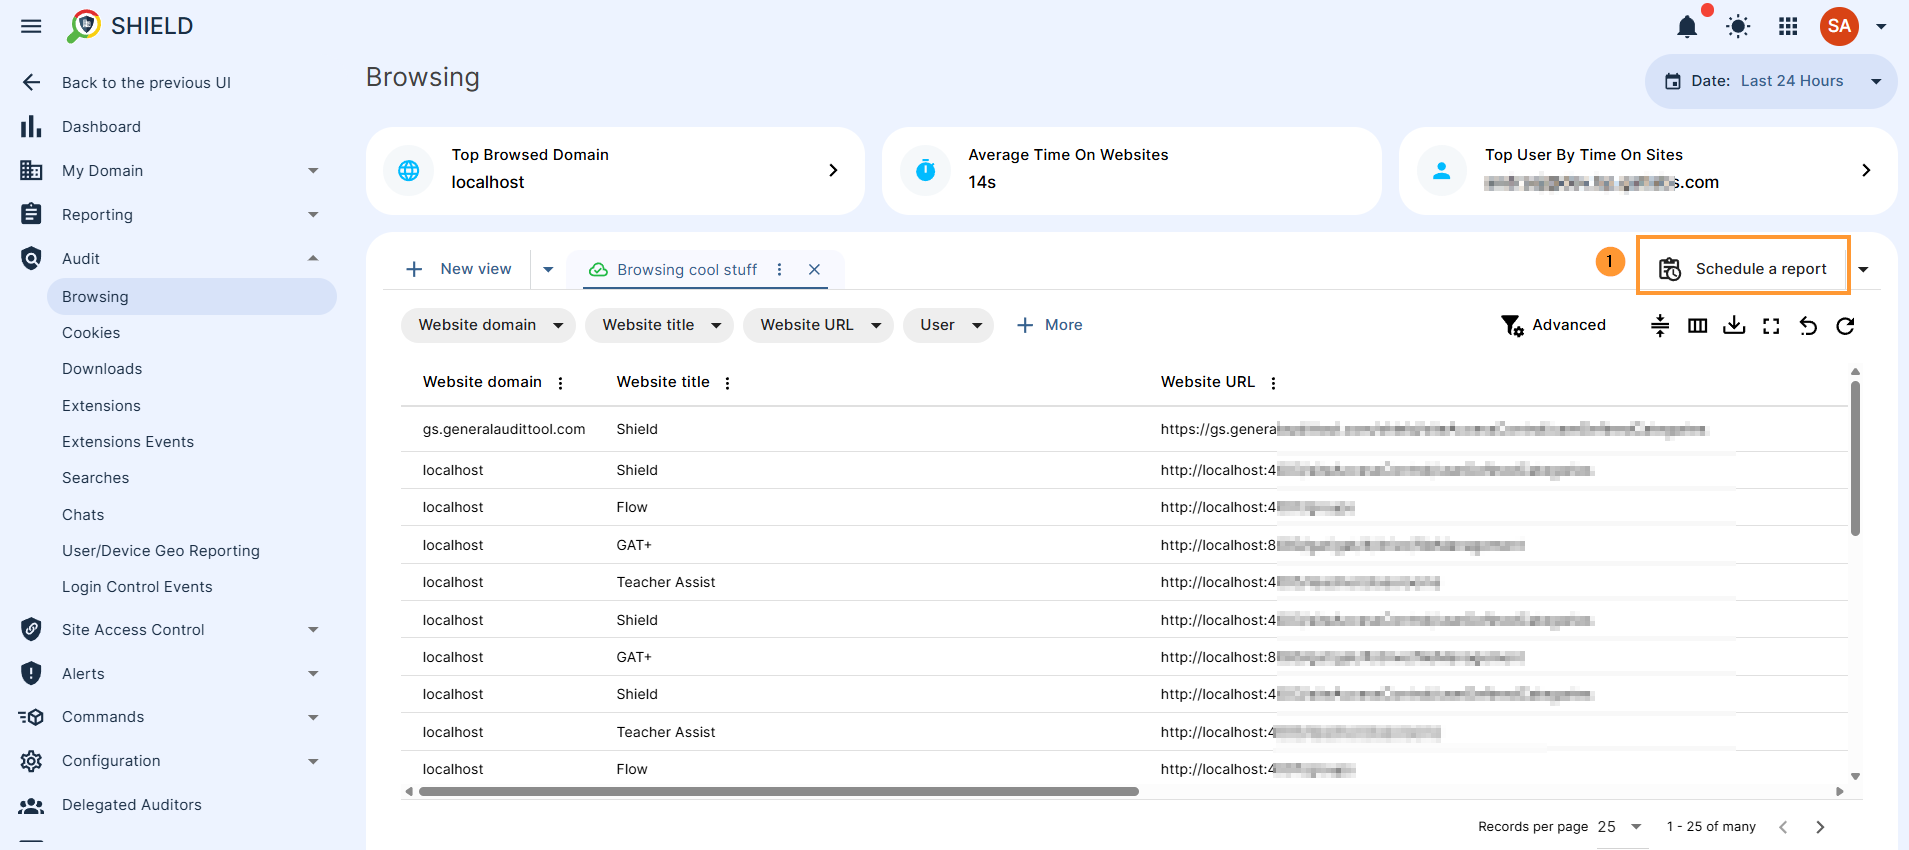
When you apply a filter in the auditing section of the GAT Shield console, you can convert it into an automated scheduled report by selecting the Scheduled checkbox.
This action reveals several configuration options, which are detailed in this post.
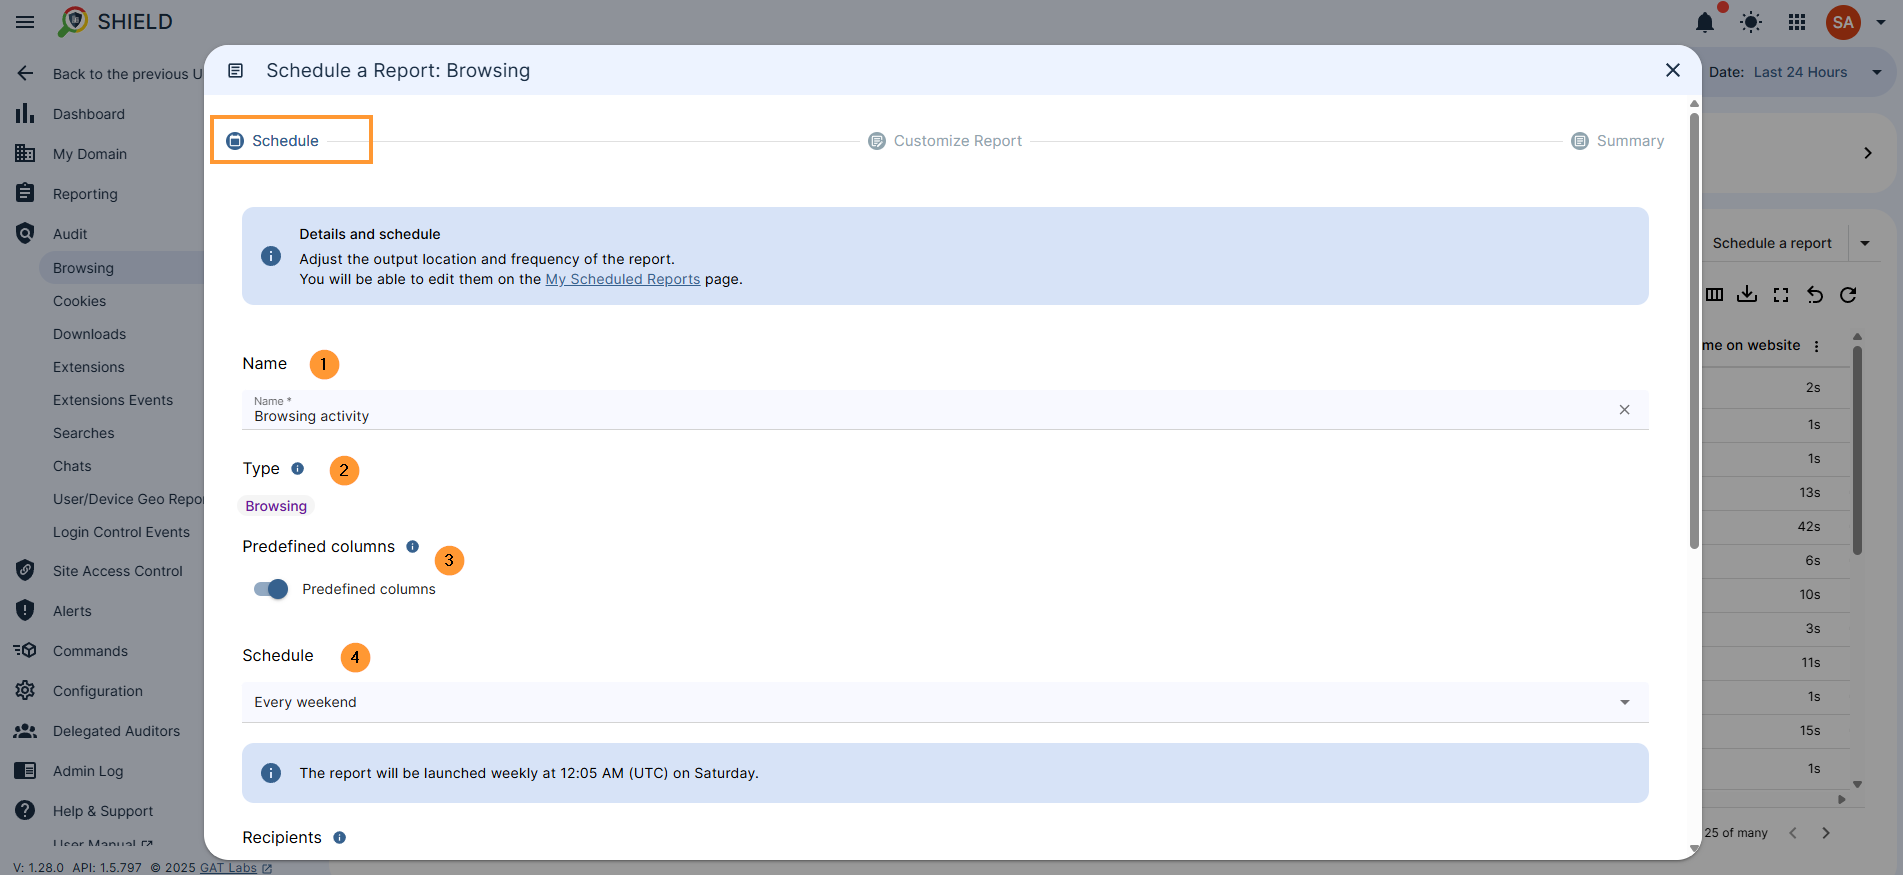
1. Schedule #
Details and schedule. Adjust the output location and frequency of the report.
- Name – Enter a name for the report
- Type – The type was completed automatically based on the table from which the Schedule Report was created and cannot be changed.
- Predefined columns – If checked, a predefined set of columns will be used. If unchecked, columns can be customized.
- Schedule – Select the occurrence time for the scheduled report
- Once – now
- Every day this time
- Every week this time
- Every day after midnight
- Every weekend
- Every first day of month
- Custom cron
- Recipients – Recipients are admin users who will receive the report. The first chosen recipient will be the owner of the report and has to be a user from the same domain.
- Adding any non-local user will make the file “Public with link”. We recommend setting the output path to a directory with the correct permissions
- Output and Location – Select output type and location for where the report is to be set
- Spreadsheet – Google Drive
- CSV – Google Drive
- Cloud Storage
- Custom Drive Folder Path & Filename – Customize Path & Filename, use the following format:
- Folder1/Folder2/ or Folder1/Filename
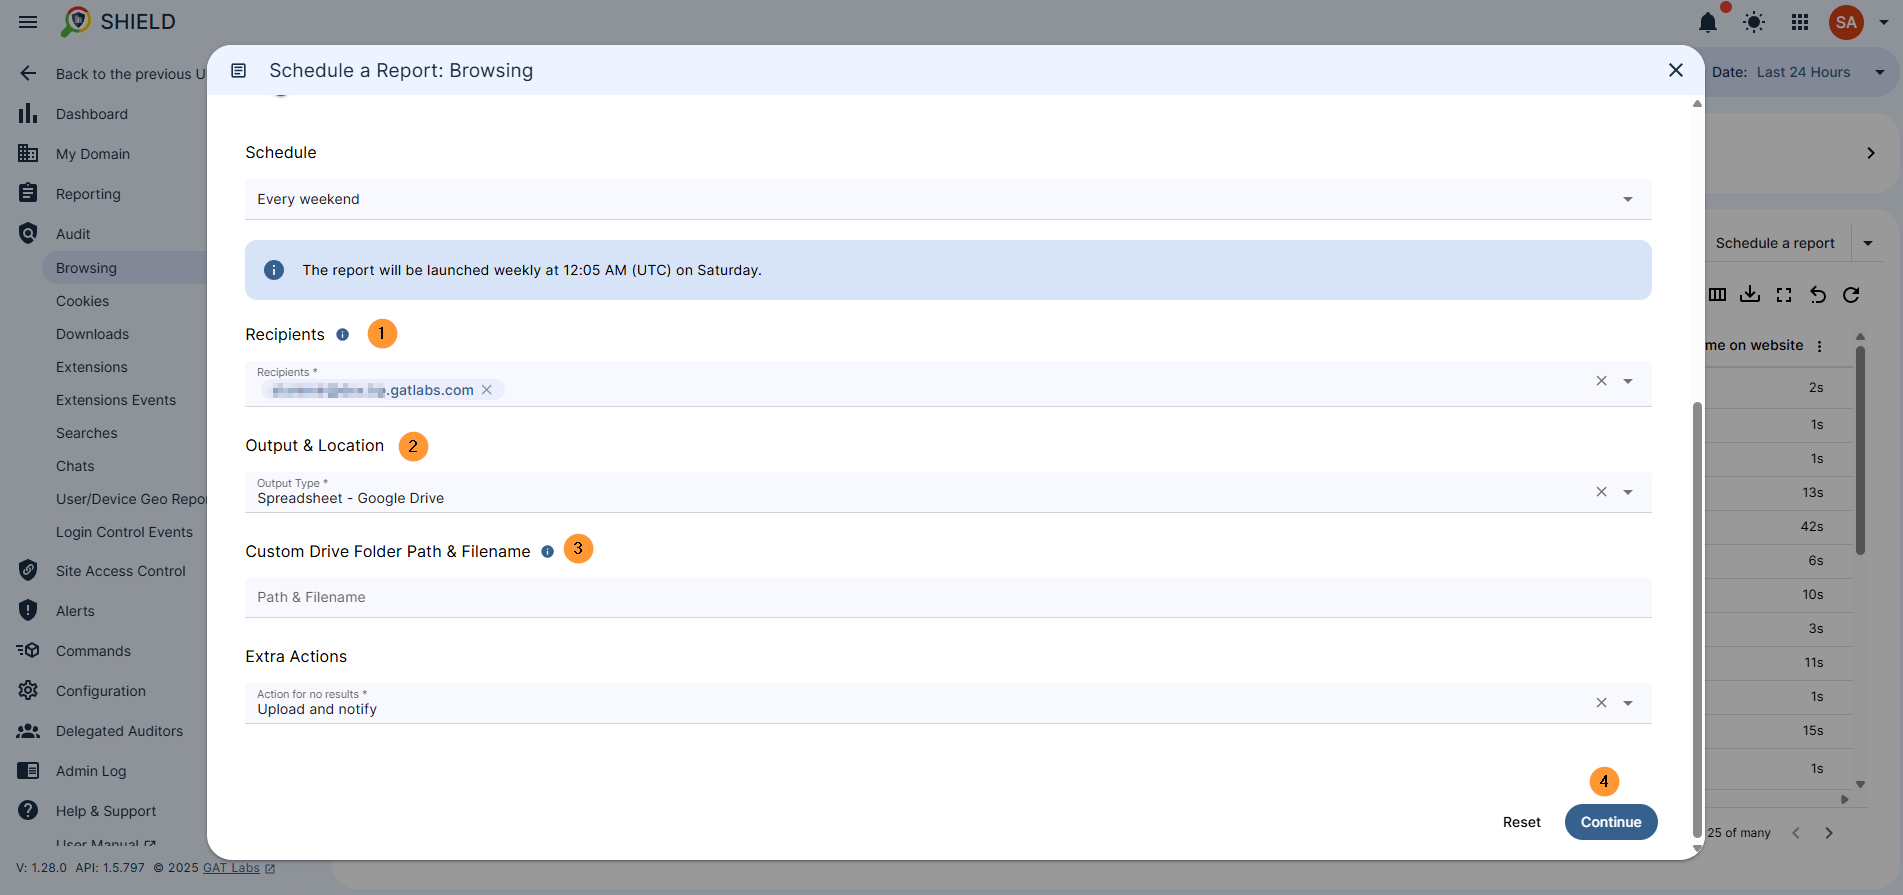
Click to continue to proceed
2. Customize the report #
In the customized report, Adjust filters for the desired output of the report. A predefined set of columns will be used when generating the report. The data below includes the last 7 days. The data exported covers the last 183 days (retention period).
Select any and apply a filter for any data you want to schedule a report for.
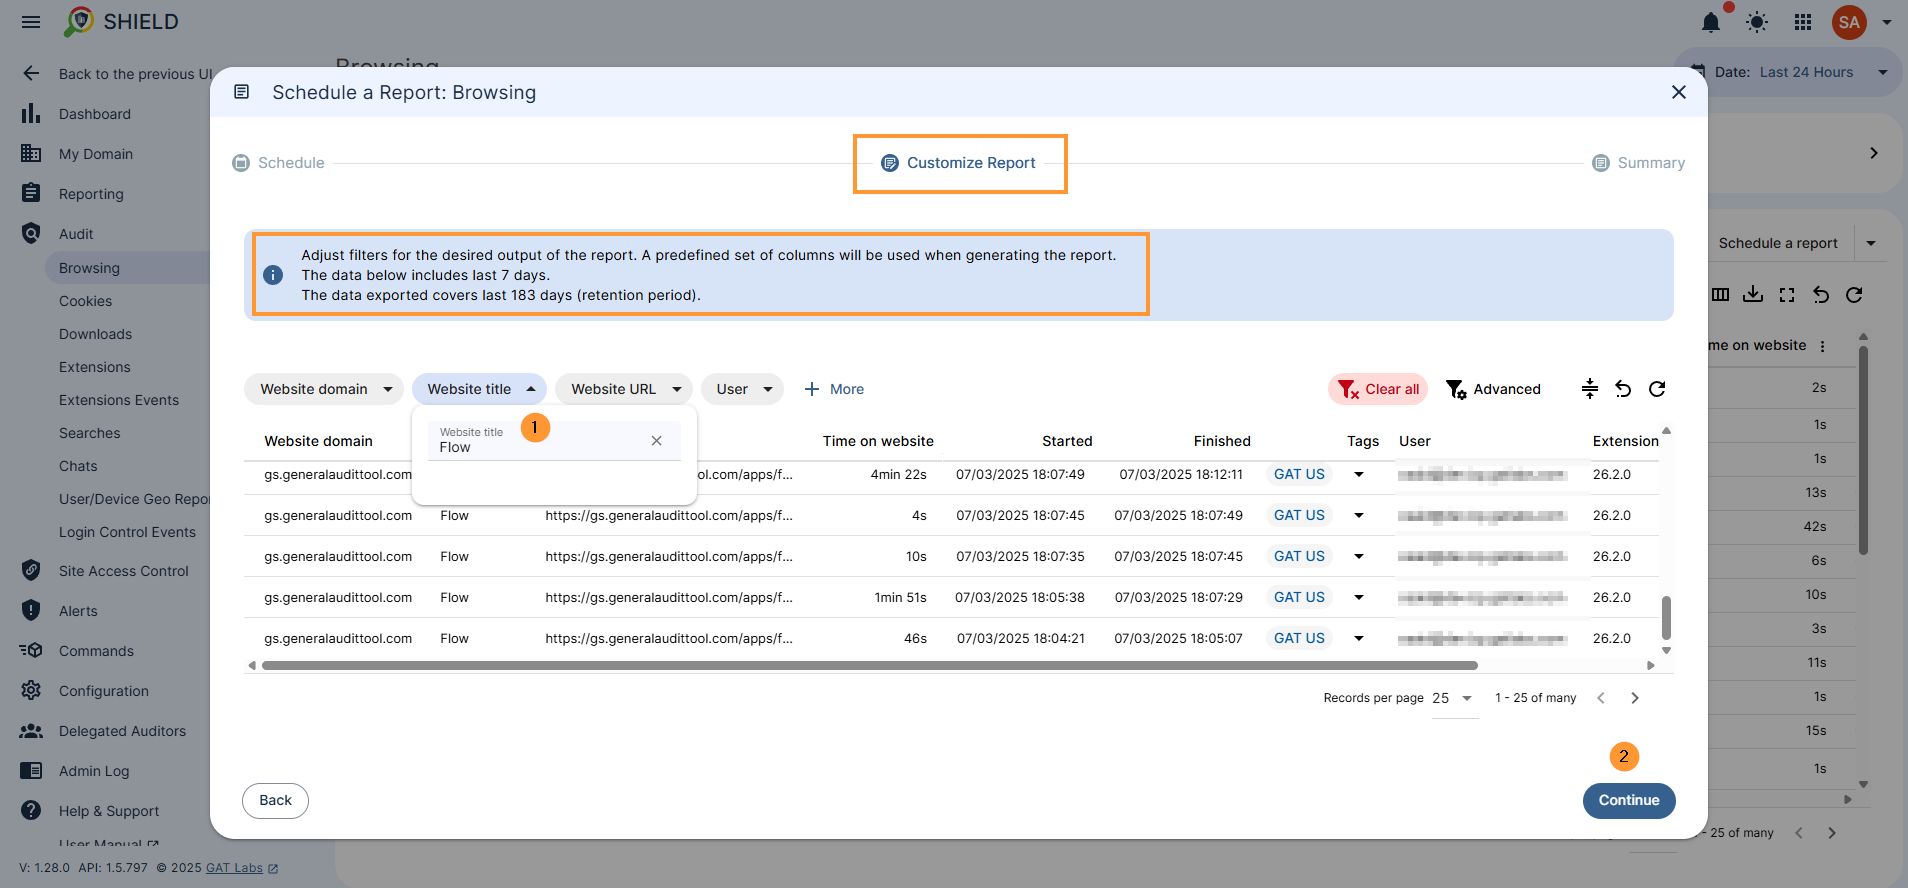
Click on the continue button to proceed
3. Summary #
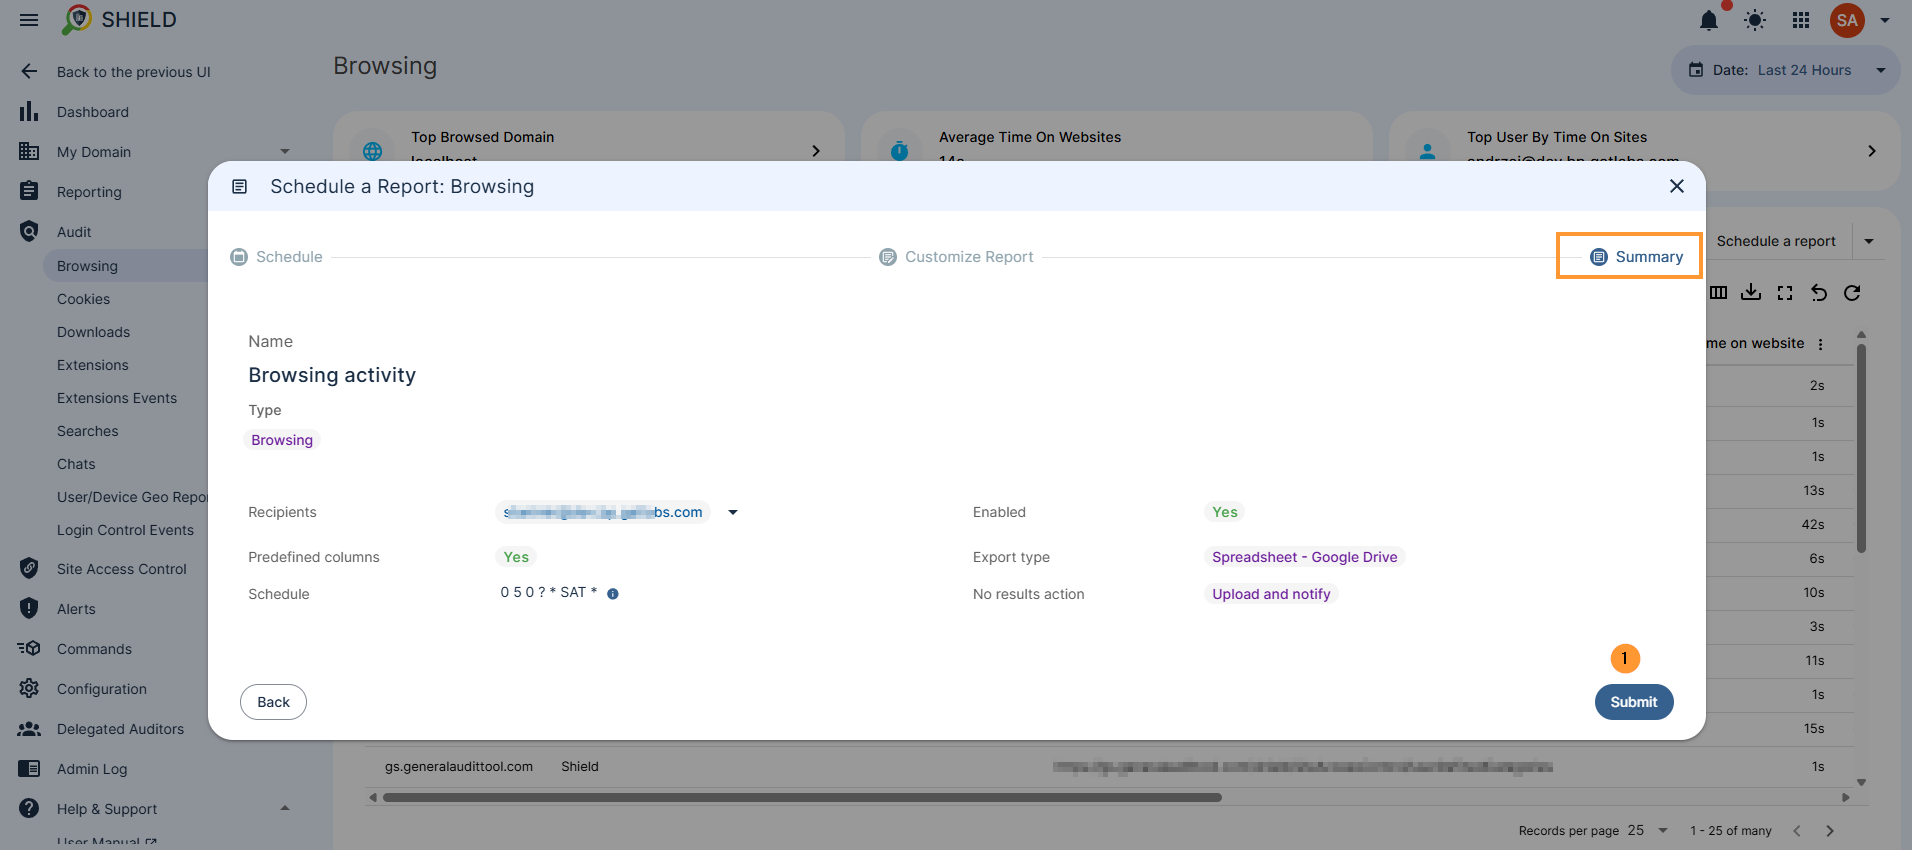
When the report is ready, click on the submit button.
4. Result #
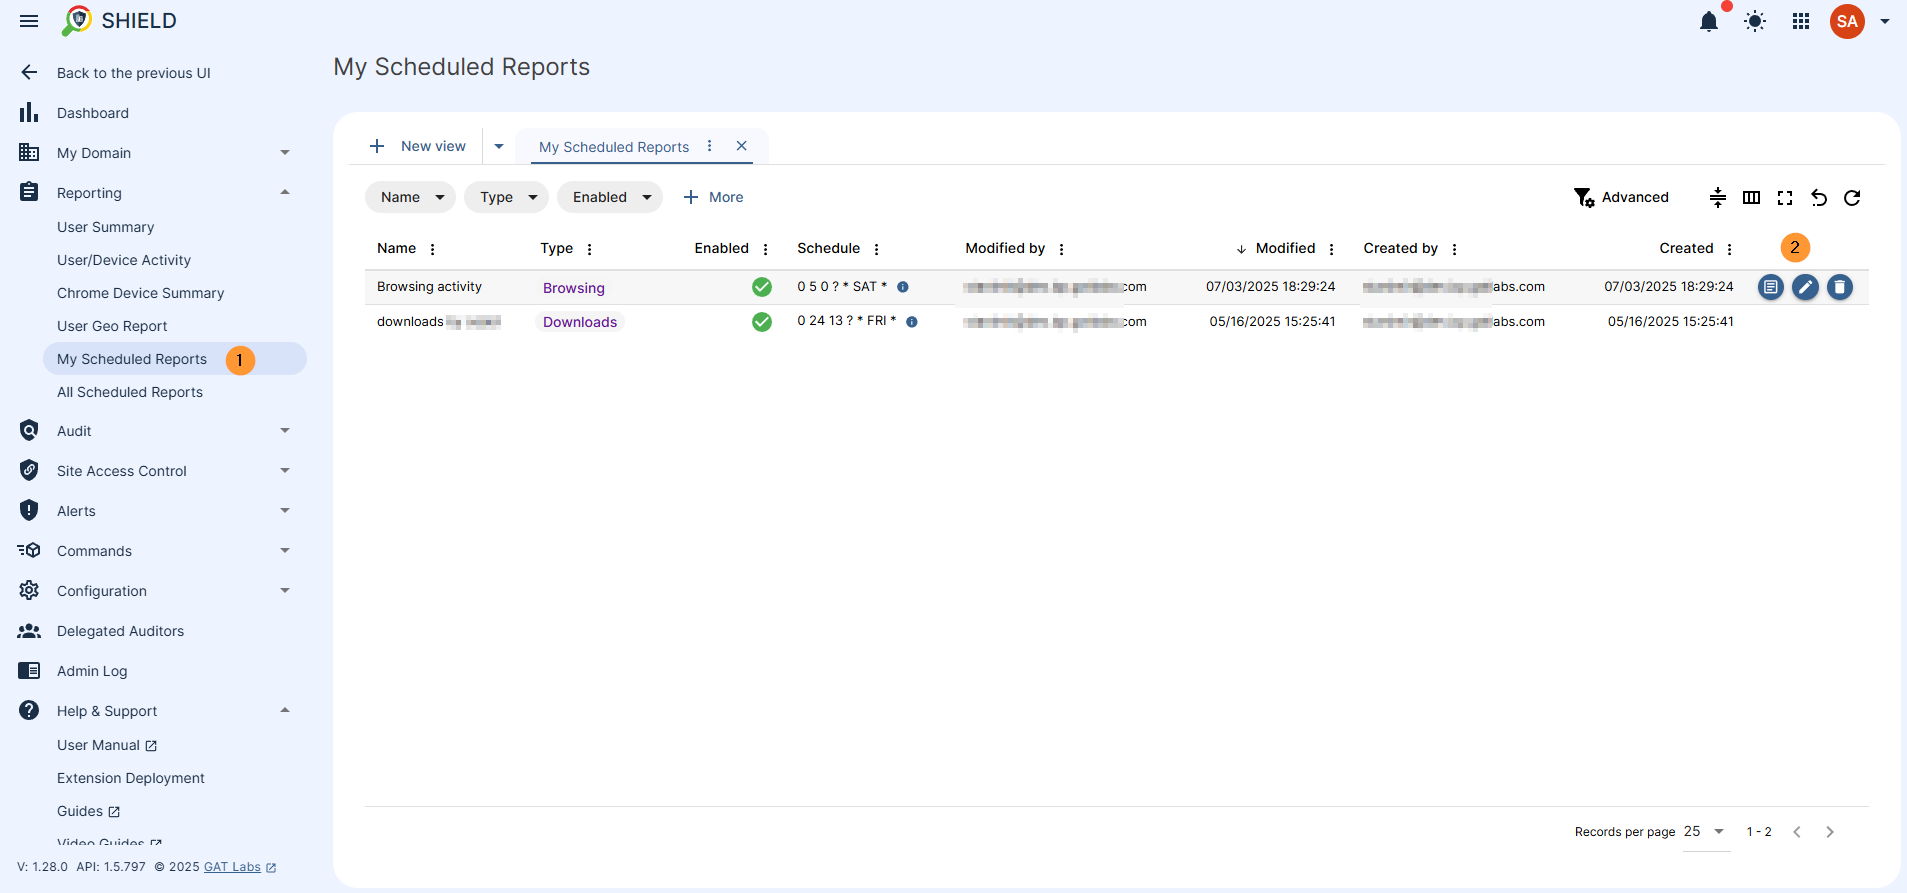
As a result, the schedule report will be set up for the selected browsing filter data, and the recipient will be notified on the scheduled date.
The report will be available in the My Scheduled reports audit section under the Reporting tab.
When you hover over the scheduled report on the right side, you will see buttons to view the details of the report, edit the report, or delete the report.
5 . Conclusion #
Scheduled reports help streamline monitoring by delivering filtered audit data of your users and devices directly to your inbox at regular intervals.
By setting them up correctly, you can ensure consistent oversight without the need to manually generate reports each time.


