How to Onboard multiple Google Workspace users in bulk using GAT Flow #
GAT Flow is a user management tool, that allows Google Workspace Admins to take bulk actions on multiple users.
The type of actions is for Onboarding, Offboarding, and Modifying users of the domain.
Create onboarding workflow #
Navigate to Flow > Create workflow
In Workflow type fill in the details
- Name – enter workflow name
- Description – enter workflow description
- Type – select Onboarding
- Run immediately after approval – use to select further data of when the onboarding to happen
- Next – select Next to proceed

Run immediately after approval allows the workflow to be done in the future time. More details can be found here
Click on Next to proceed
Under Search for users:
- Select the domain (1)
- Create an email template (2) from the available variables – how the email will be set up once the account is created
- Generate user password – enable checkmark (3) to generate the user’s password and send it to the Password receiver (4)
- Workflow creator – generated password will be sent to Admin (or Delegate Flow user) who creates the workflow
- Manager – generated password will be sent to the user added as their Manager
- User private email – generated password will be sent to the newly created user’s Private emails
- Click on Import users or Add new user below

Use cases for email variables #
First few letters of first/last name variable #
“The ‘First few letters of first name’ and ‘First few letters of last name’ variables let you choose how many characters from the user’s first or last name will appear in the email alias (just specify the number of letters).”

Date variable #
The ‘Date‘ variable allows the use current date, and defines the current year (available in two formats: YYYY and YY), month (MM), and date (DD):

Custom variable #
To create a variable that does not yet exist, enter it in the empty field and use the “+” button to add it to the template:

Import bulk users #
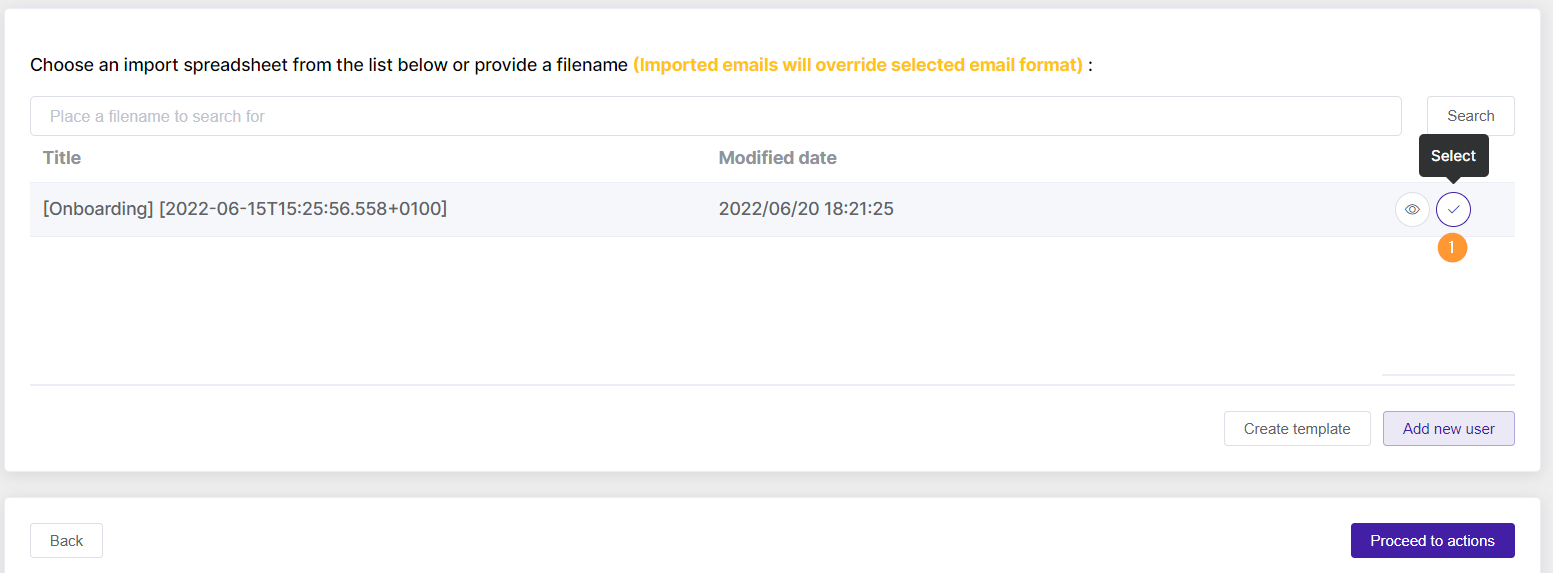
When clicking on Import users (5), the section will expand and you can click on the Create template button to generate your own template:

A new spreadsheet document will be generated and displayed below:

Click on View spreadsheet (“eye” icon) (1)
A new tab will be loaded on your browser with the Google spreadsheet.
Fill in the details required for the new users to be created
Note: You can copy and paste the data from a pre-prepared sheet and adjust accordingly.

Close the spreadsheet and click on the checkmark to select and import the Sheet with the Users to be onboarded

The users will be displayed as filled in manually.
Scroll down to view and audit the users again. You can expand the view and edit or remove additional info for the accounts.

Scroll down to the Proceed to actions button.

Under Choose actions select any of the actions you want to take for the new accounts.

- Predefined action set – Select a predefined action set – if you have and want to use one. More information can be found here.
- Select actions manually – select any of the actions available from the left menu
Send approval request #
When the actions are selected click on Send approval request

Pop up window will be displayed, click Yes to proceed

Security Officer approval #
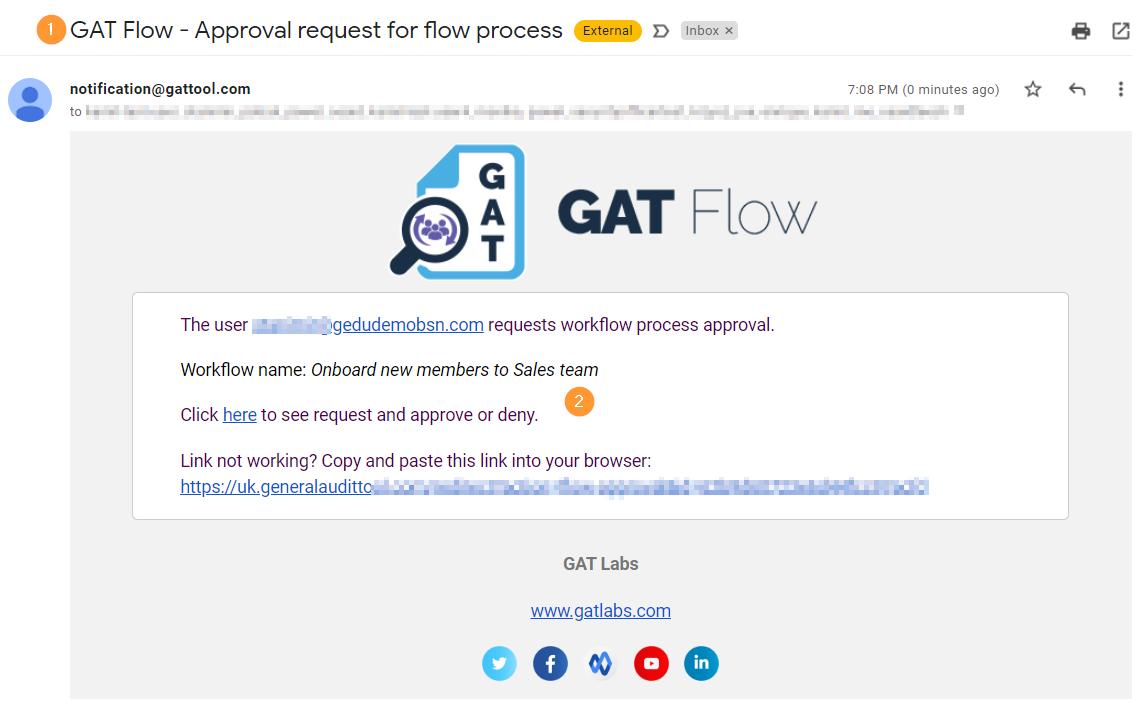
This will trigger an email to the Security Officer to be approved.
The Security officer will receive an email notification with the request to be approved.

The Security Officer will be navigated to Flow > Approval
Click on Approve or Deny

Note: If there is a pre-approval set up a second message will be displayed, proceed right away. Check for more details
Result #
The result can be seen in the Workflow tab by the Admin
The status of the job will be Approved or Denied based on the Security officer’s decision.

In the Details (eye icon) the Admin can see all the actions that were done via the Workflow.

- The users will be onboarded – Create a user.
- Password sent to the Workflow creator (Admin)

- Add user to calendars – Added to the selected calendars

- Subscribed to selected calendars.

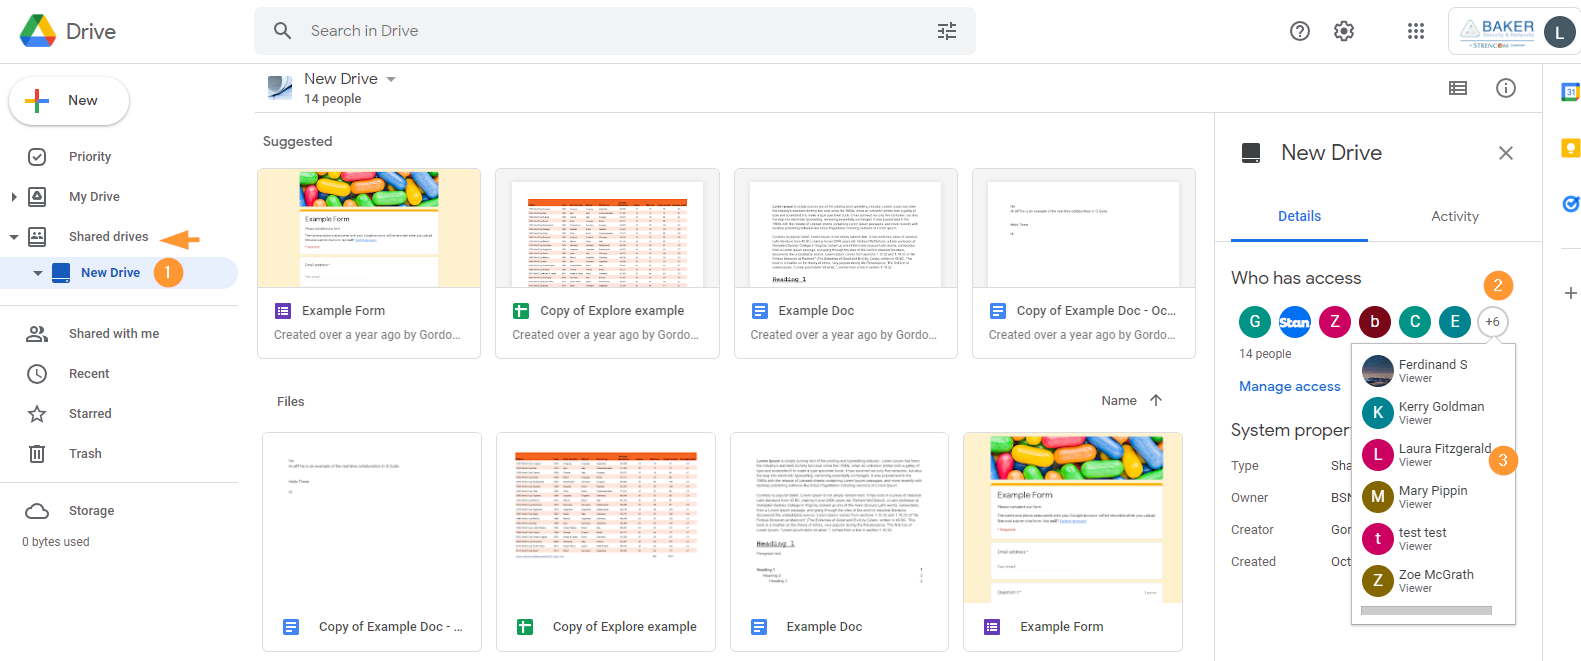
- Folder Shared Drive permission – Added as a viewer to selected Shared Drive – Viewer to Shared Drive called “New Drive”


