

GAT Flow allows an Event workflow to be triggered when a custom attribute date is reached.
This automated workflow now enables the domain admins to set up a workflow triggered when a selected date in a custom attribute is reached.
The Admins can use any Custom attribute with a “date format” as a trigger for an Event workflow.
This can be easily set up in Flow > Event workflow
Custom Attribute Date Workflow GAT Flow #
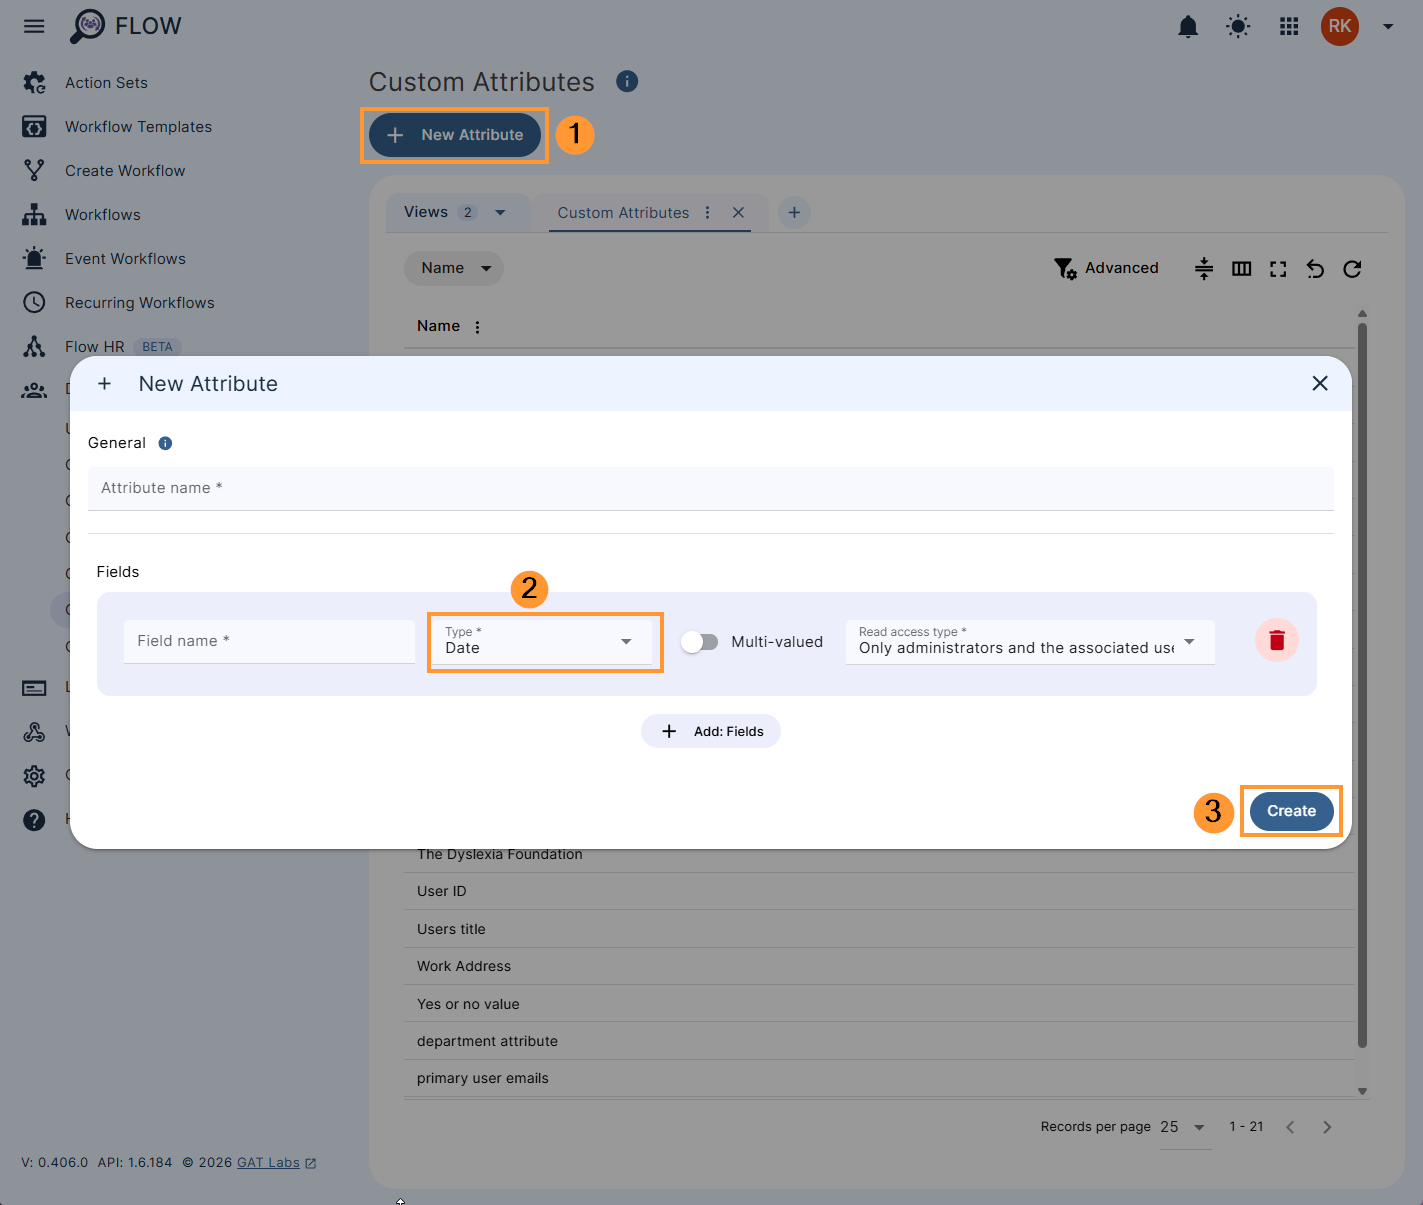
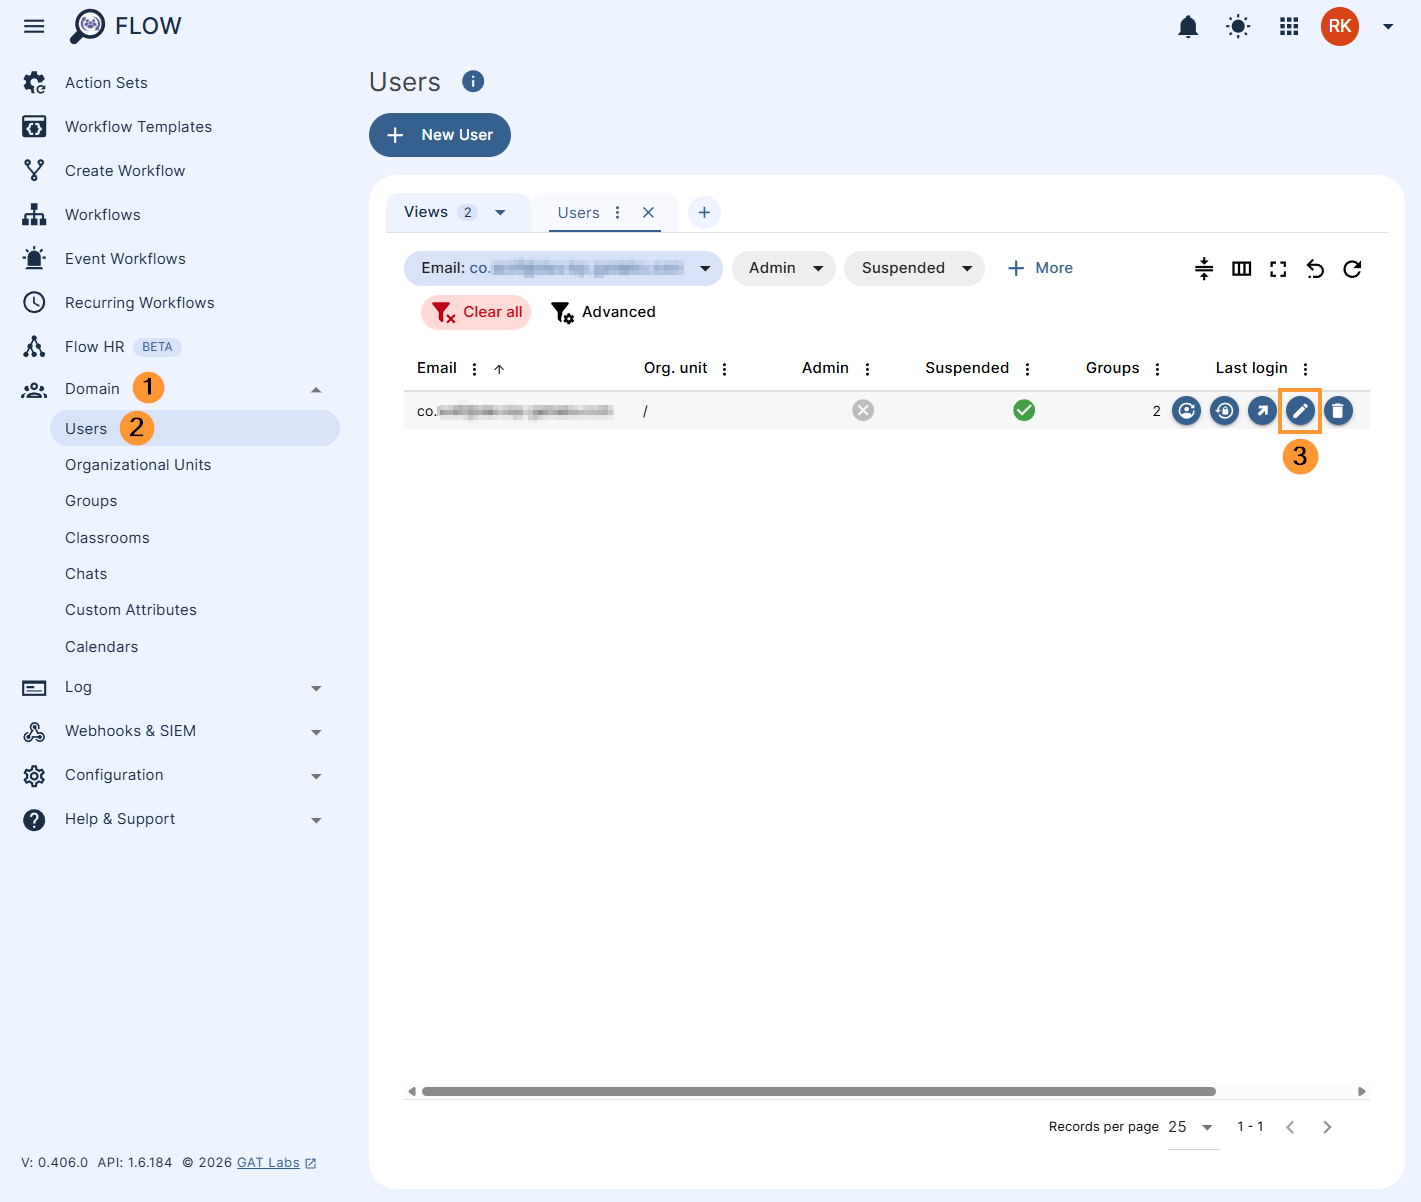
As a prerequisite, you must have a custom attribute in a Date format value and non-multi-valued.
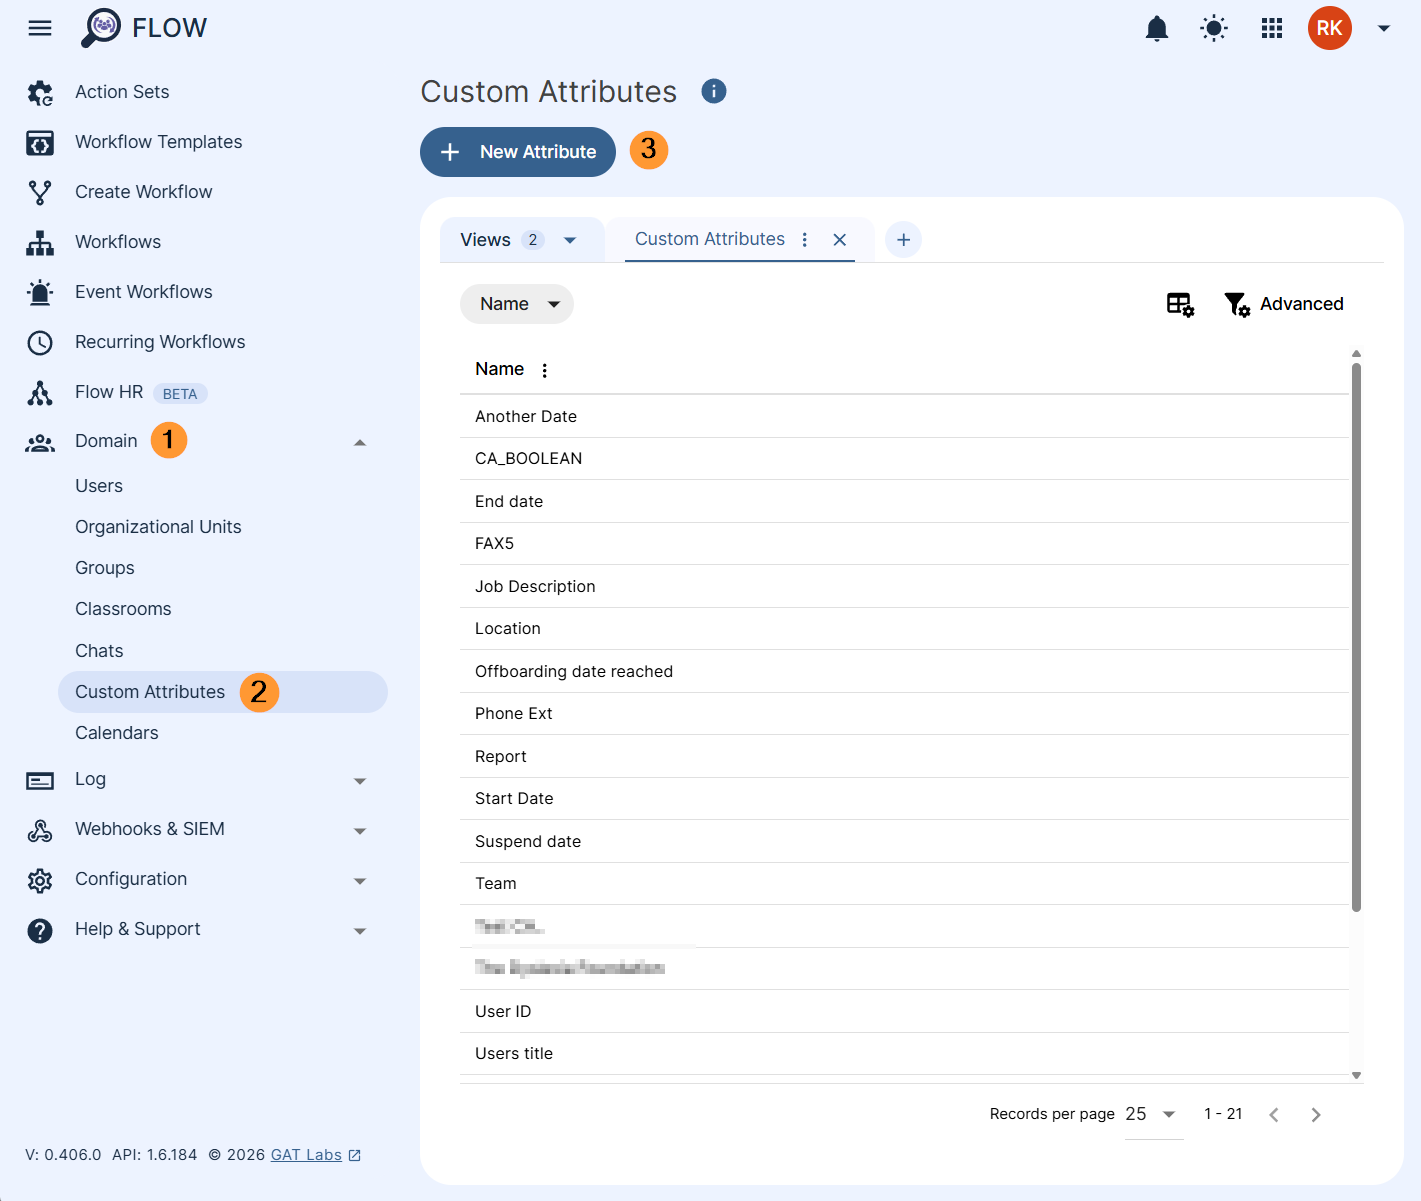
This can be easily checked or created in Flow > Domain > Custom attributes > + New Attribute
Create Event workflow #
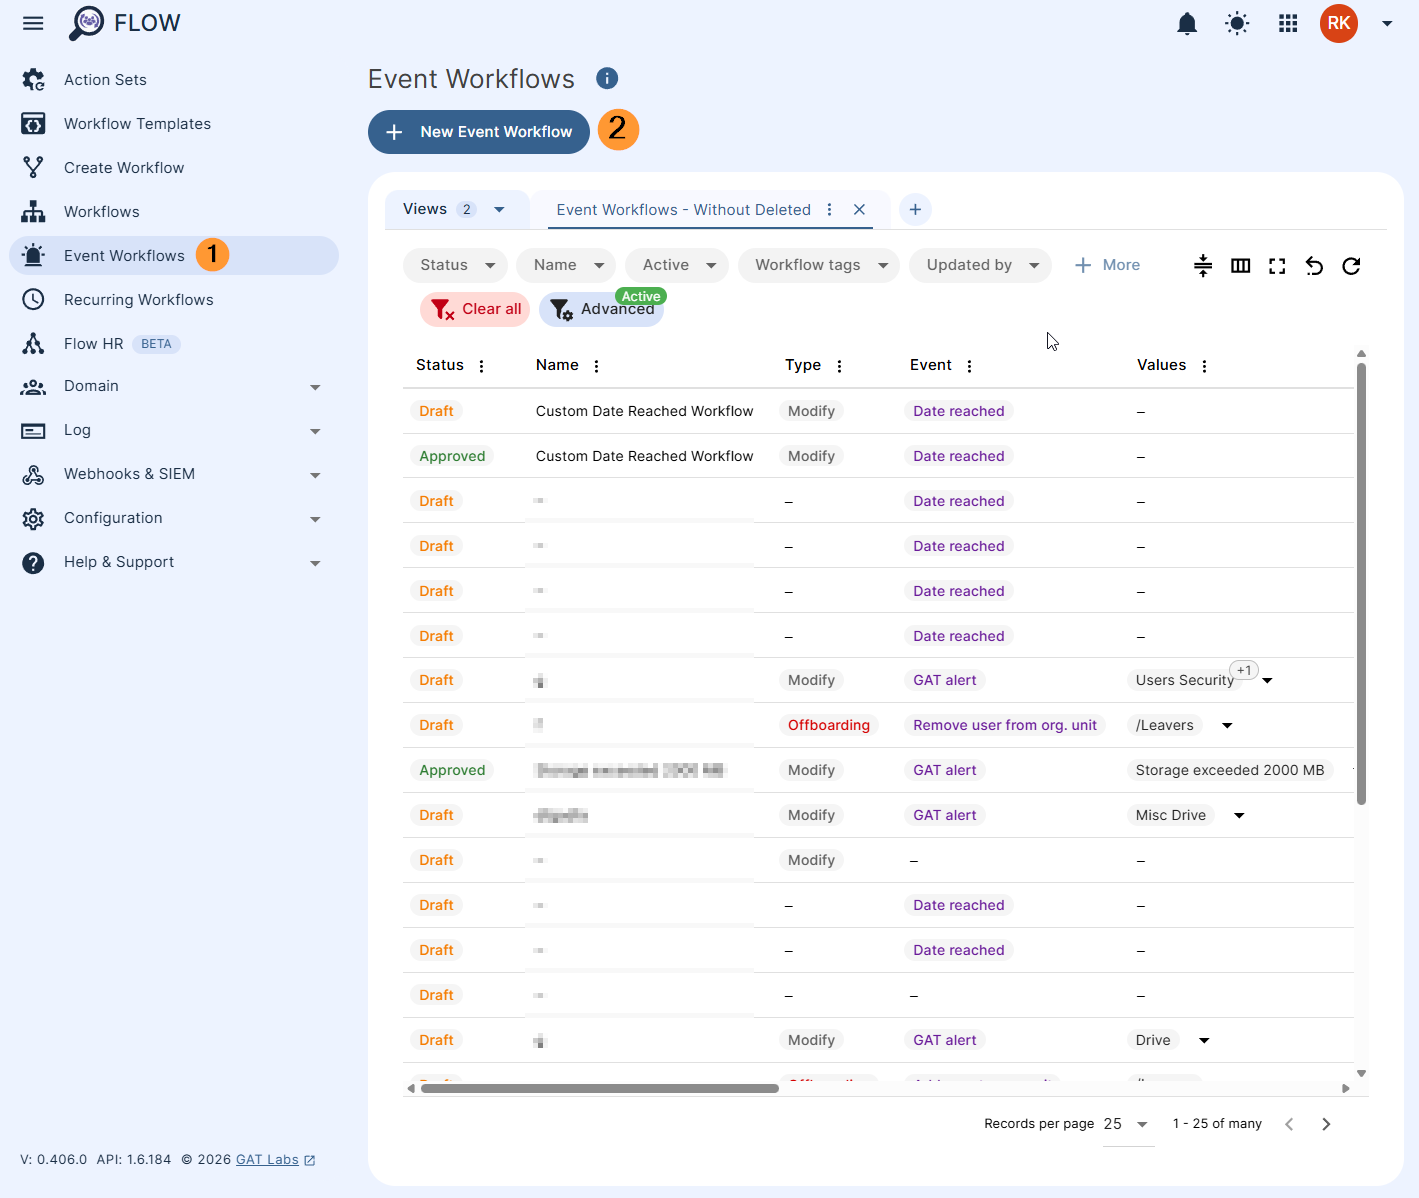
Navigate to Flow > Event Workflows > + New Event Workflow
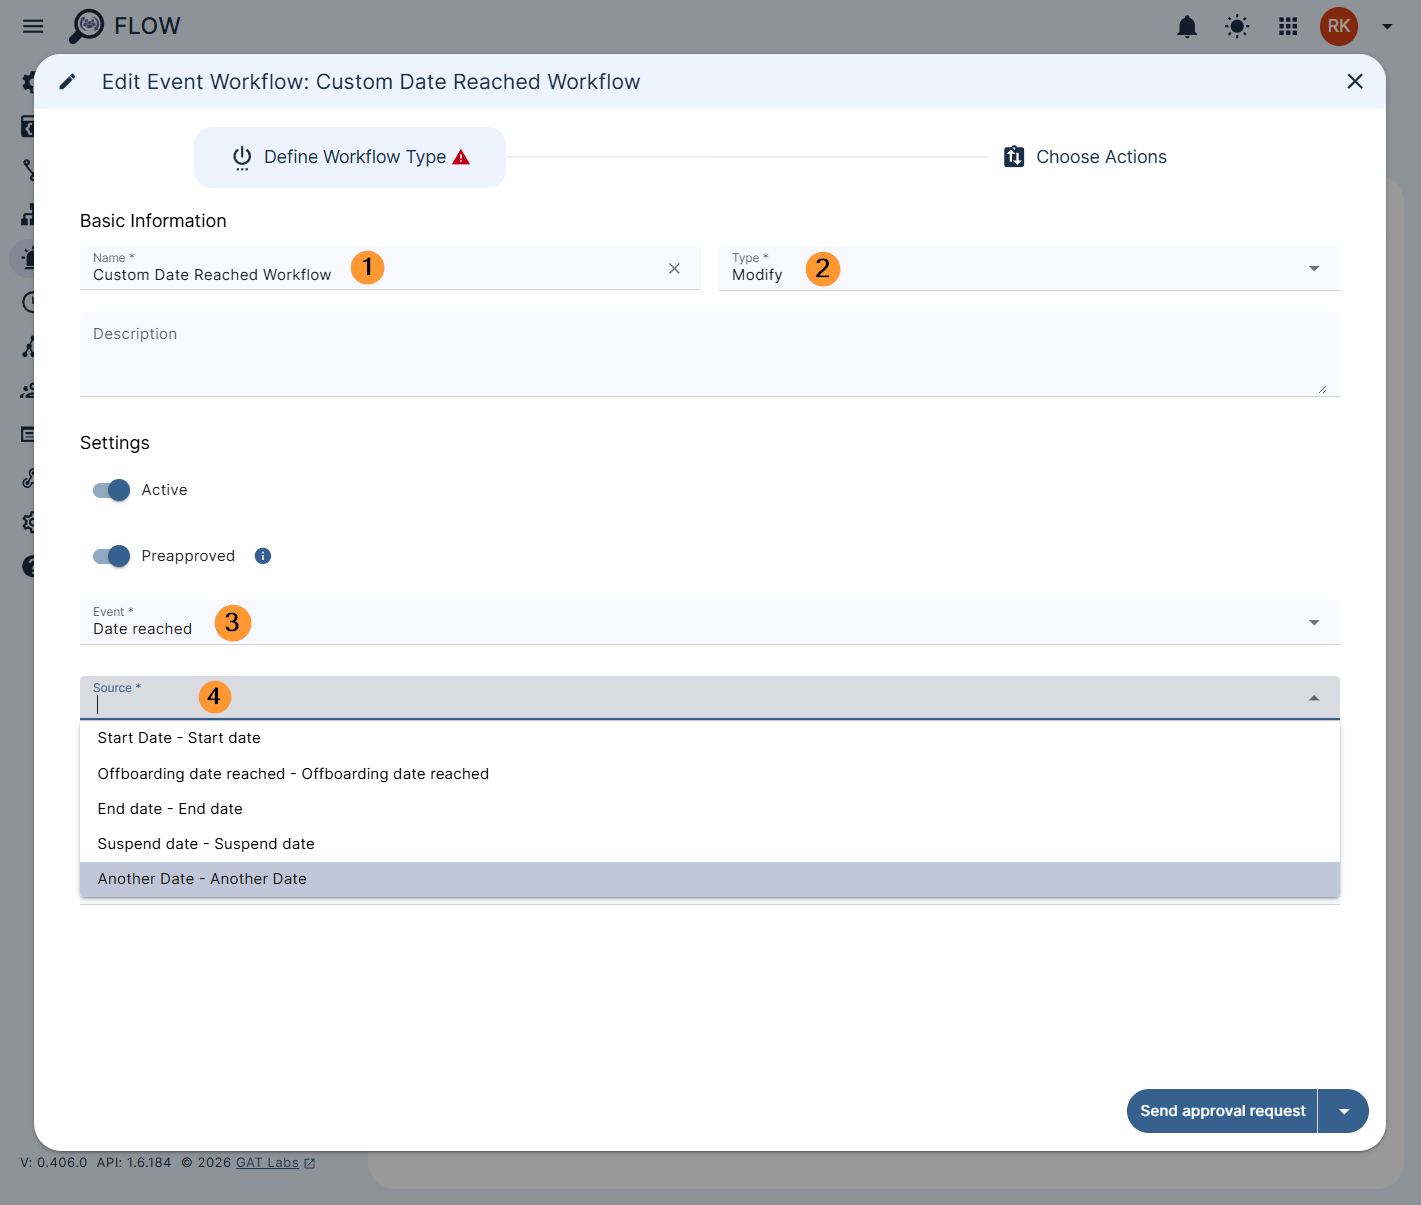
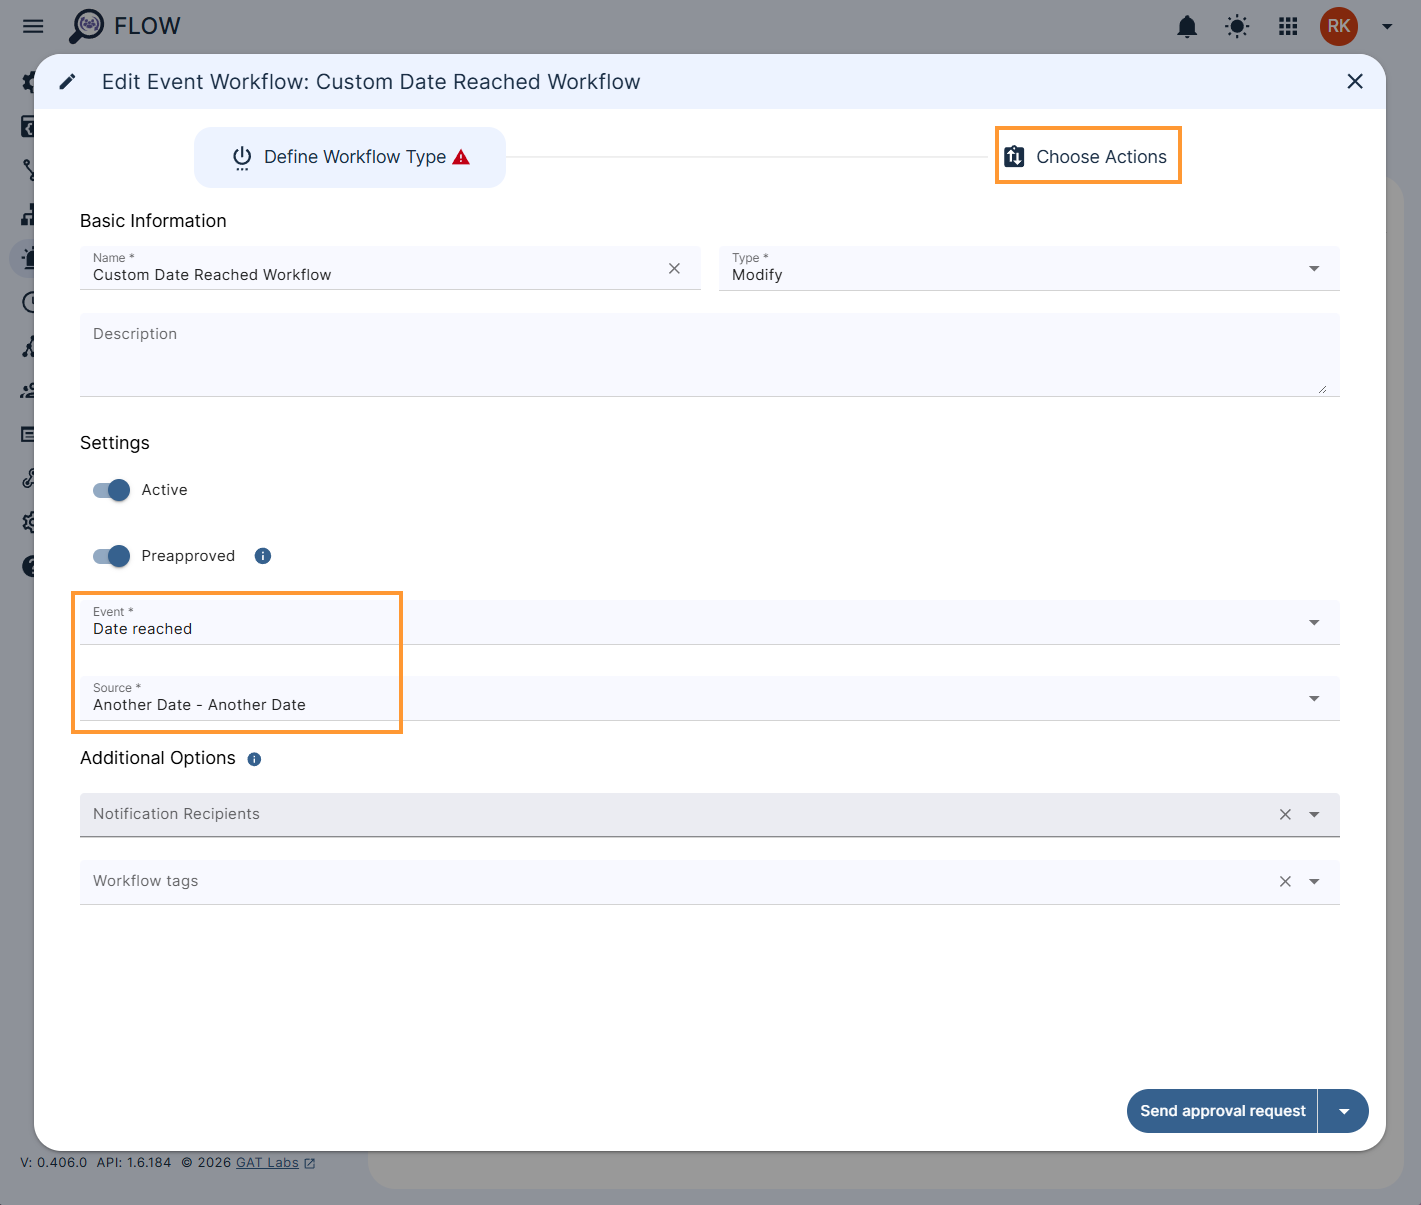
In the creation of the workflow, select Event > Date Reached
- Name – Enter the name for the workflow.
- Type – Select Modify.
- Event – Select the event for the trigger – ‘Date Reached’.
- Source – Select the custom attribute with the date that will trigger the workflow.
-
If the date specified in this user’s custom attribute is reached, the workflow will be triggered.
-
- Notification Recipients – (optional) To notify a user when the workflow completes.
- Workflow tags – (optional) – Select users and groups will be notified when the workflow ends.
- Active – Activate the workflow.
- Preapproved – If Preapproved is enabled, every workflow that is triggered by an event will run automatically approved. If disabled, each time the workflow is triggered, it will need separate approval.
- Choose Actions – Click to proceed and select actions.
Choose an action #
In the Choose Actions section, click the plus symbol beside the ‘Start’ node and click ‘Add action’ to select any action you want to take for the users whose custom attribute is reached.
Select any action you need.
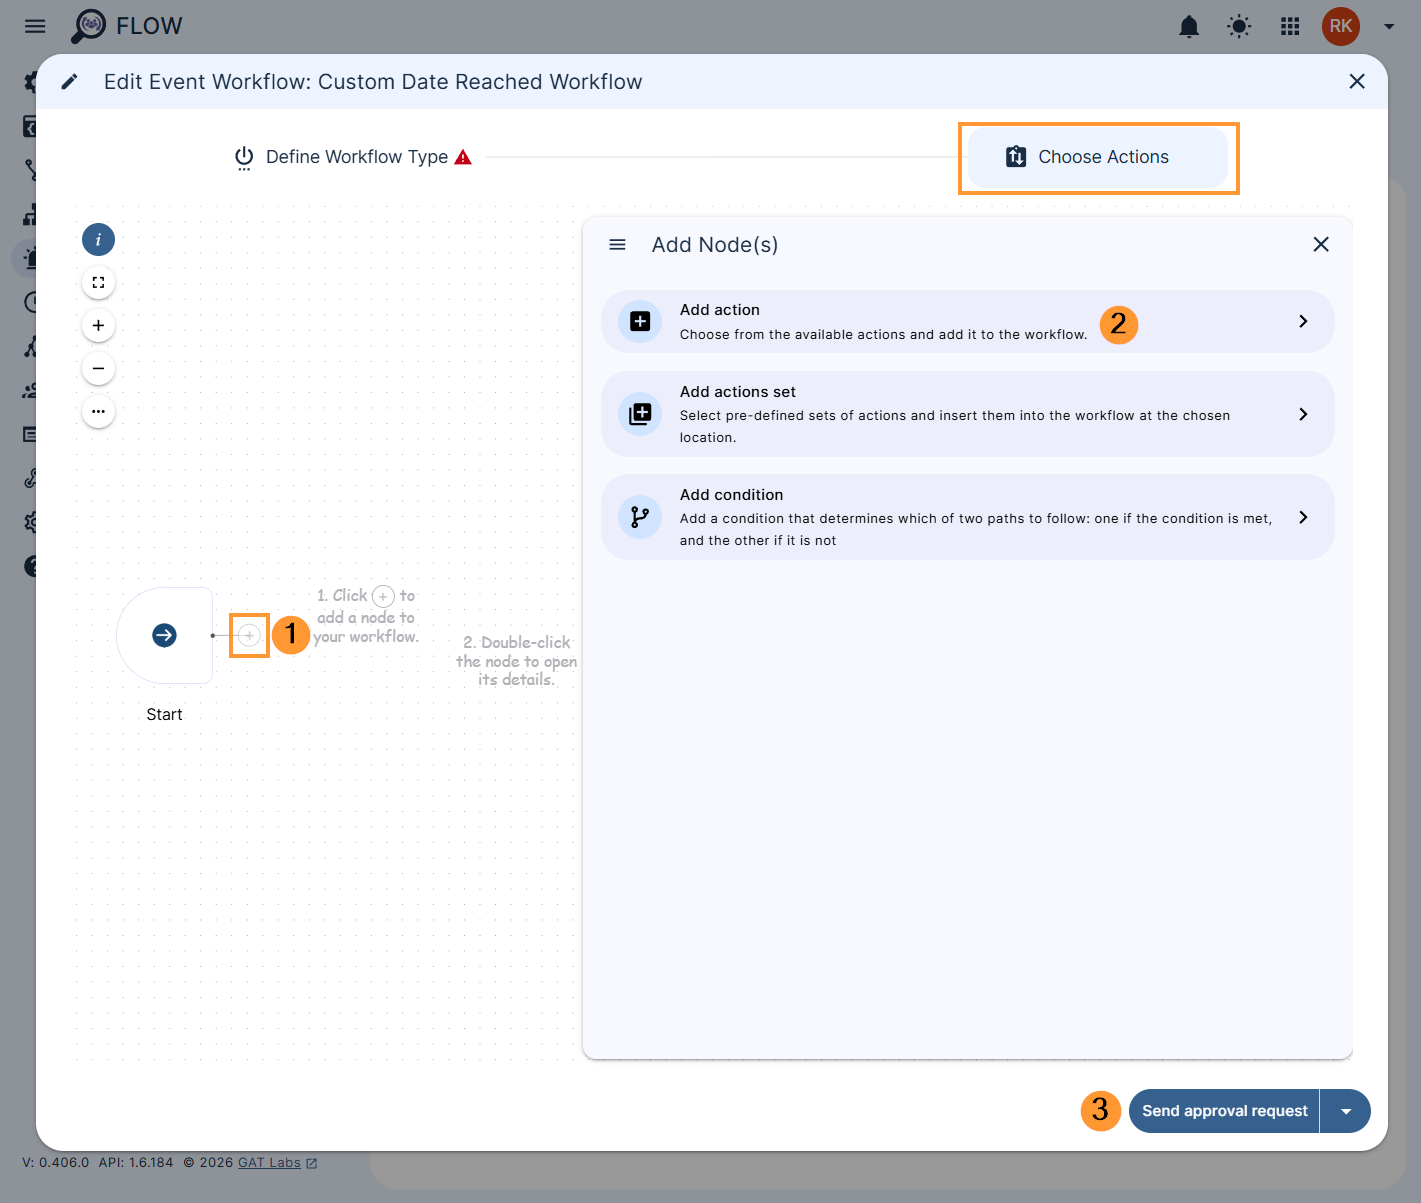
When ready, click on Send approval request
Result #
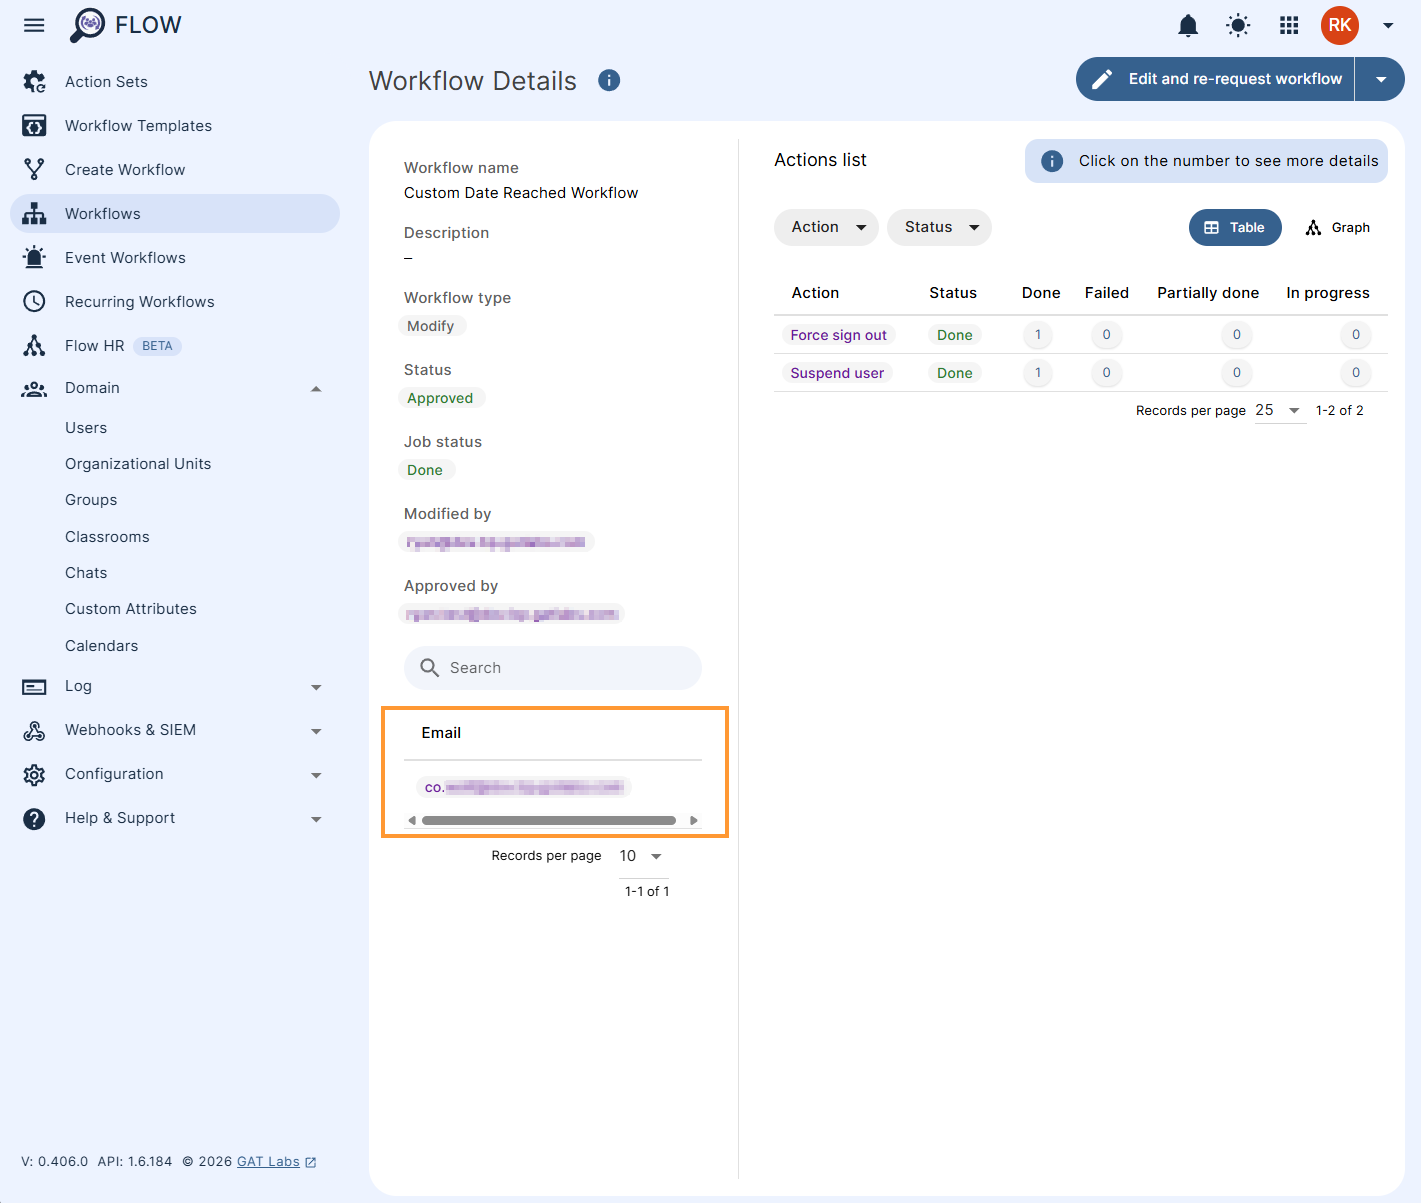
When the workflow is approved, and the custom attribute date is reached, the workflow will be executed.
The actions selected will be run when the date in the custom attribute is reached.
For example, if the user’s custom attribute date has been updated, the workflow will be triggered.
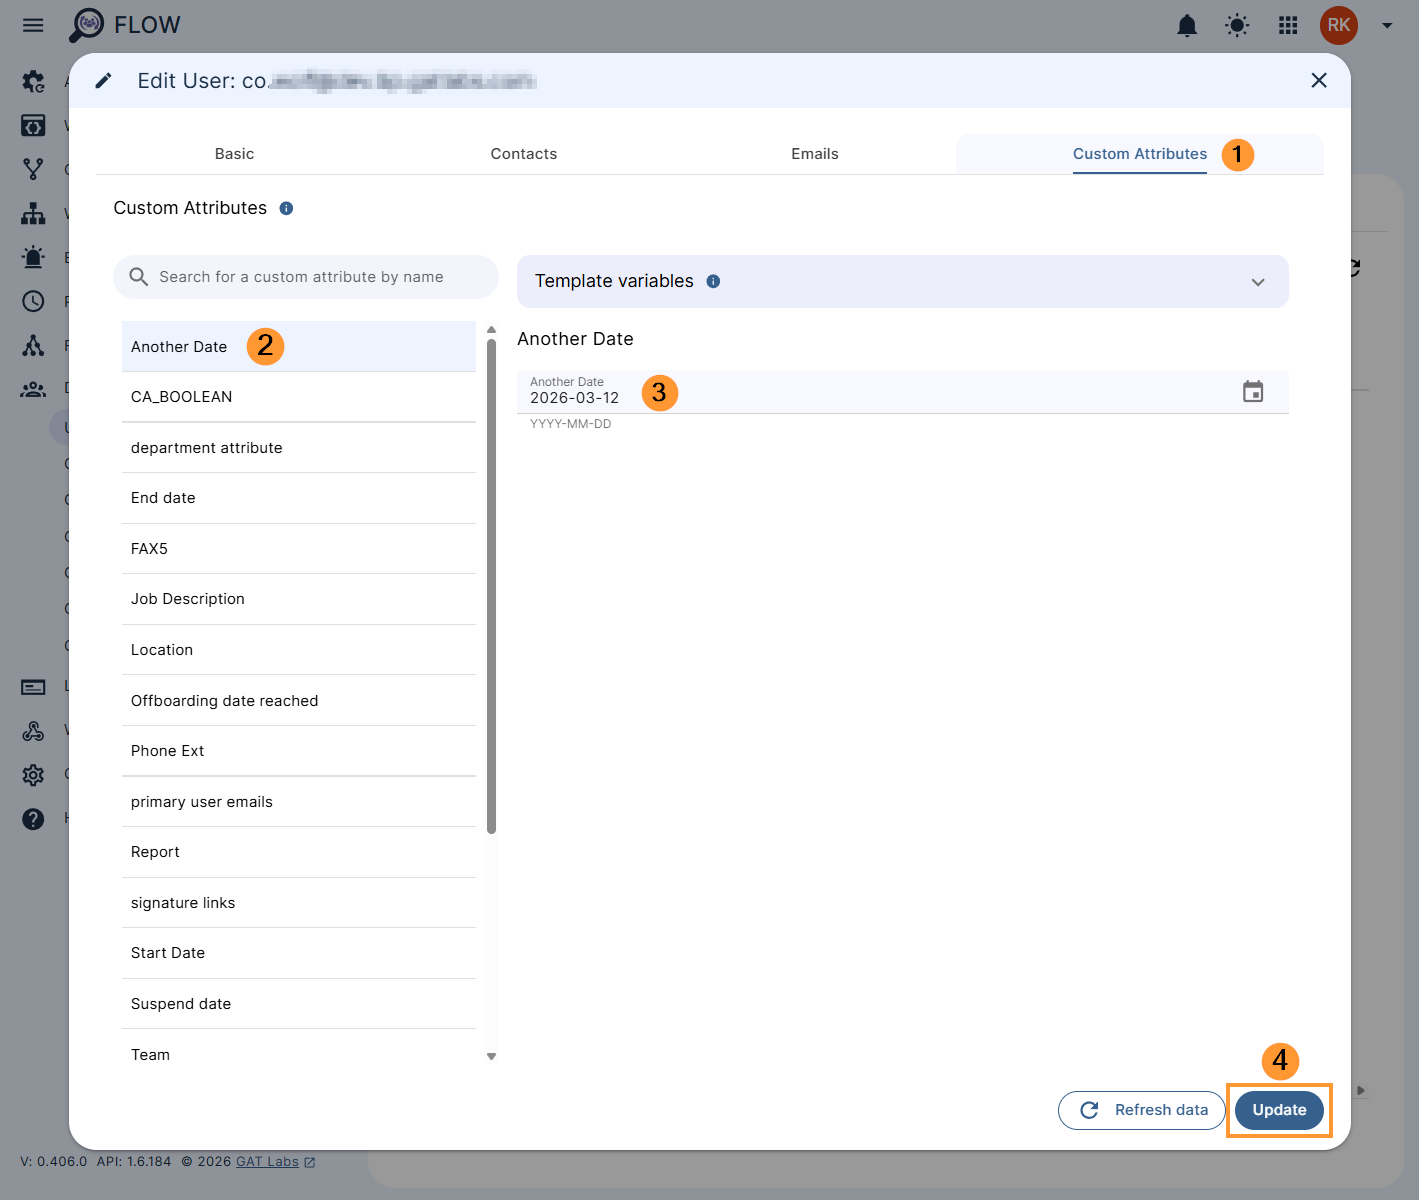
The workflow will be executed, and the actions will take effect.
The affected users will be the ones whose date in the custom attribute has reached.
Conclusion #
The date in the custom attribute can be used to take automated actions for every user whose date in the custom attribute has reached.
The ideal solution for automated action execution for any user.


