
How to Find and delete Phishing emails in Google Workspace? #
There are multiple reasons to have the ability to identify and remove emails that have been received by all or any of your domain users.
Here are some unwanted scenarios:
- Phishing emails
- An email is sent to the wrong user or group
- An email contains inappropriate content
- An email that contains sensitive information
- An email that has gone past spam filtering
GAT+ allows admins to find and remove these emails from all accounts at once.
Find emails #
To find the emails in real-time we will use Email Content Search
Note: This will find any email as long as it exists in any of your users’ email box.
In GAT+ click on the Email tab then select Email Content Search

In the “Query builder” enter the search parameters.
For this example, we search for the Email subject:
- Query: subject: “Important email for Sales team”
- Scope: / (top Org.unit) – include sub.OUs

Click on Search emails
The result will show all emails with the subject: “Important email for Sales team” – use quotes to get the exact subject name.

Select the emails (by clicking on the check-mark beside the subject) and click on the “Email operations” button above the result.
This will show a menu with options:
- Access ‘Unlock’ grants
- Create new access request
- Access permissions list
- Download e-mails (in .EML format)
- Download e-mails (in .PDF format)
- Remove e-mails (permanent – skip trash)
- Remove e-mails (trash only)
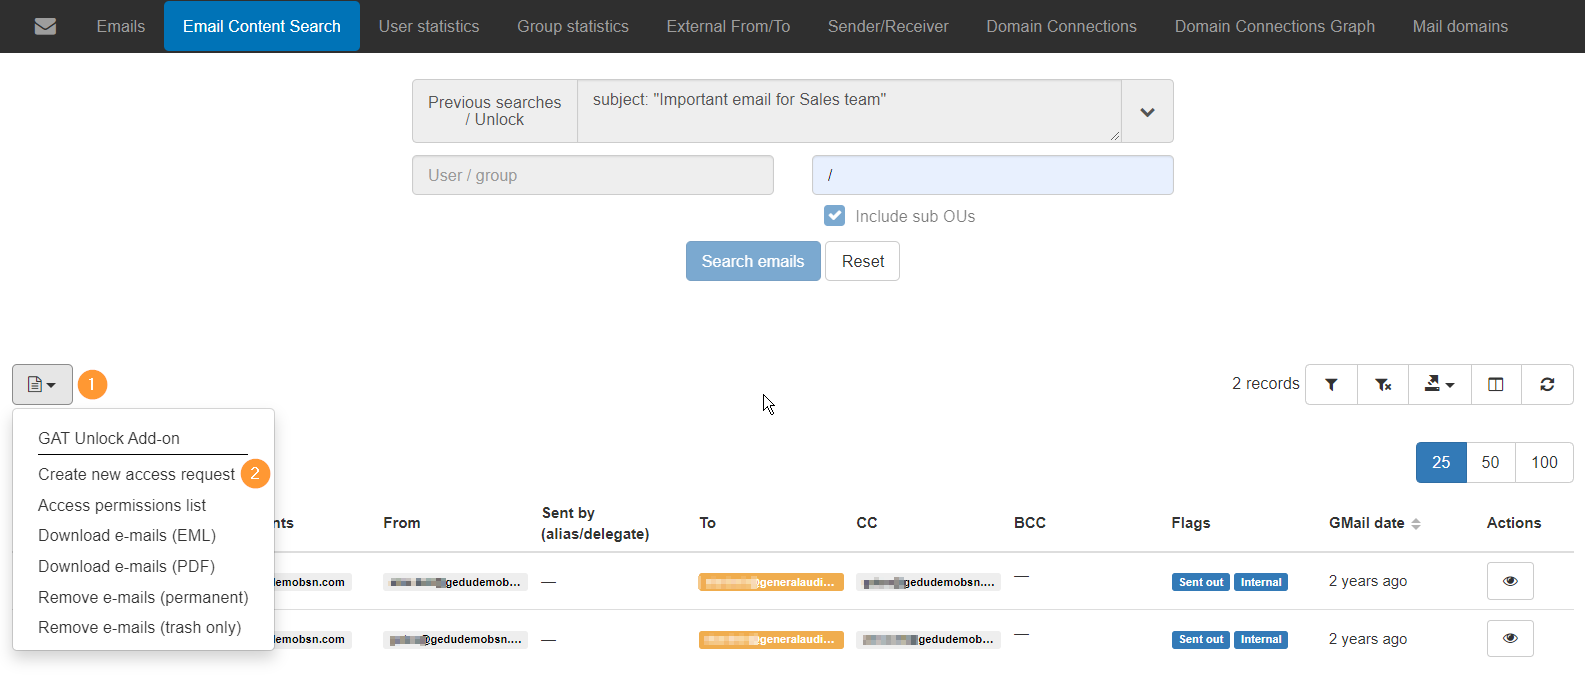
Click on the Create new access request button.

A pop-up menu will be displayed, fill in the details
- Request access until – Pick the date until access to those emails will be granted
- Message – Leave an (optional) Message to the Security officer
- Additional permissions – Check the box to Enable or Disable the option to Allow removing emails
Click on Send request to proceed.
Security officer #
When the request is sent the Security officers receive an email for approval.

The Security Officer then can approve or deny the request.
When it is approved, click on Email content search and select Previous searches

From the Previous searches ( Recent email content searches ) select any of the green checkmarks under Actions.
This will open the previous results and the Email operations button will be displayed
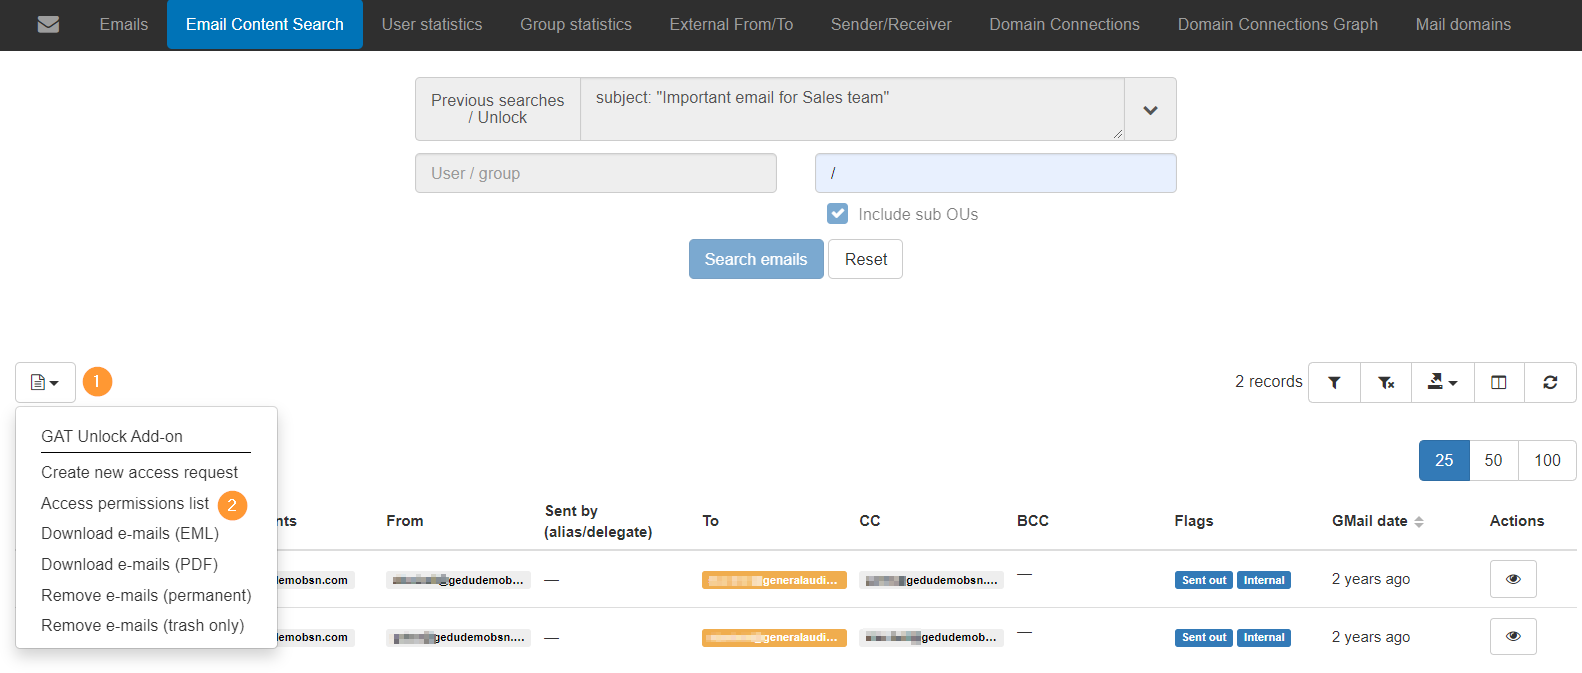
From the options select the Access permissions list
A pop-up menu will be displayed, select the newly approved request (Investigating suspicious emails to the Sales team )

Result #
Click on the checkmark under the Actions.
This will load the result and emails.
On the right side under Actions, the Admin can take individual action on each of the emails
- Download as PDF
- Download as EML
- Show email content

On the left side – select the emails (bulk) and click on the Email operations button
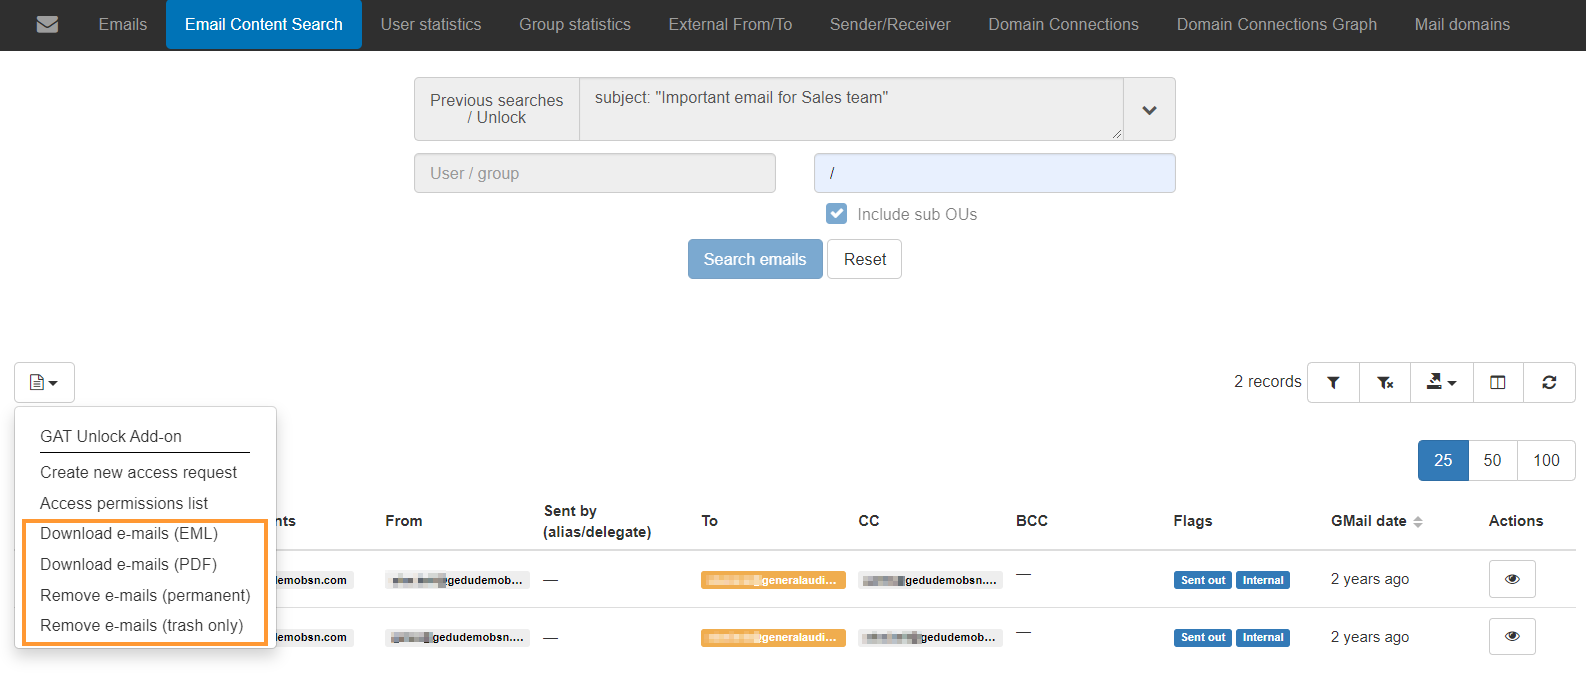
Bulk options will be available.
- Download e-mails (EML)
- Download e-mails (PDF)
- Remove e-mails (permanent)
- Remove e-mails (trash only)
As a result, an Admin can apply a live search on the domain, find all phishing or accidental emails, request access to them to View their content, Download and Remove emails (individually or in bulk )


