

Assigning Students to Different Organizational Units when Bulk Onboarding them via GAT Flow #
GAT Flow is a great management tool that allows Google Workspace Admins and/or Delegated Auditors for GAT Flow to bulk onboard students and segment them into different Organizational Units.
This process is simple with GAT Flow, which enables importing new students and assigning them to particular Organizational Units at the same time.
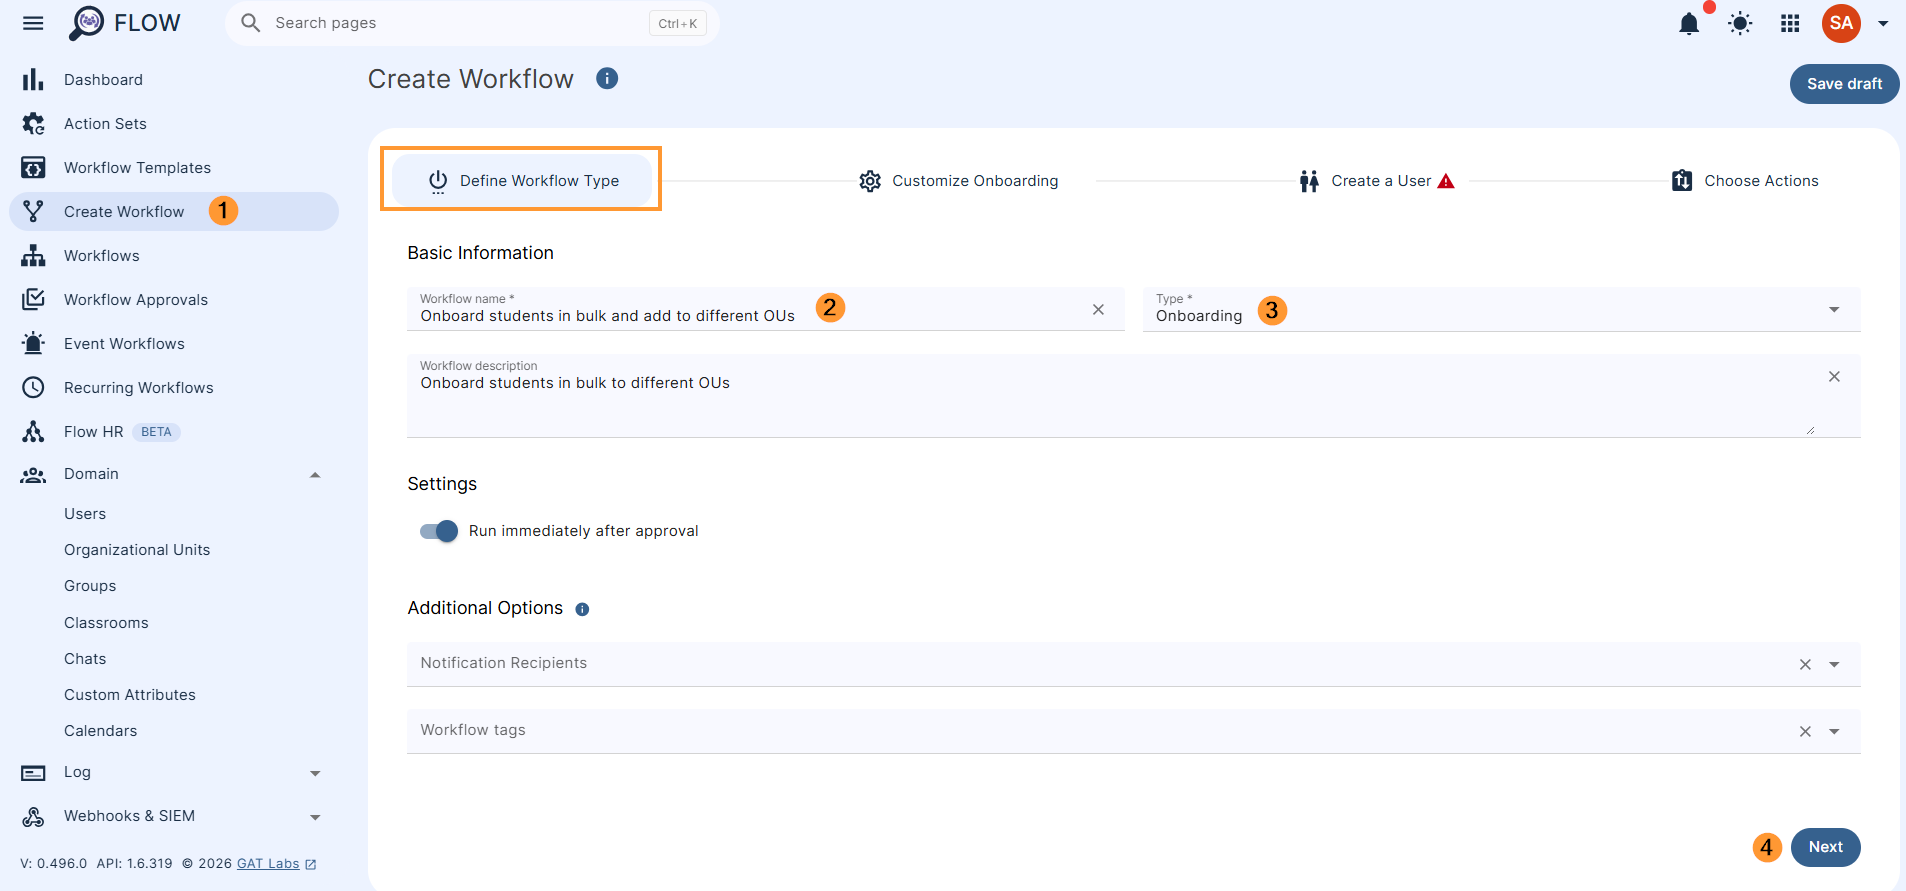
Step 1. Create workflow #
Create a workflow by navigating to Flow > Create workflow.
Fill in the details in the next step:
- Name – enter a name for the workflow
- Type – select the type of workflow you want to use: Onboarding
- Next – click to proceed
Step 2. Customize onboarding #
In the next step (Customize Onboarding), pick the domain that the new students will be created for and configure the email schema that will be used for all the created users.
- Define email template – The provided template will be used to automatically generate email addresses in the next step
- Select email elements – Select an email template option to add it to the template below.
- Customize selected email elements – Drag the selected email elements to change their order.
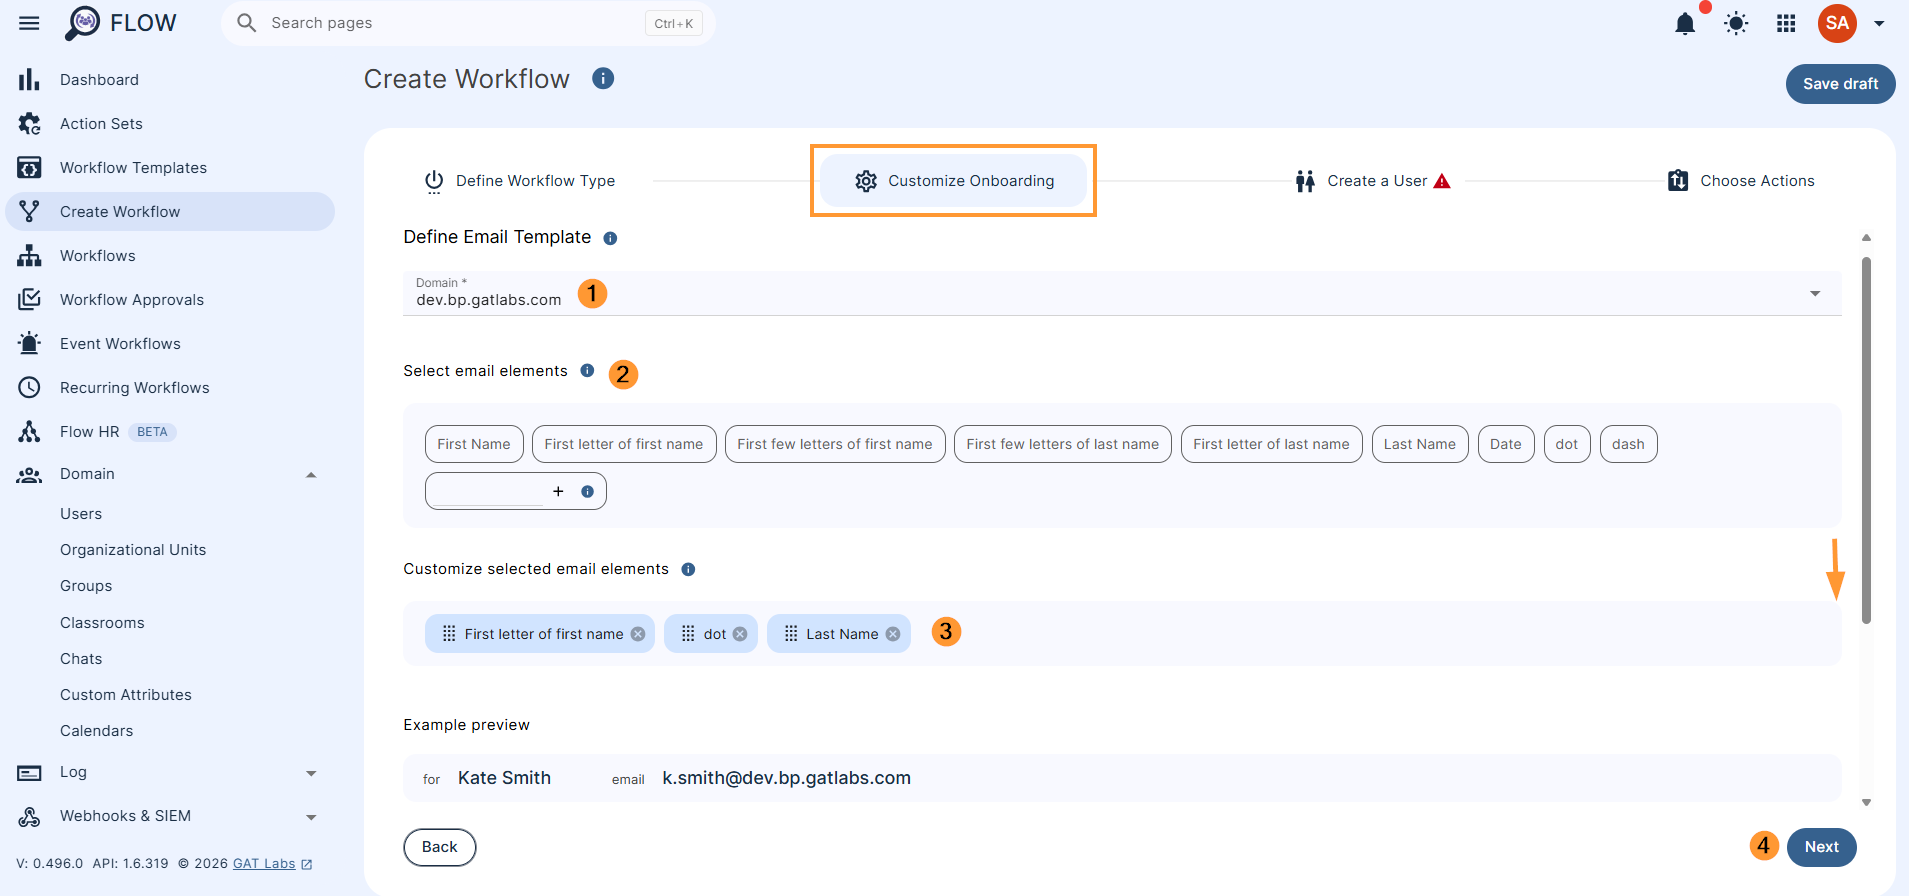
- Password settings – You can enable automatic password generation for new users here. Passwords can be sent to the specified email address.
- Generate user password
- Send user password
Click on Next to proceed
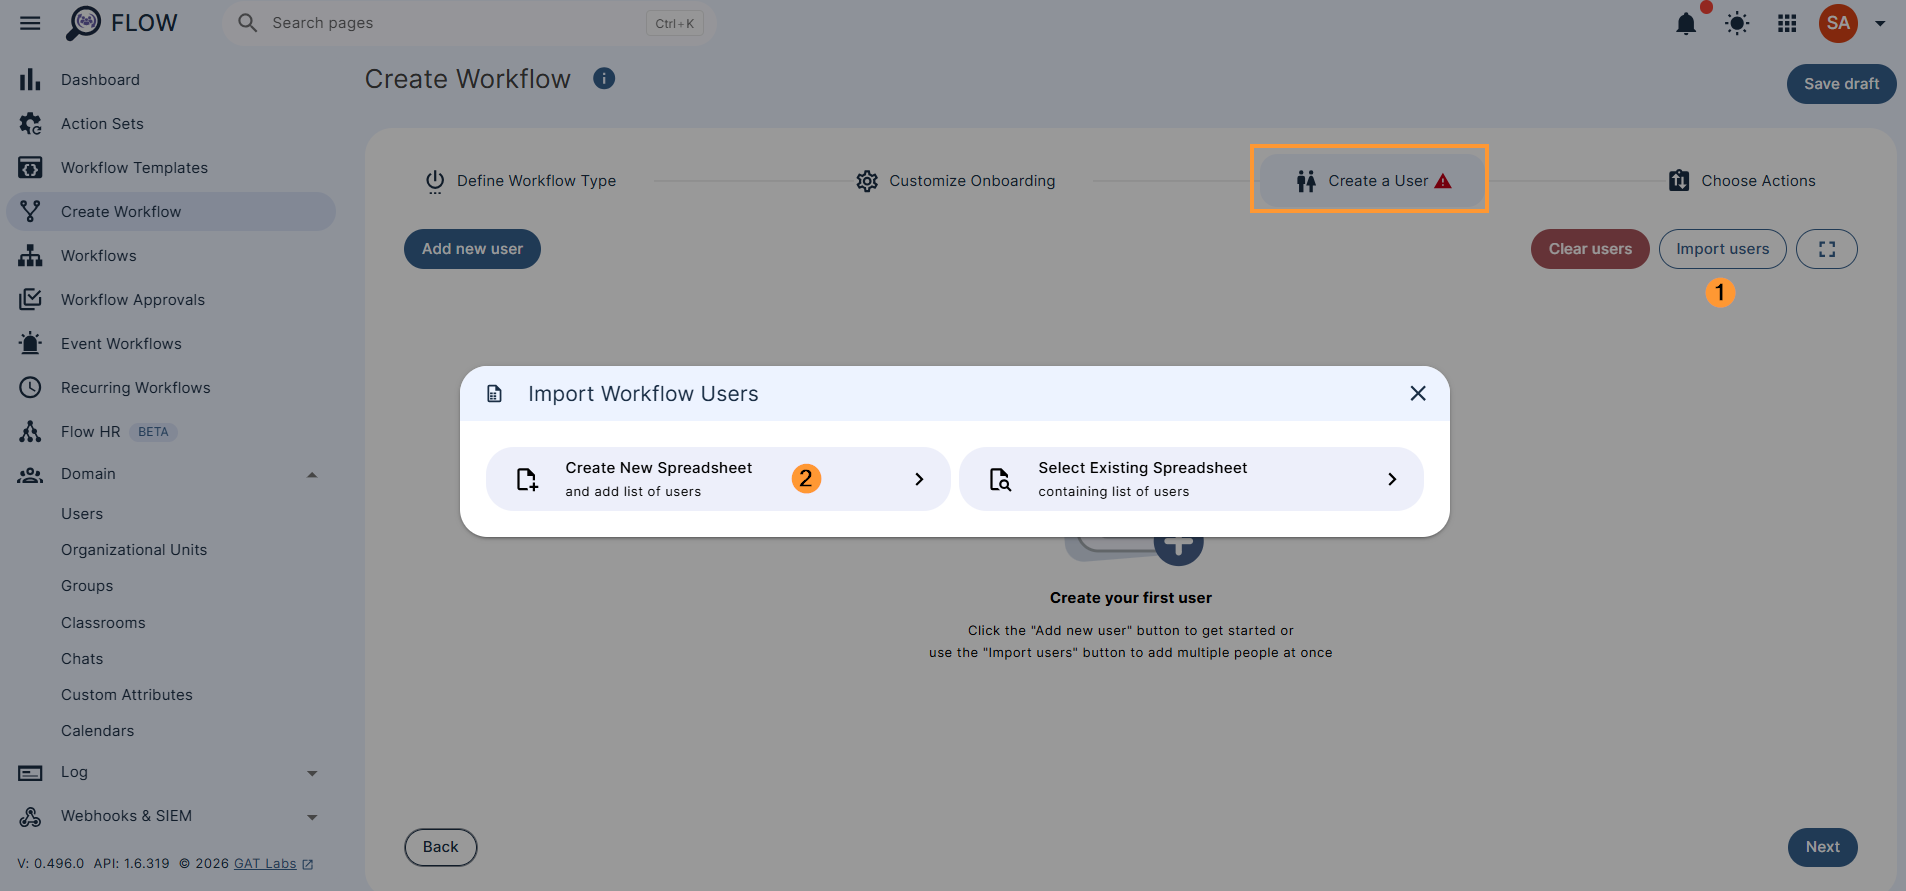
Step 3. Create a user #
In Create a user, pick how to add the users: manually one by one via Add new user or Import users in bulk via a Google sheet.
To bulk add students, click on the Import users button and then Create new spreadsheet (optionally can also select and use an existing spreadsheet)
The template is created and can be viewed by clicking on an ‘add to spreadsheet‘ icon that opens a new tab with the spreadsheet.
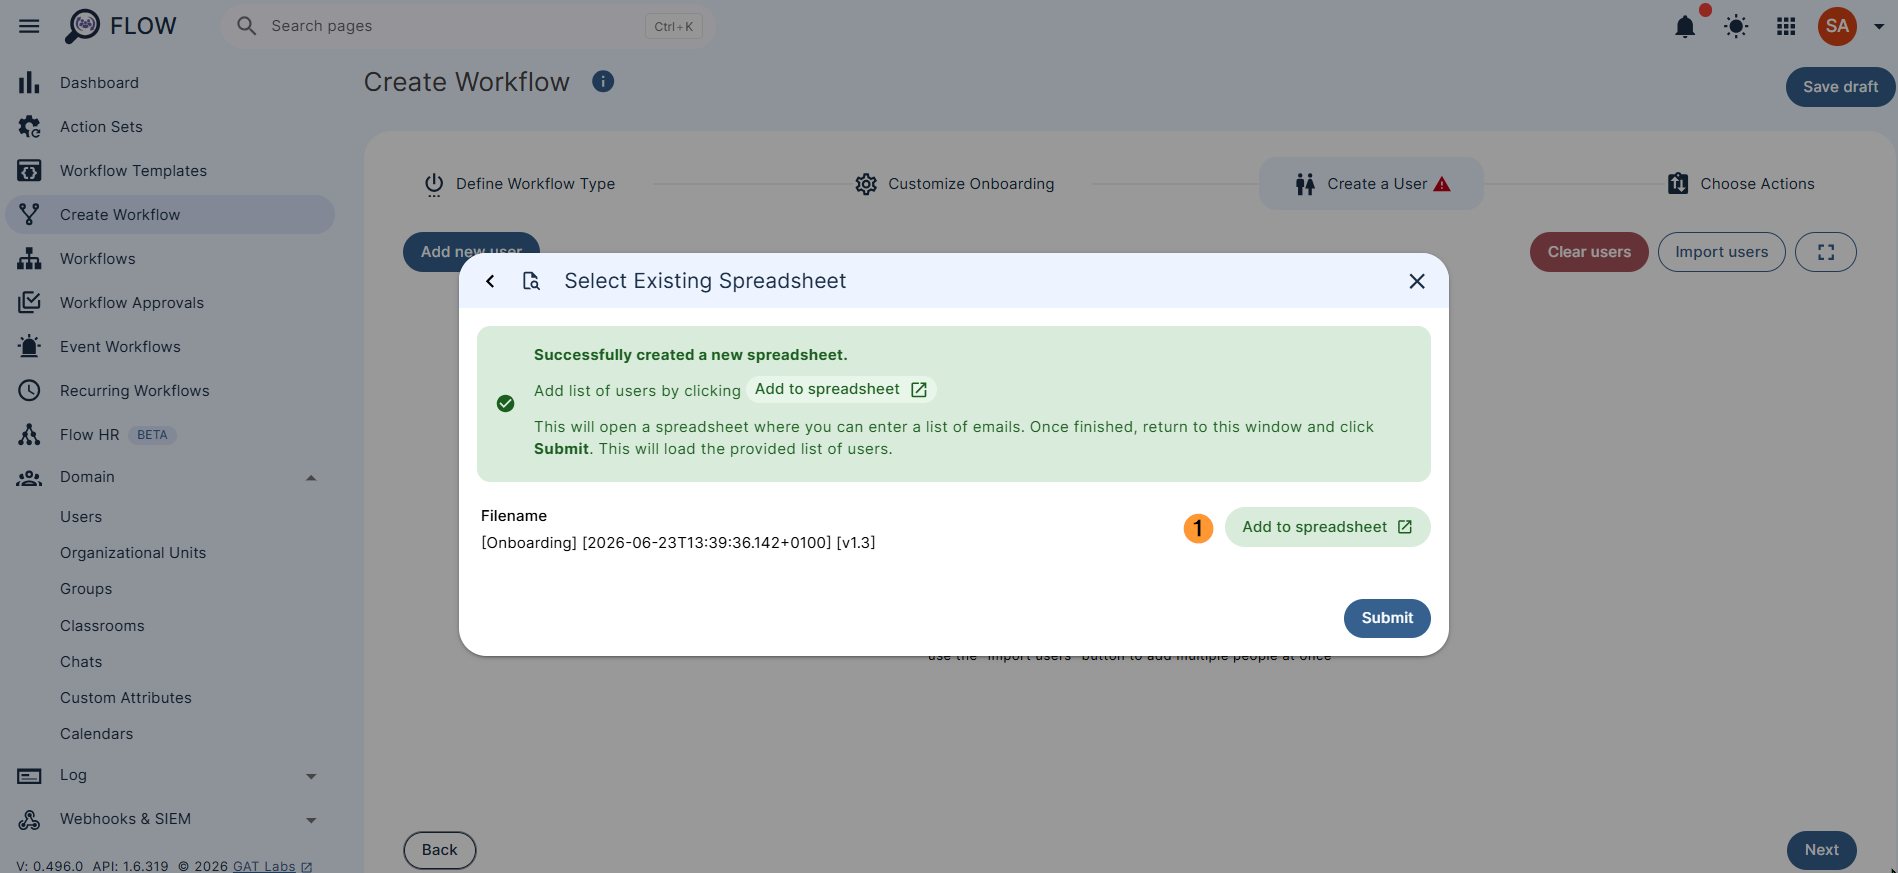
The spreadsheet is opened in a new window and is ready to fill in the details for the Students.
Note: Please DO NOT change the template name as it may cause a validation issue.
Enter the student’s details: Enter the details for the Students.
Note:
- Yellow fields are mandatory
- Green fields are optional
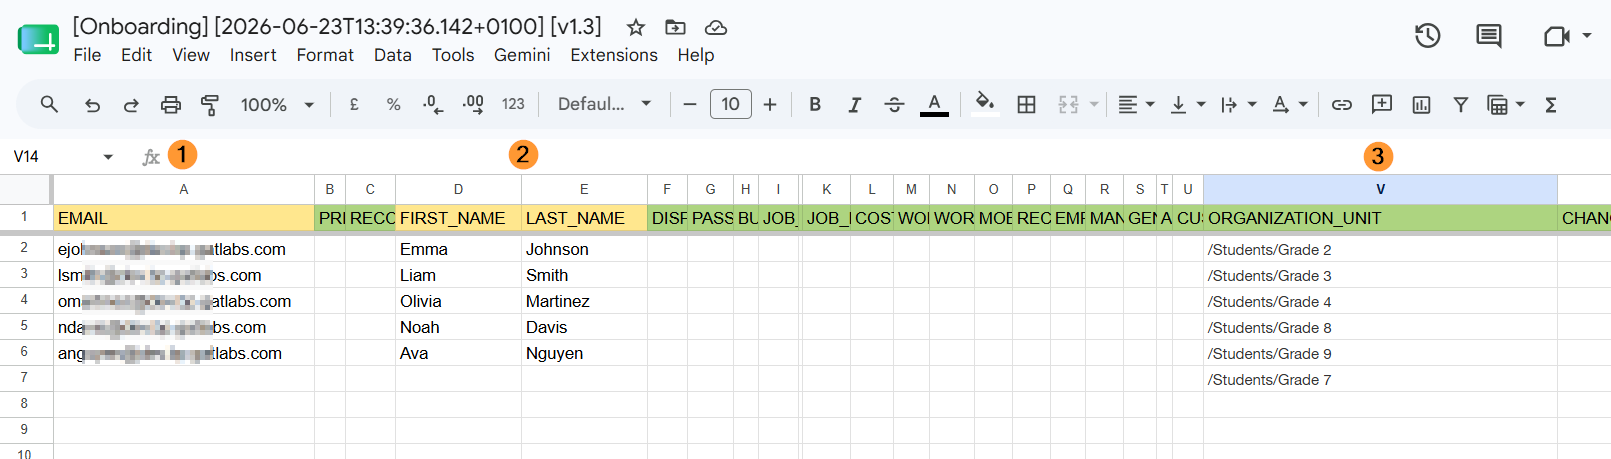
When the details are added, save the spreadsheet and close it.
Go back to the GAT Flow console and select the newly created spreadsheet by clicking on the Submit button:
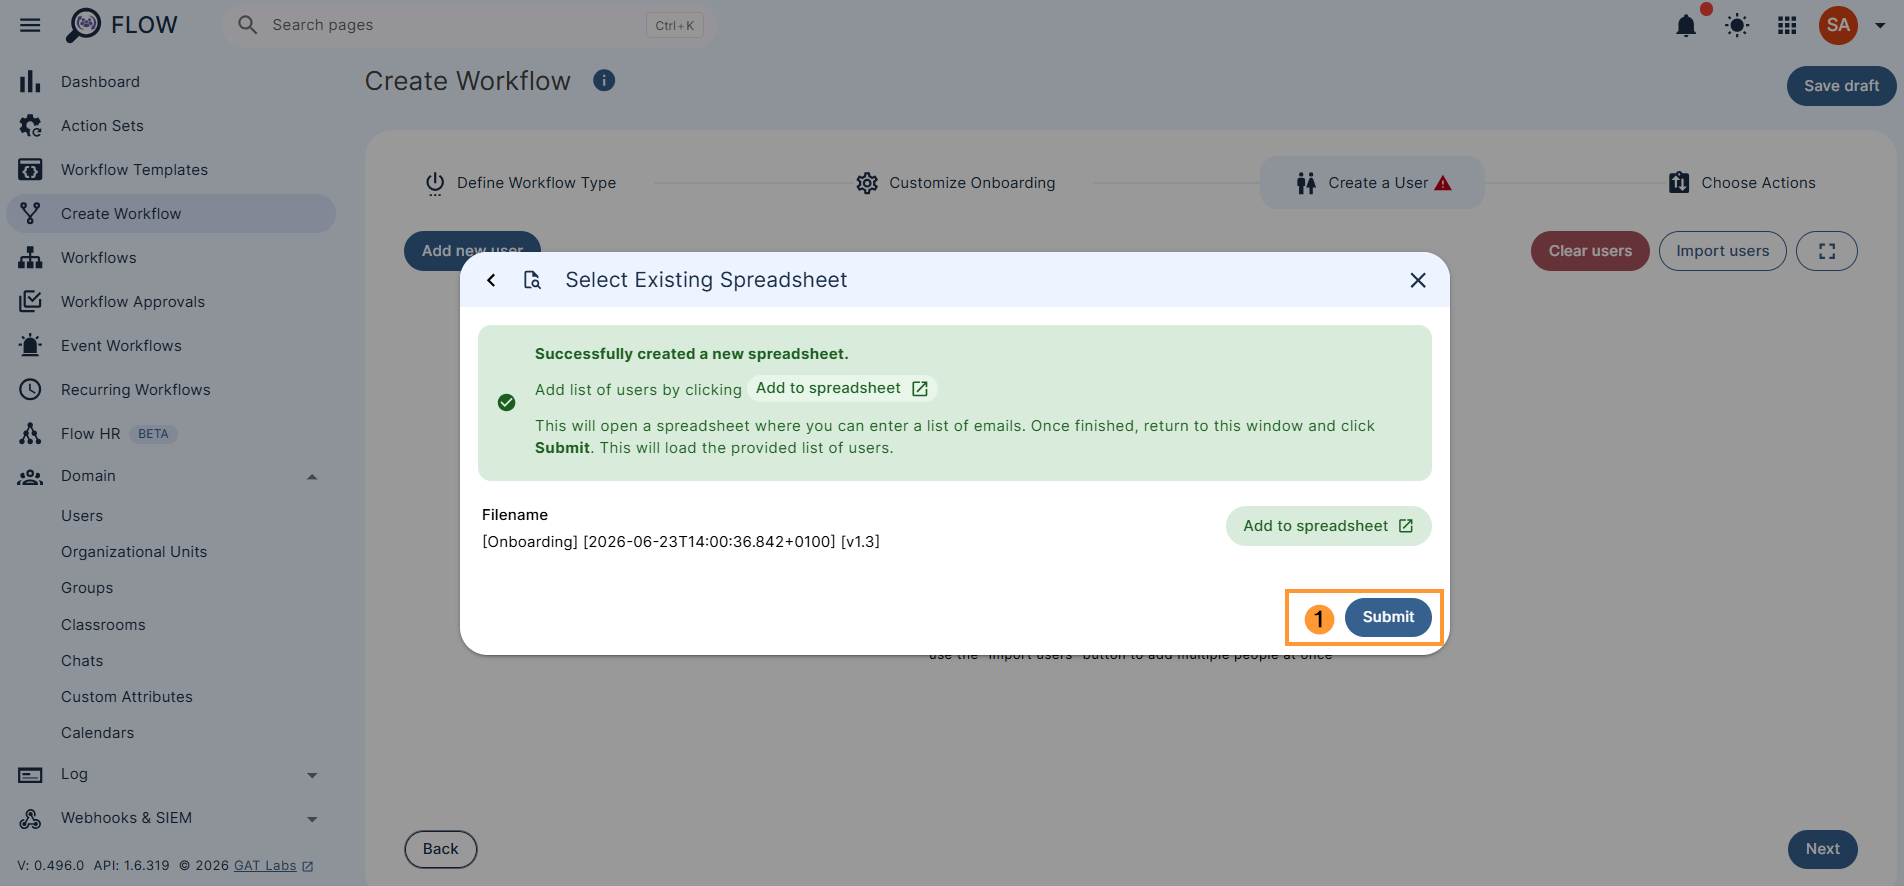
The details will be uploaded in bulk into GAT Flow and displayed.
Review and edit if needed.
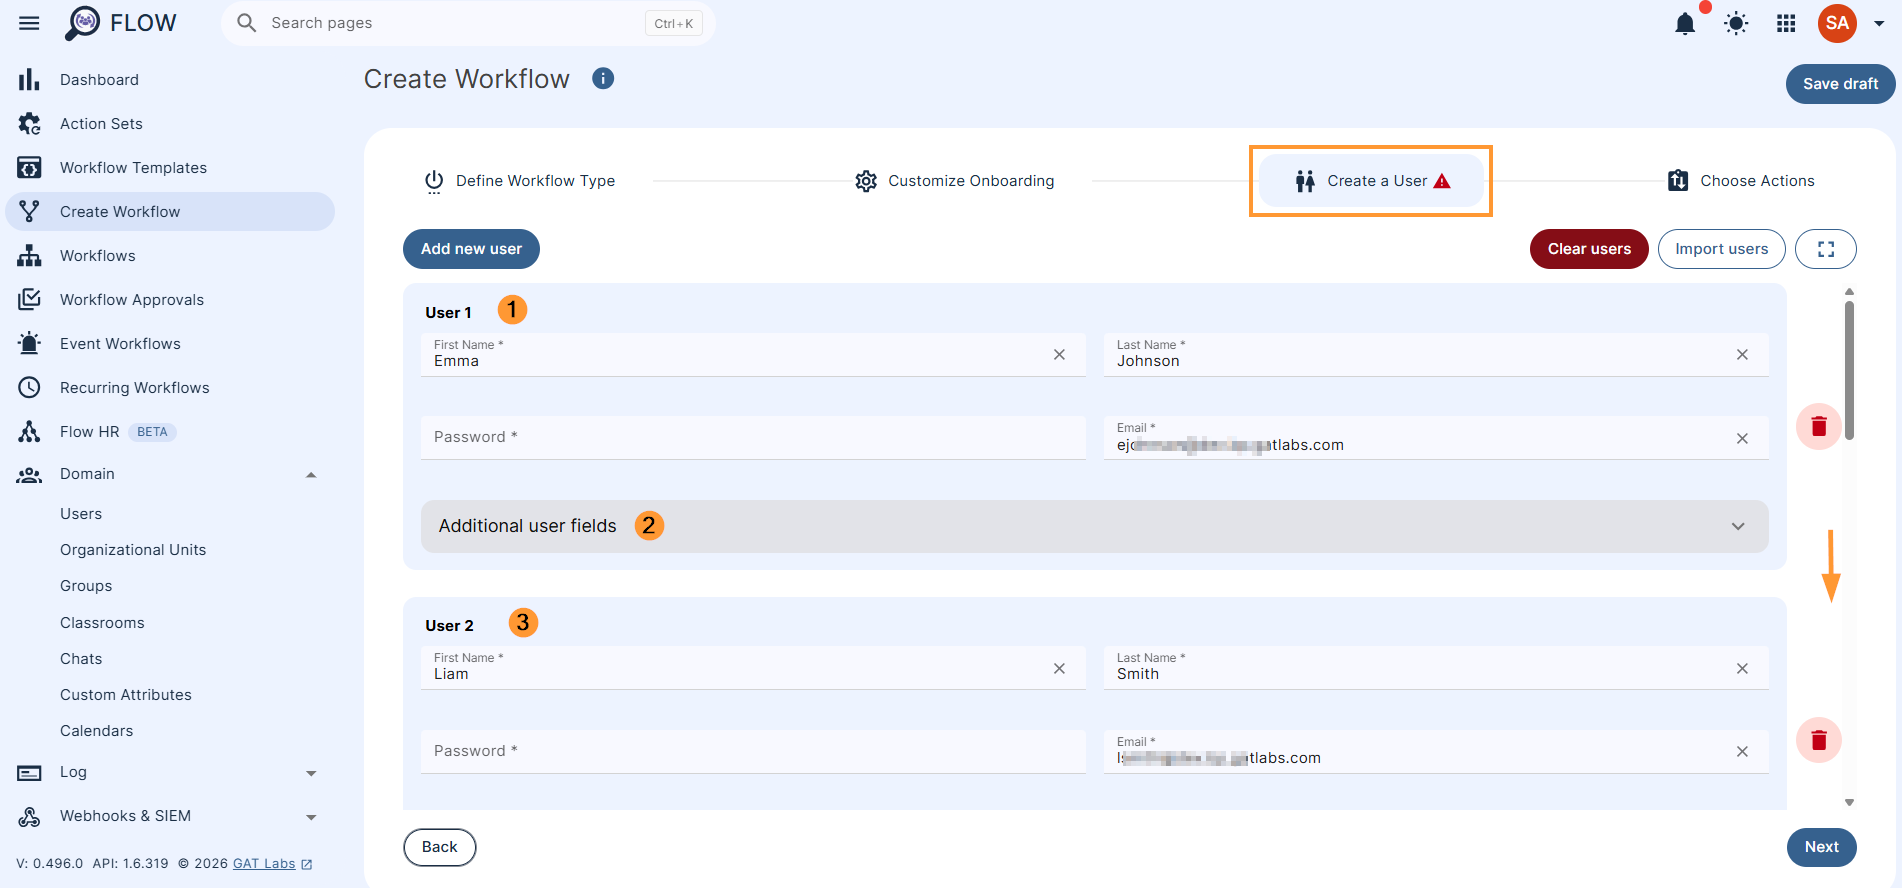
Click on the Next button found at the bottom of the dashboard. The user will be “created.”
Next, add any additional actions for the newly onboarded students.
Step 4. Choose actions #
Then, to choose actions, click on the (+) button and search for the action.
Double-click on the action selected to fill in its details.
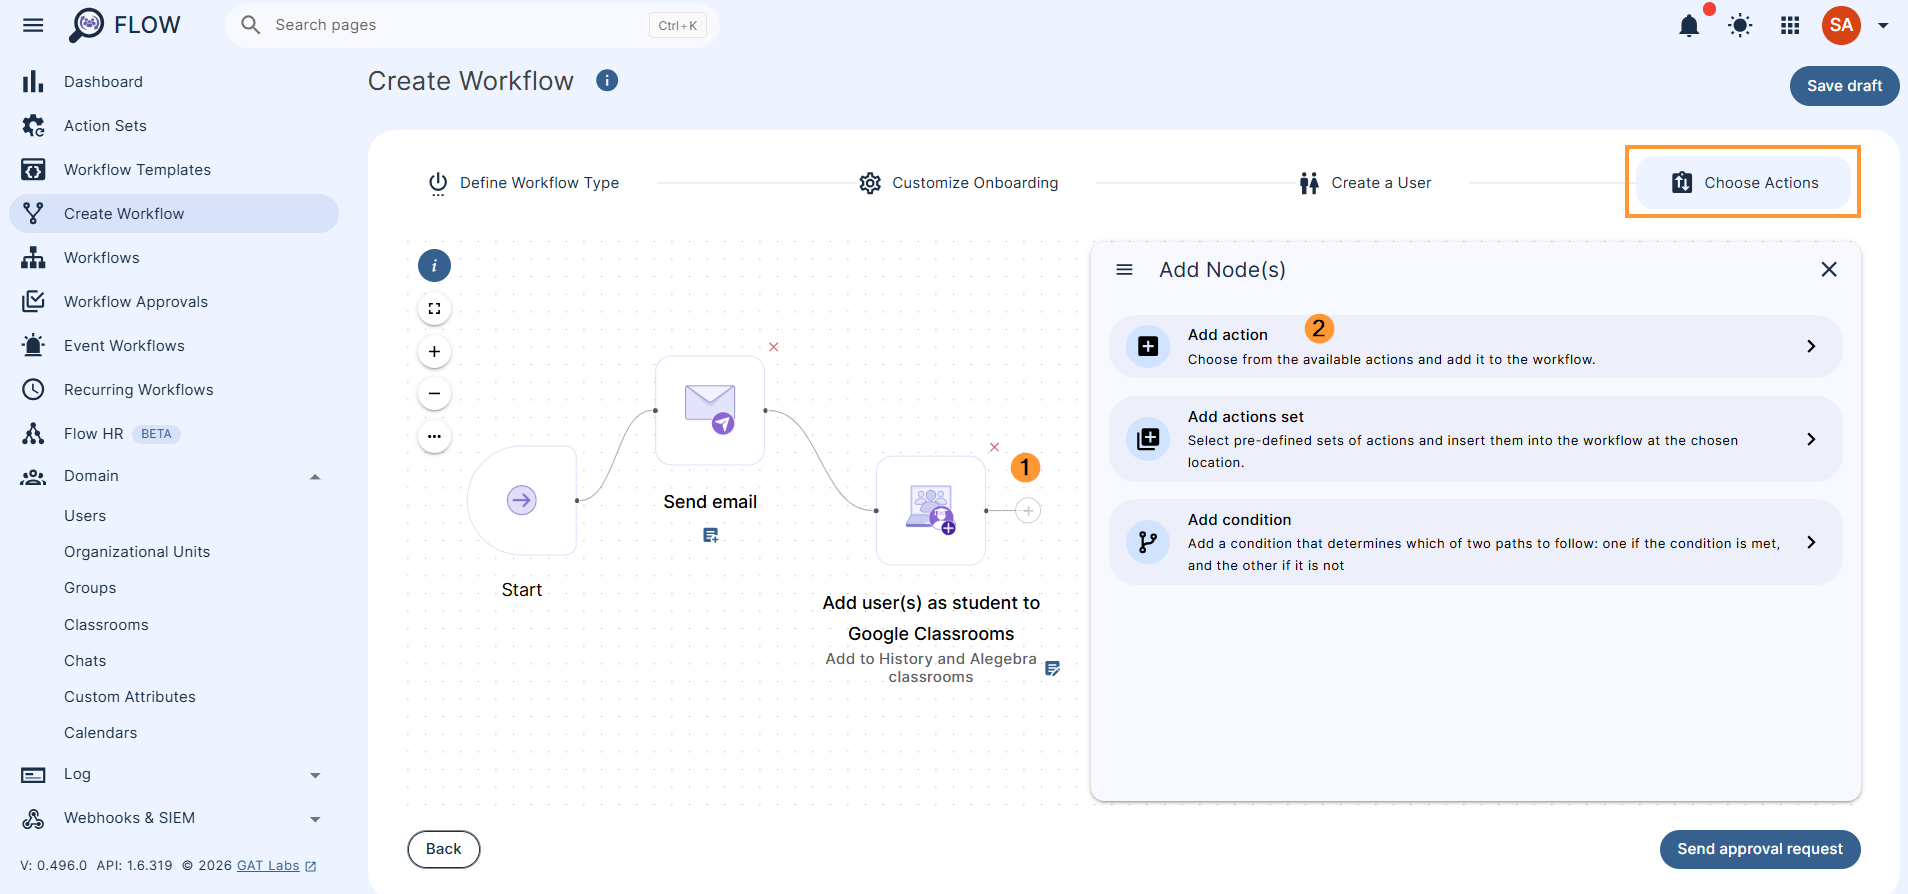
Example: A welcome package can be sent via email to all newly onboarded students and added to classrooms
Once ready, click on Send approval request.
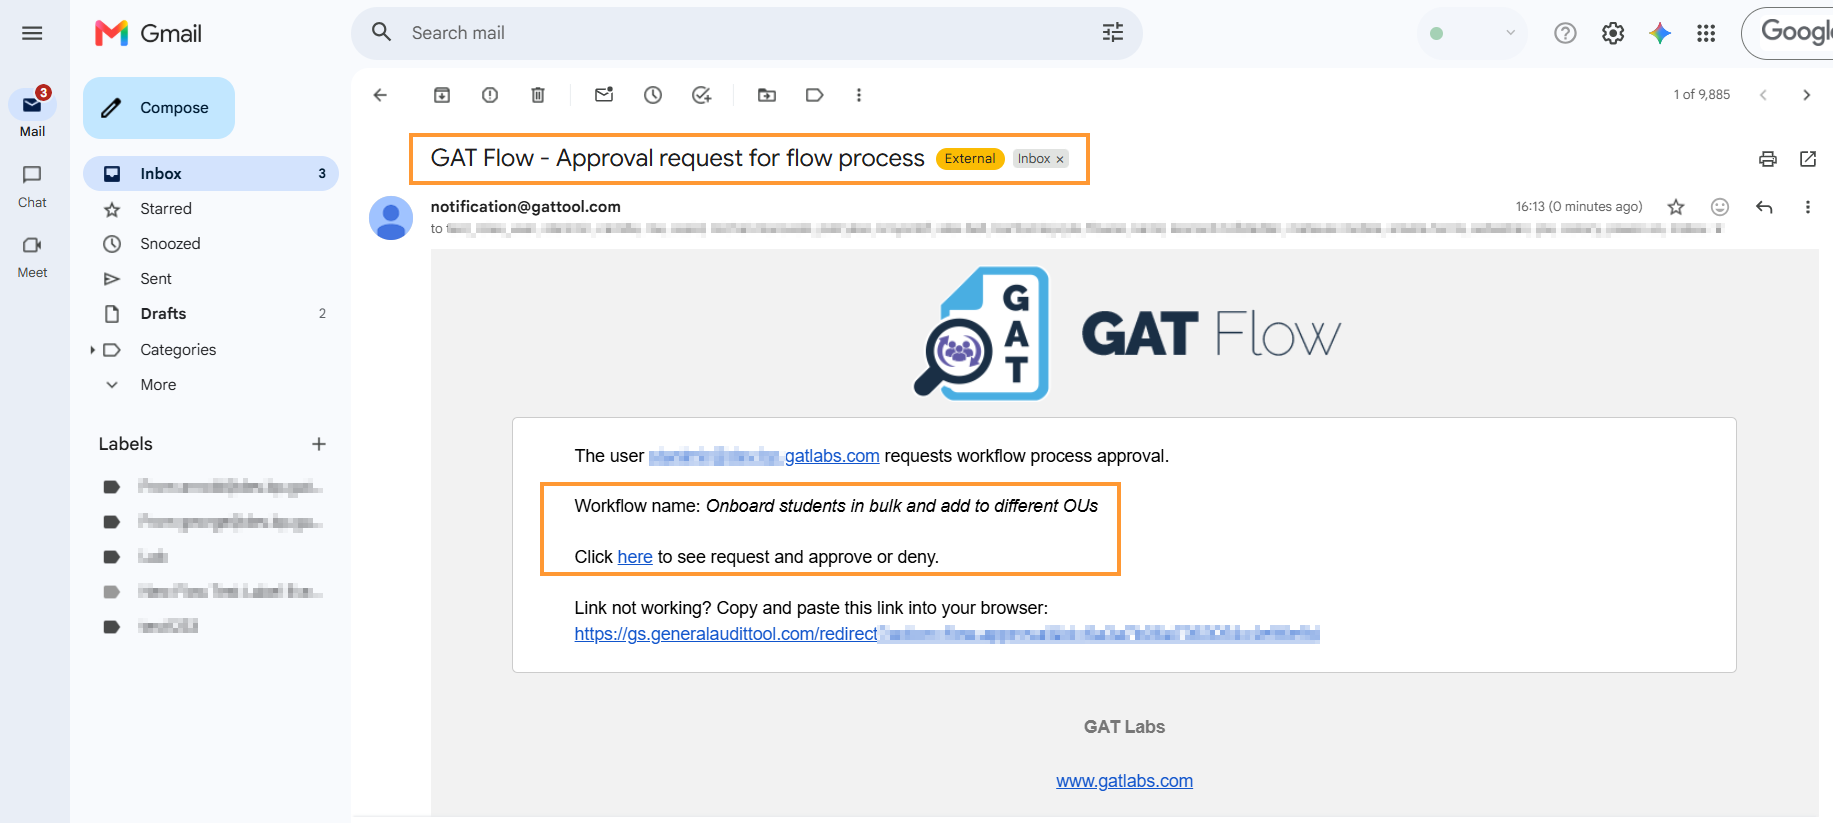
Step 4. Approve workflow #
Lastly, after sending it, the Security Officer has to approve the request. They will receive an email that will lead them to the approval page.
Result #
Once you approve the workflow, it will run automatically.
When the Job status transitions from “In progress” to “Done,” the workflow is completed, and the new students are successfully onboarded.
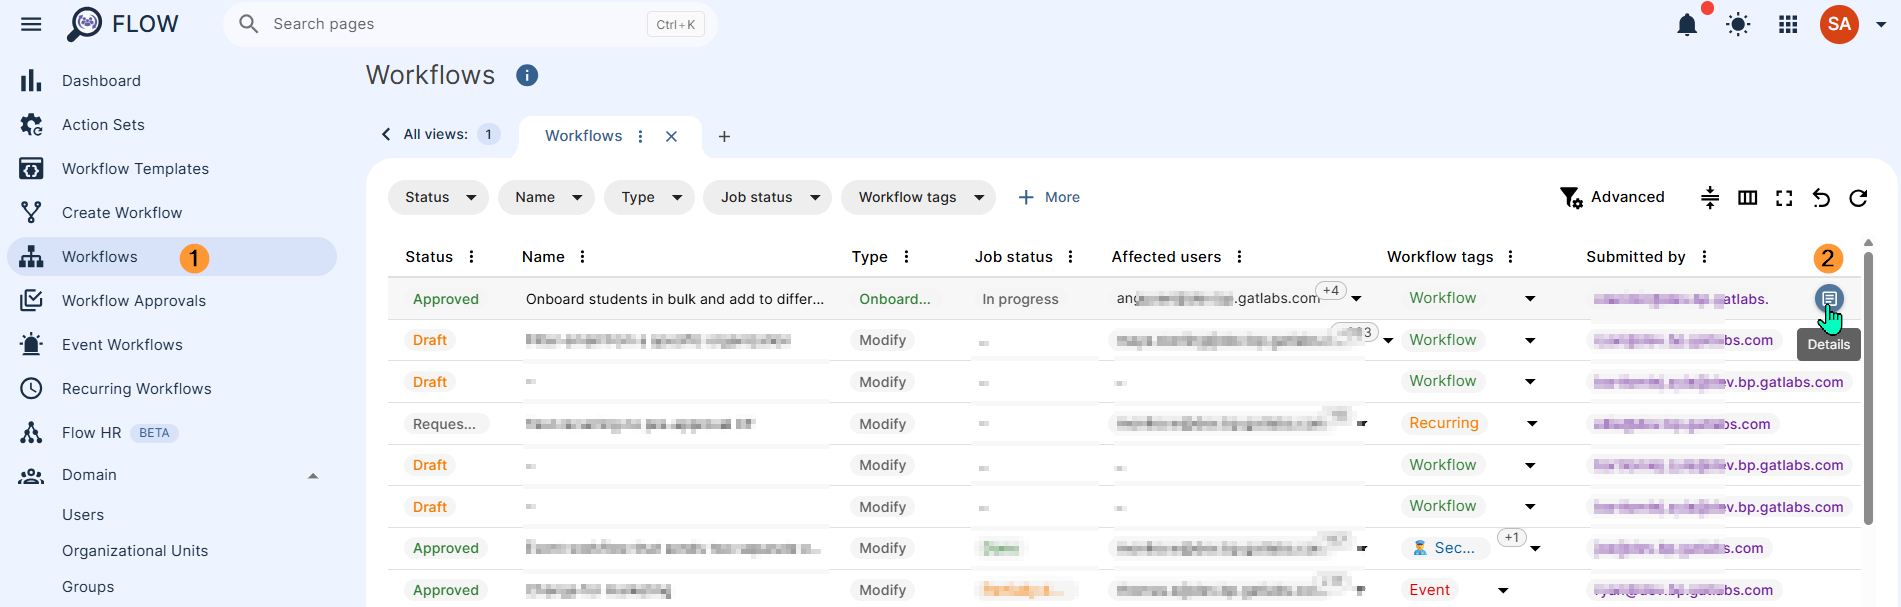
View the details by clicking in Workflows > Approved jobs > Details (2)
When the job status is set to “Done”, it means the users are onboarded successfully.
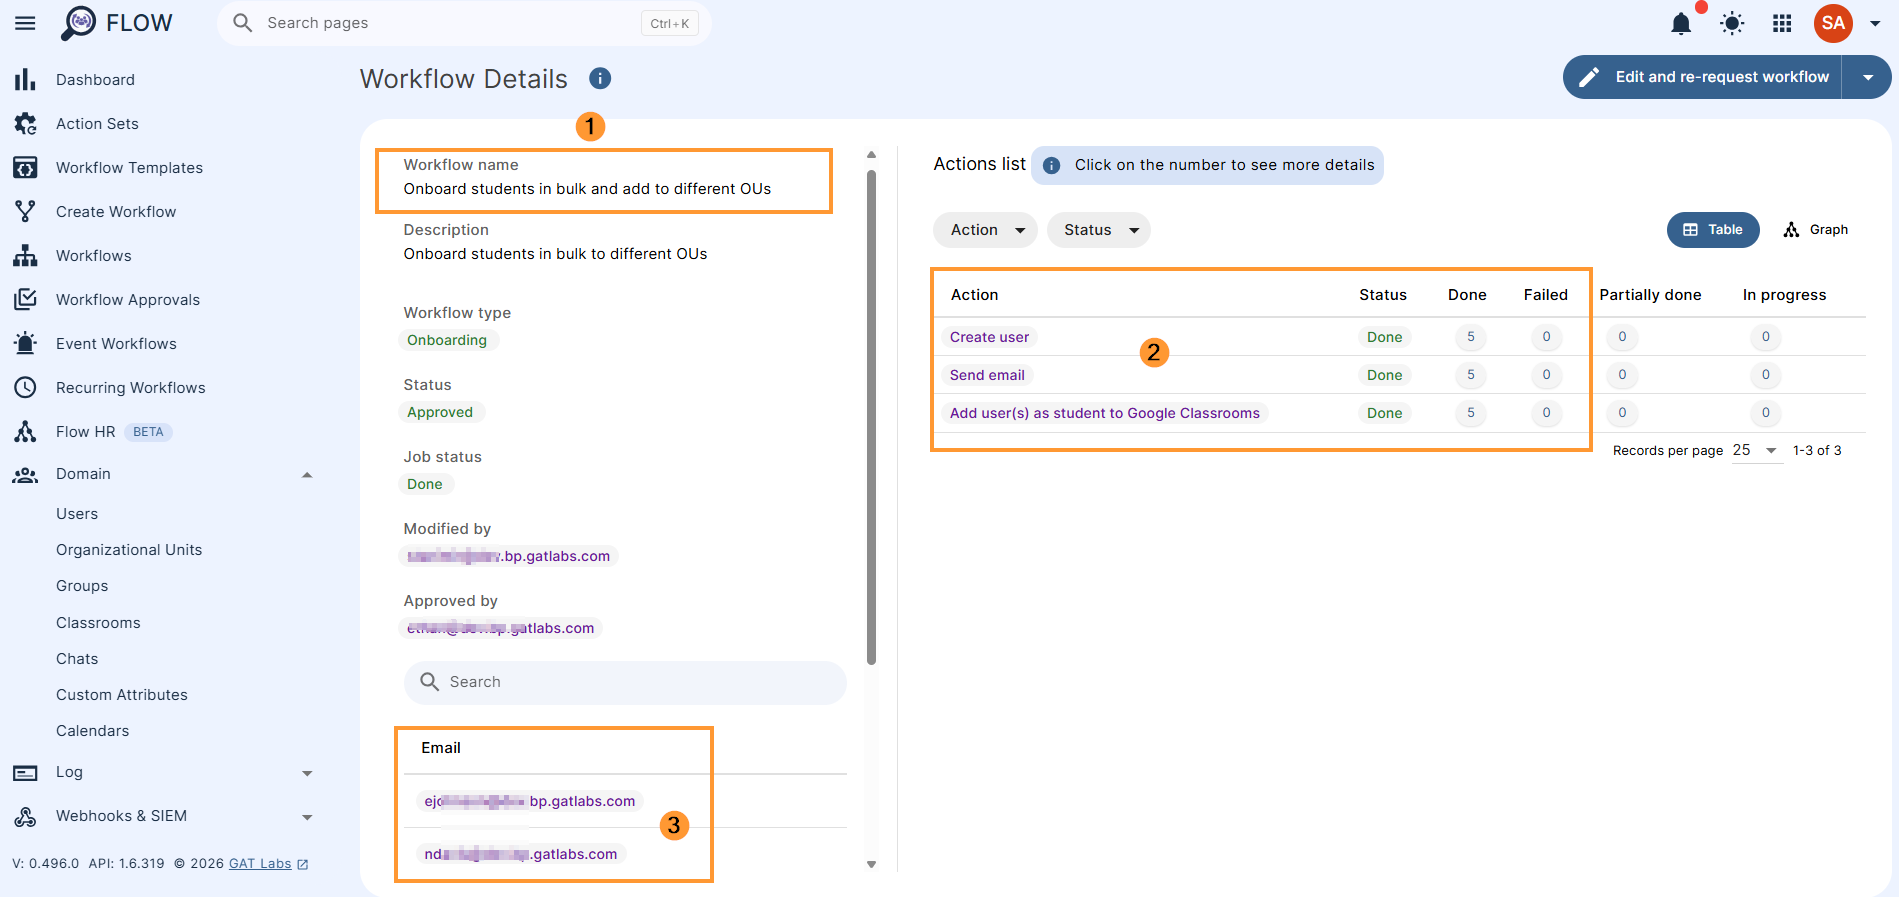
We created the students in bulk and assigned them to their appropriate Organizational units.


